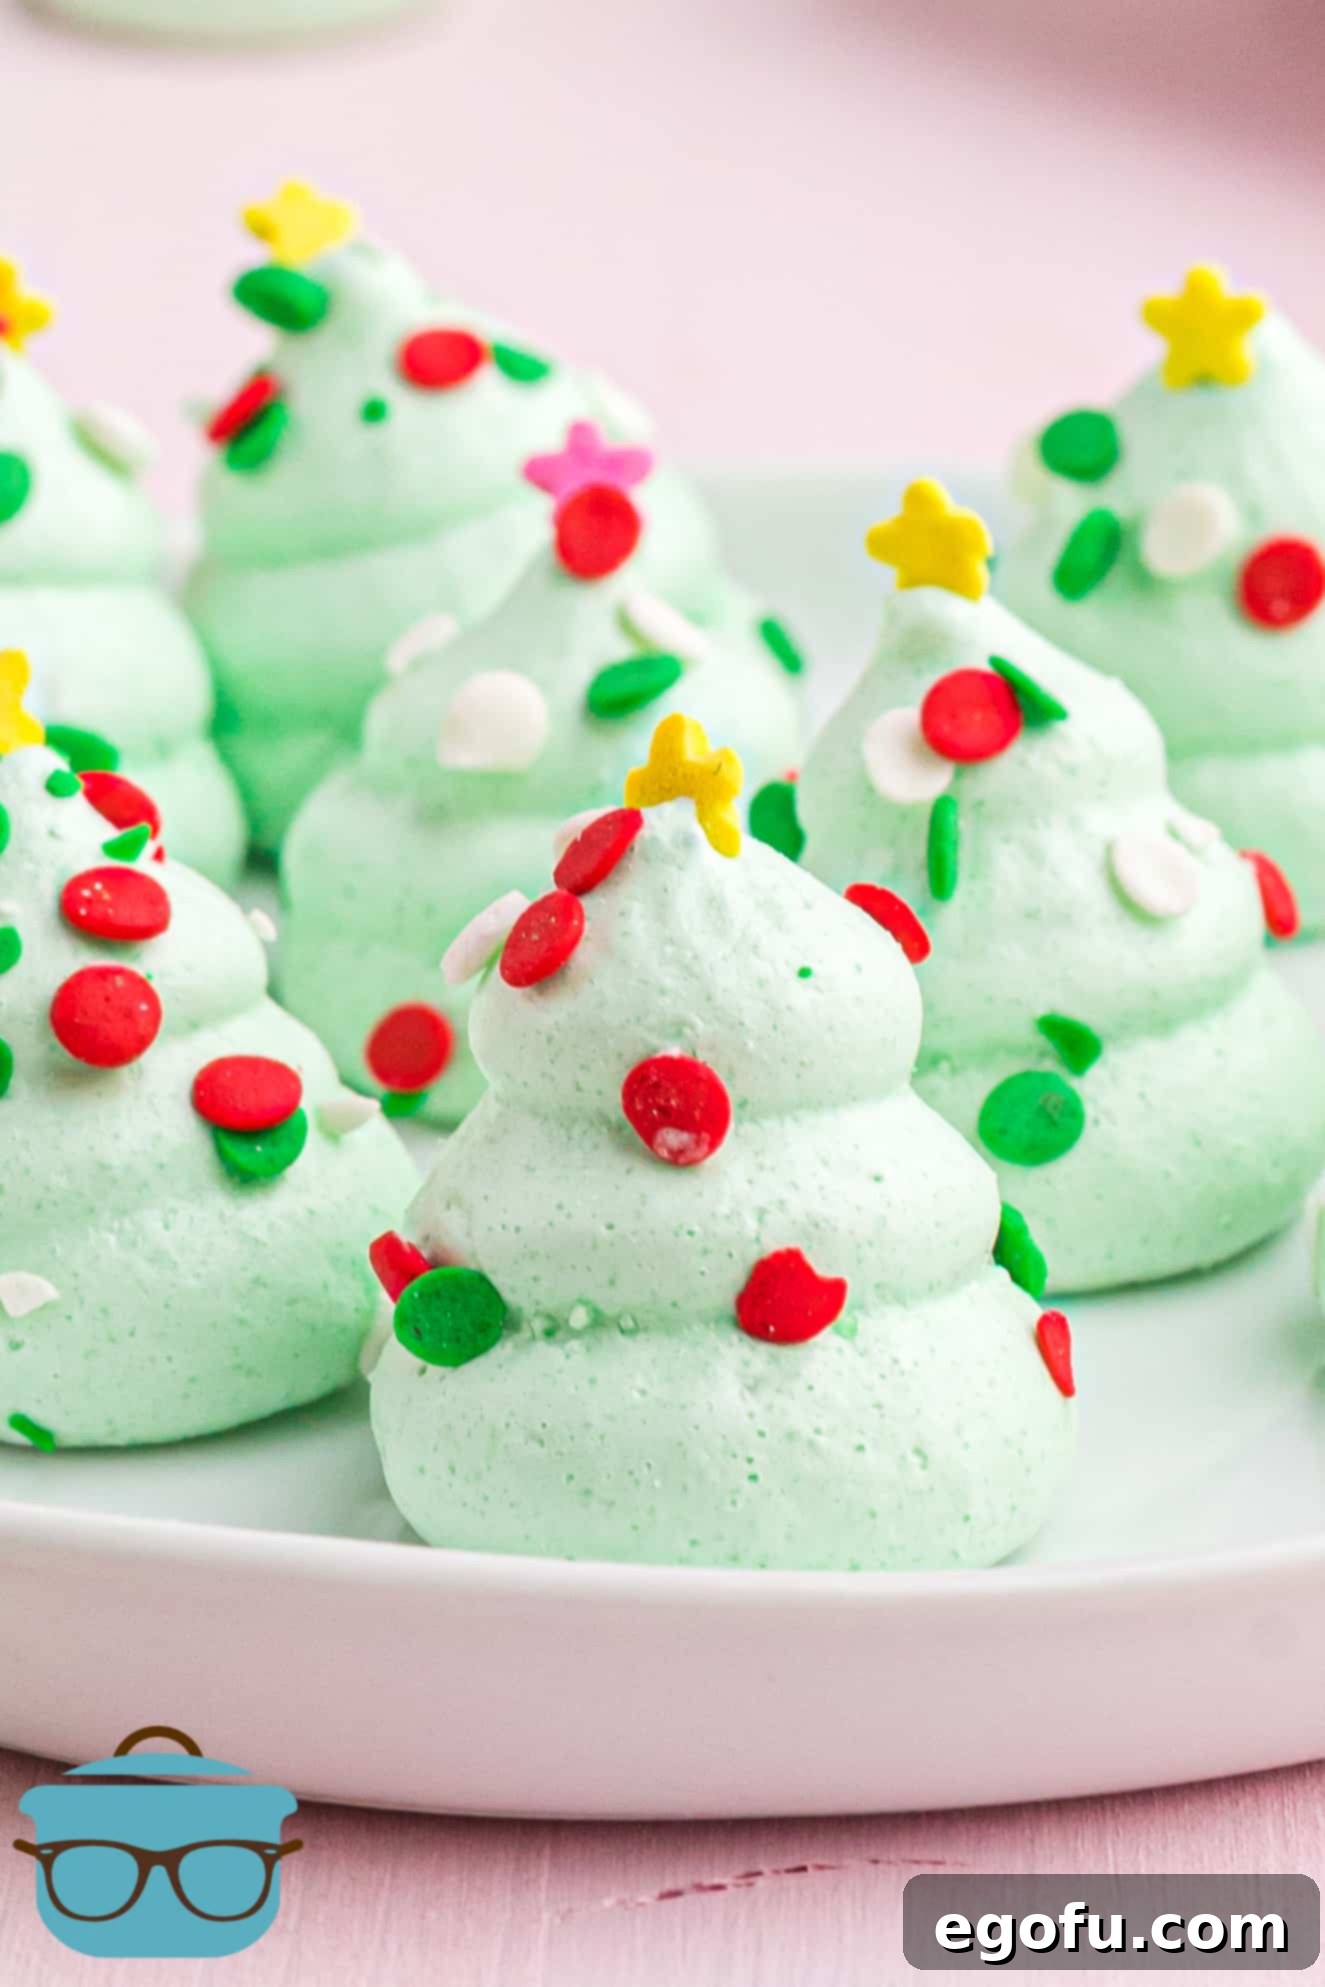
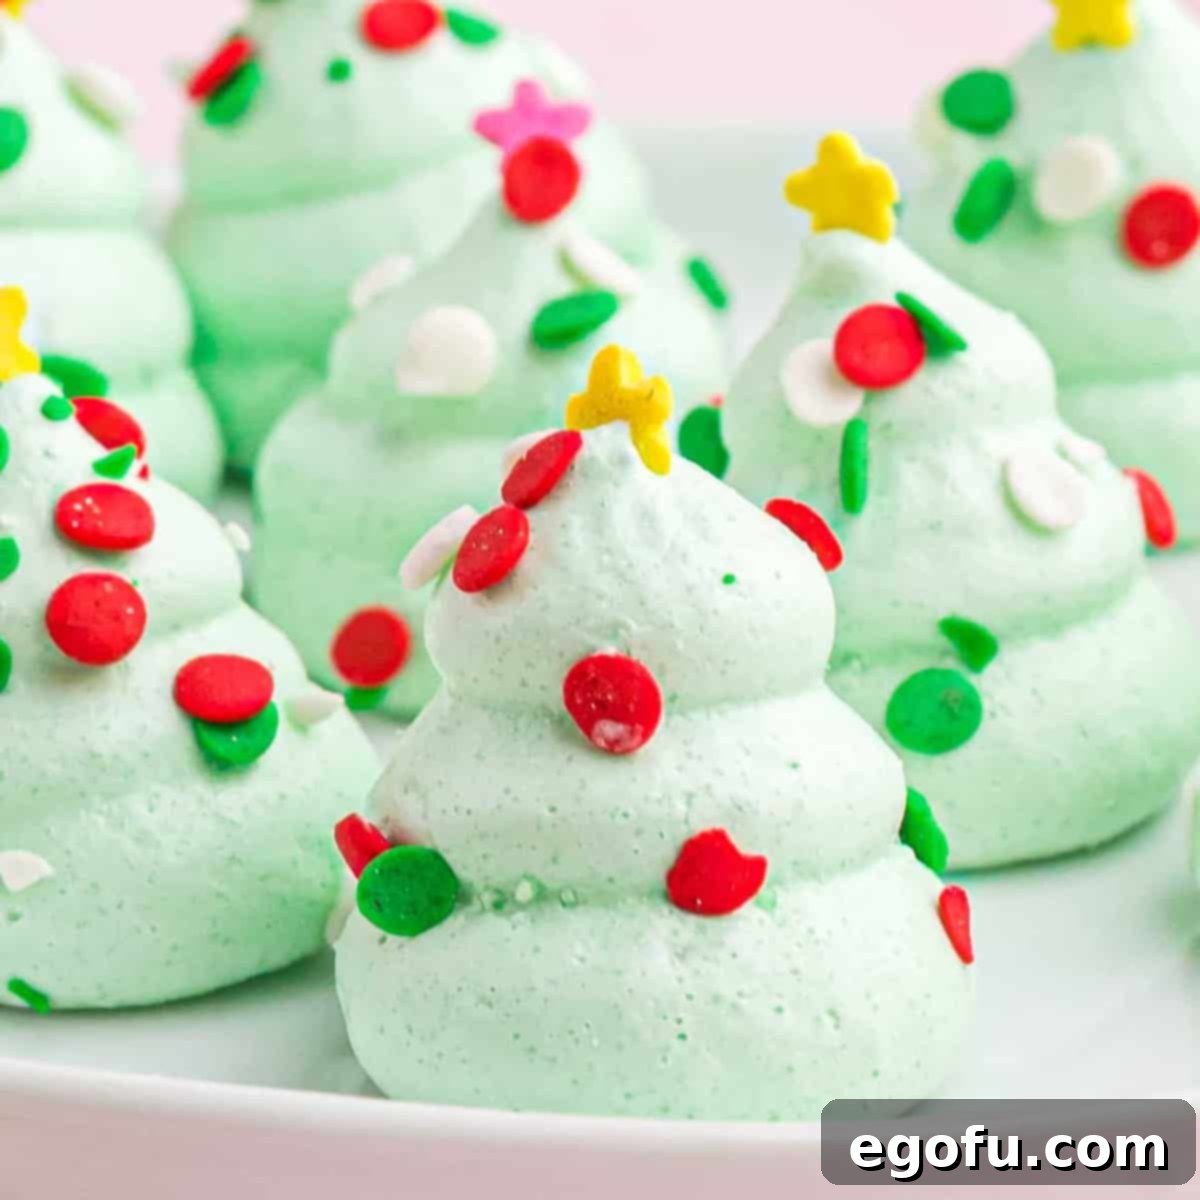
Delightful and easy to make, these Meringue Christmas Trees are not just adorable but also incredibly delicious! They’re the perfect festive treat that captivates both children and adults during the holiday season.
The Ultimate Guide to Easy Meringue Christmas Trees: Your Perfect Holiday Treat
There’s something truly magical about homemade meringues. These delicate, melt-in-your-mouth confections often feel sophisticated, yet they are surprisingly simple to whip up right in your own kitchen. My son affectionately used to call them “cloud cookies” when he was little, a name that perfectly encapsulates their light, airy texture. These Meringue Christmas Trees are not only a delightful dessert on their own but also serve as beautiful, edible decorations that bring a touch of whimsy to any holiday gathering. Imagine them nestled among other festive treats or adorning a grand dessert display; they’re truly versatile.

Why These Meringue Christmas Trees Will Become Your Holiday Favorite
Meringues are a classic for a reason. Their crisp exterior gives way to a soft, airy interior, offering a delightful texture contrast that few other desserts can match. These Christmas tree variations elevate a simple meringue into a festive masterpiece. Here’s why you’ll adore making and sharing them:
- Effortless Elegance: Despite their intricate appearance, these meringue trees are incredibly straightforward to prepare, requiring just a few basic ingredients and a bit of patience.
- Customizable Flavors: While vanilla is a timeless choice, the recipe easily adapts to festive flavors like peppermint or mint, adding another layer of holiday cheer.
- Kid-Friendly Fun: Involving children in the decorating process with sprinkles and star toppers makes this a memorable holiday activity and creates lasting memories.
- Light & Guilt-Free: Meringues are naturally light, making them an ideal treat after a hearty holiday meal without feeling too heavy.
- Visually Stunning: Their vibrant green color and charming tree shape make them an eye-catching addition to any dessert table, doubling as festive decor.
- Perfect for Gifting: Packaged in pretty boxes or bags, these meringues make thoughtful and delicious homemade gifts for friends, family, and neighbors.
Mastering Meringue: Essential Tips for Perfect Christmas Trees
Creating perfect meringues is more about technique than complex ingredients. With just egg whites and sugar, the magic happens in the mixing and baking. Follow these essential tips to ensure your Christmas trees turn out light, crisp, and utterly beautiful every time:
- The Core Ingredients: Meringue fundamentally relies on two ingredients: fresh egg whites and granulated sugar. For best results, ensure your egg whites are at room temperature, as they whip up more easily and achieve greater volume. Also, make sure no yolk gets into the whites, as fat can prevent them from whipping properly.
- The Power of an Electric Mixer: While possible to whisk by hand, an electric mixer (either a handheld or stand mixer with a whisk attachment) is highly recommended. It significantly reduces the effort and ensures consistent, stiff peaks, which are crucial for meringue stability.
- Flavor Infusion: Elevate your meringues with extracts! Classic vanilla extract is always a winner, but for a truly festive touch, consider adding ½ teaspoon of peppermint or mint extract. Stir in your chosen flavoring once the meringue starts to thicken and before the stiff peaks form.
- Achieving Light & Fluffy Texture: The secret to light and airy meringues is incorporating ample air. This requires patience during the whipping process. Gradually add the sugar, about half a cup at a time, allowing it to fully dissolve and integrate before adding more. Continue whisking on high speed until the mixture is glossy, thick, and forms firm, upright peaks when the whisk is lifted. This can take several minutes, so don’t stop too soon!
- Coloring Your Creations: For that iconic green Christmas tree hue, use food coloring. Gel food coloring is often preferred for meringues because it’s highly concentrated, allowing you to achieve rich, deep colors without adding excess liquid that could thin out the meringue consistency. If using liquid food coloring, add it sparingly, a drop at a time, mixing well after each addition until your desired shade is reached.
- The Art of Slow Baking: Meringues aren’t “baked” in the traditional sense; they are slowly dried out in a low-temperature oven. This gentle process removes moisture, resulting in that wonderfully crisp yet airy texture. Resist the urge to rush this step by increasing the oven temperature. A low and slow approach is key to preventing browning and ensuring a perfectly crisp meringue.
- Piping for Perfect Shapes: While not strictly necessary, a piping bag fitted with a star tip (like a Wilton 1M or 2D for classic swirls, or a #199 tip for distinct tiers) makes forming the Christmas tree shape much easier and more consistent. If you don’t have a piping bag, you can try using a Ziploc bag with the corner snipped off for a simpler, rustic look, though achieving defined tree shapes will be more challenging.
- Bite-Sized Delights: This recipe is designed to yield approximately 60 small, bite-sized meringue trees, perfect for a party platter or individual enjoyment. Adjust sizing based on your preference, keeping in mind that larger meringues may require a slightly longer drying time.
- Ingredient Substitutes: Please note that this recipe has not been tested with sugar substitutes or egg white substitutes. The unique chemical properties of real egg whites and granulated sugar are fundamental to meringue structure, so results with substitutes cannot be guaranteed.
Simple Ingredients for Your Festive Meringues
Gathering your ingredients is the first step to creating these delightful Christmas treats. You’ll find everything you need is readily available, ensuring a stress-free baking experience.
- Fresh Large Egg Whites
- Granulated Sugar
- Vanilla Extract, Peppermint Extract, or Mint Extract (Optional, for flavoring)
- Green Food Coloring (Gel food coloring is recommended for best color saturation)
- Festive Sprinkles and Small Star Candies (for decorating)
Step-by-Step Guide: How to Make Adorable Meringue Christmas Trees
Creating these festive Meringue Christmas Trees is a delightful process. Follow these detailed instructions to bring your edible holiday decorations to life.
- Prepare Your Baking Station: Begin by preheating your oven to a low 200°F (95°C). Line a large baking sheet with parchment paper, which will prevent sticking and make for easy cleanup.
- Whip the Egg Whites: Carefully separate your egg whites from the yolks, ensuring no trace of yolk enters the whites. Place the egg whites into a medium-sized mixing bowl, or ideally, the bowl of a stand mixer. Whisk them on medium speed until they become frothy and slightly opaque, resembling light foam. While a hand whisk can work, an electric mixer simplifies this step considerably.
- Gradually Add Sugar: With the mixer running on high speed, gradually add the granulated sugar, about half a cup at a time. Continue to whisk for several minutes until the mixture transforms into a thick, glossy meringue that has the consistency of shaving cream. It’s crucial not to rush this step; patience ensures a stable meringue.
- Check for Stiff Peaks: The meringue is ready when it forms “stiff peaks.” This means when you lift the whisk out of the mixture, the meringue holds its shape firmly, creating a peak that stands upright without drooping. This indicates enough air has been incorporated and the sugar has fully dissolved.
- Infuse Color and Flavor: At this stage, add a few drops of green food coloring. Mix thoroughly until the color is evenly distributed throughout the meringue, achieving your desired shade of green. If you’re adding any optional flavorings like vanilla, peppermint, or mint extract, stir them in now.
- Prepare for Piping: Transfer the vibrant green meringue into a piping bag fitted with your chosen tip. For multi-tiered Christmas trees, a #199 star tip works beautifully, creating distinct layers. For a continuous swirl tree, a larger open star tip (like Wilton 1M) is excellent.
- Pipe Your Trees:
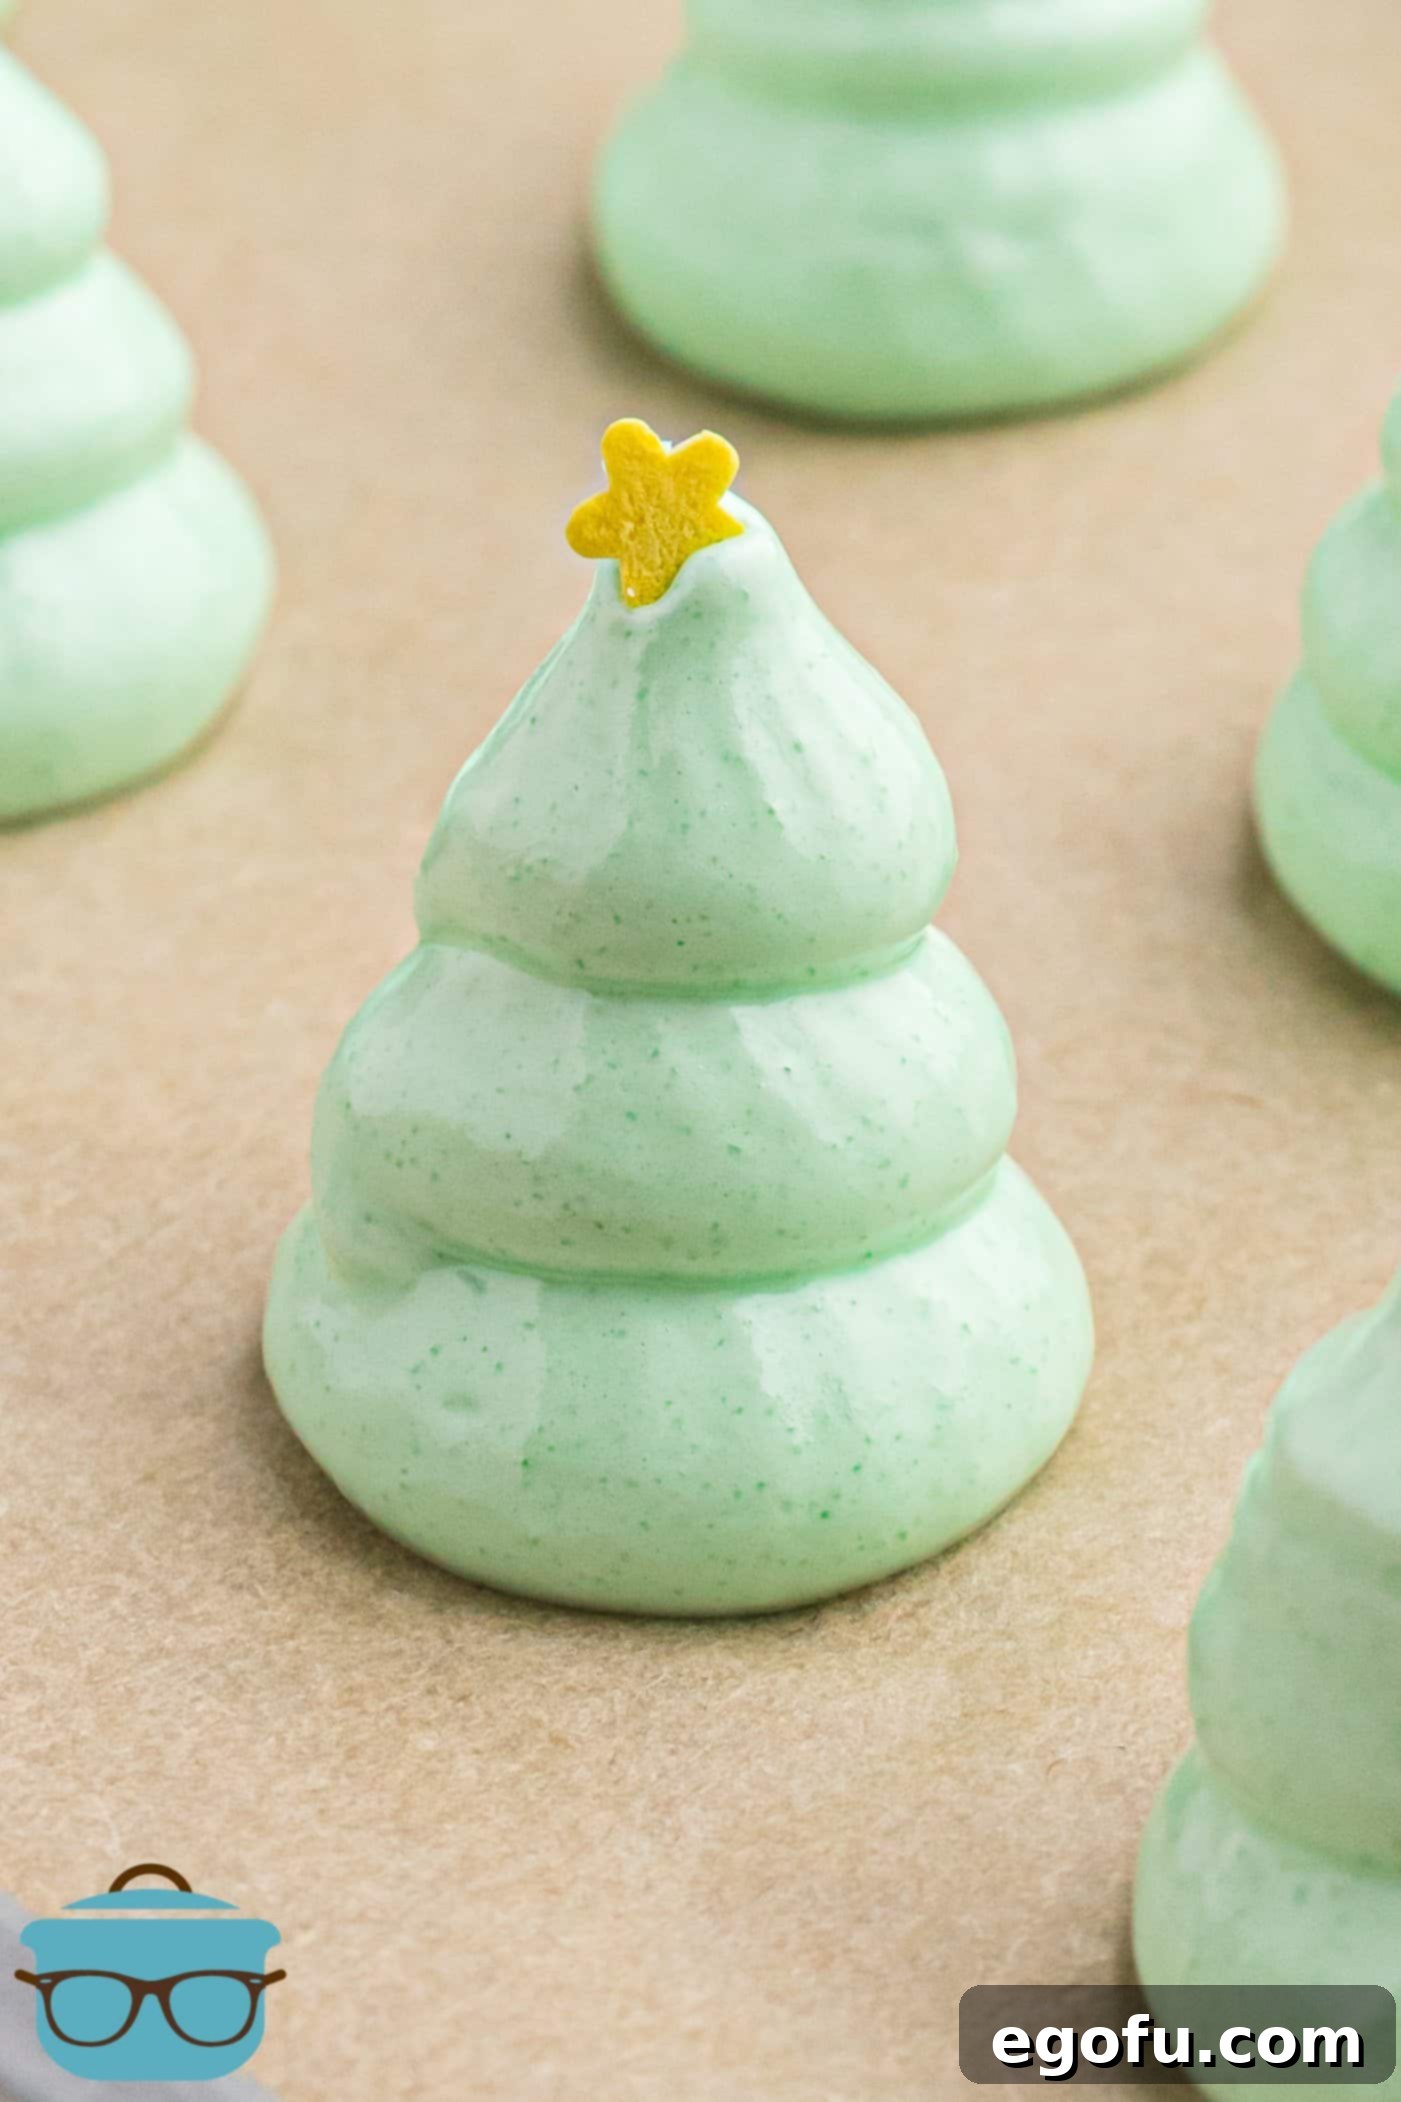
- For Tiered Trees: On the prepared parchment-lined baking sheet, start by piping a small dollop for the base. Without completely lifting the tip from the bottom tier, pipe a second, slightly smaller dollop directly on top, and repeat for a third, even smaller tier to create the classic tree shape. Then, gently pull the piping bag away.
- For Swirled Trees: Begin at the base and pipe in a continuous, upward spiral, gradually decreasing the size of the swirl as you move towards the top. Finish with a gentle pull upward to create a pointed tip, mimicking the peak of a Christmas tree.
- Decorate with Festive Toppings: Once your trees are piped, gently place a small star candy on the very top of each one. Then, generously sprinkle them with your favorite festive sprinkles to add extra sparkle and holiday cheer.
- Slow Bake to Perfection: Carefully place the baking sheet into your preheated 200°F (95°C) oven. Bake for approximately 45 minutes. It is crucial NOT to open the oven door during this baking period, as changes in temperature can cause the meringues to crack or deflate.
- Cool for Crispiness: After 45 minutes, turn off the oven. Crucially, leave the oven door slightly ajar (using a wooden spoon or oven mitt to prop it open) for at least two hours. For the crispiest results, you can even leave the door cracked until the oven completely cools, then close it and leave the meringues inside overnight. Meringues thrive in a dry environment and this slow cooling process ensures they become perfectly crisp and dry throughout.
- Storage: Once completely cooled and crisp, store your Meringue Christmas Trees in an airtight container at room temperature, in a dry environment. Humidity is the enemy of meringues, so keep them sealed until ready to serve.

Variations and Customization Ideas
While green Christmas trees are traditional, don’t limit your creativity! You can easily adapt this recipe to create a variety of festive meringue shapes and colors:
- Color Palette: Use red food coloring for Santa hats, blue for snowflakes, or white for classic snowmen or angels. You can even create an assortment of colors for a rainbow display!
- Different Shapes: Experiment with different piping tips to create swirls, stars, or even small wreaths. Use cookie cutters as guides under parchment paper for other simple shapes.
- Flavor Enhancements: Beyond vanilla and peppermint, try almond extract for a nutty flavor, lemon extract for a zesty twist, or even a hint of cocoa powder for chocolate meringues (though cocoa can affect structure slightly).
- Decorator’s Delight: Instead of star candies, use edible glitter, mini chocolate chips, or even finely crushed candy canes for a different texture and flavor.
Serving and Storage Suggestions
These Meringue Christmas Trees are versatile and delightful. Serve them as:
- Standalone Treats: Their light and crisp texture makes them perfect for snacking or as a light dessert after a rich meal.
- Dessert Toppers: Use them to decorate cakes, cupcakes, hot cocoa, or even a bowl of ice cream for an extra festive touch.
- Holiday Platters: Arrange them on a platter with other cookies and candies for an inviting holiday spread.
- Homemade Gifts: Package a selection of these beautiful meringues in clear bags or festive boxes tied with a ribbon for charming edible gifts.
To keep your meringues perfectly crisp, store them in an airtight container at room temperature. The key is to protect them from moisture and humidity, which can make them sticky and chewy. When stored properly, they can last for up to two weeks, making them ideal for preparing in advance of your holiday celebrations.
More Festive Recipes to Brighten Your Holidays
Looking for more delicious ways to celebrate the season? Explore these other fantastic holiday recipes that are sure to bring joy and sweetness to your table.
- Christmas Tree Linzer Cookies
- Holiday Blondie Bars
- Butterscotch Haystacks
- Rice Krispies Christmas Wreaths
- Santa Hat Mini Cheesecakes
- Crock Pot Candy
- Sweet Holiday Chex Mix
- Homemade Peanut Brittle
- Christmas Jell-O Poke Cake
- Christmas Crack
- Ultimate Christmas Recipe Roundup
- Vanilla Macarons with Buttercream Filling

Meringue Christmas Trees
Print
Pin
Rate
35
45
1 20
60
Brandie Skibinski
Ingredients
- 3 large egg whites
- 1 cup sugar
- ½ teaspoon vanilla extract, peppermint or mint extract (optional)
- 4-5 drops green food coloring
- sprinkles and star shapes, for decorating
Instructions
- Preheat oven to 200F degrees. Line a large baking sheet with parchment paper.
- Put egg whites into a medium bowl (or the bowl of a stand mixer.) Whisk the egg whites until they begin to look frothy. This can be done by hand with a whisk but is easier if you use the whisk attachment on a stand mixer.
- Add in sugar, half a cup at a time, and whisk on high speed. It should begin to have the consistency of shaving cream. It does take a few minutes, so don’t quit too early!
- Add in a few drops of green food coloring, mixing the color evenly. Also, If you are using any kind of flavoring, stir it in at this point. The meringue should form “stiff peaks.” When you remove the whisk, it will hold its shape.
- Fill a piping bag using a star tip or for the 3 tier trees, use a #199 tip.
- To form tier trees, pipe onto the parchment lined baking sheet or on top of a silicone baking mat. Begin by adding a small dollop and without lifting the tip completely apart from the bottom tier, begin a second tier and repeat for the top, before pulling the bag away from the tree.
- If using a star tip, start at the bottom and go in a continuous circle building up as you go, pull up on the top of your swirls to create the tip of the tree.
- Once you have piped your trees, gently place a small star on top of each one. And sprinkle on any type of festive sprinkles.
- After the sprinkles have been added to the trees, place them in the preheated oven and bake for 45 minutes, without opening the oven door.
- Once done, turn off the oven, and leave the door cracked for at least another two hours. You can also leave the door cracked until the oven cools, then close it, and leave them in the oven overnight. Meringues do well and stay crisp in a dry environment.
- Store covered in an airtight container and in a dry environment.
Notes
- Meringues only require egg whites and sugar. The key to success is in the mixing process to incorporate enough air. An electric mixer is highly recommended for ease and consistency.
- Consider adding ½ teaspoon of vanilla, peppermint, or mint extract for enhanced flavor.
- Whipping until stiff peaks form is crucial for light and fluffy meringues. This takes patience but is essential.
- Gel food coloring provides the best color without thinning the meringue. Use liquid coloring sparingly.
- Bake meringues at a low temperature (200°F) to dry them out slowly, ensuring a crispy texture without browning.
- While a piping bag isn’t strictly necessary, it greatly simplifies creating the desired tree shape.
- This recipe has not been tested with sugar or egg substitutes, so results may vary.
- This recipe yields about 60 small, bite-sized meringue trees.
Candy, Dessert
American, French
Nutrition
Calories:
14
kcal
|
Carbohydrates:
3
g
|
Protein:
1
g
|
Fat:
1
g
|
Sodium:
3
mg
|
Sugar:
3
g
Nutritional Disclaimer
“The Country Cook” is not a dietician or nutritionist, and any nutritional information shared is an estimate. If calorie count and other nutritional values are important to you, we recommend running the ingredients through whichever online nutritional calculator you prefer. Calories and other nutritional values can vary quite a bit depending on which brands were used.
Did you make this recipe?
Share it on Instagram @thecountrycook and mention us #thecountrycook!
