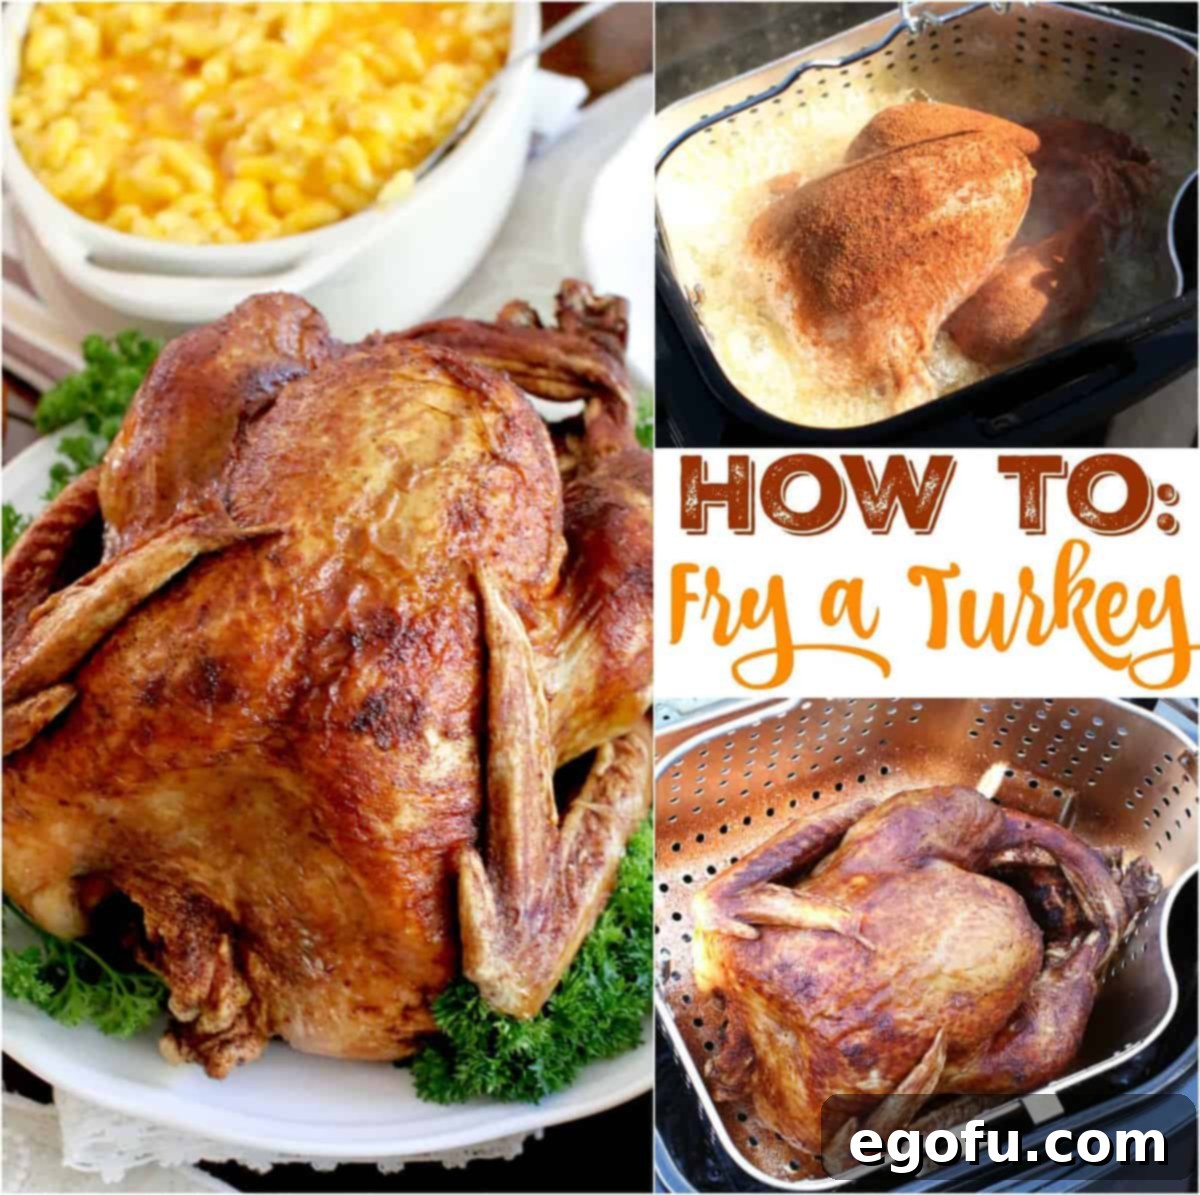
Master the art of frying a turkey with our comprehensive, step-by-step guide. Discover expert tips for safe thawing, optimal seasoning, and achieving that perfect, crispy skin and incredibly juicy meat using an electric turkey fryer. Get ready to elevate your holiday meal!
Achieve Culinary Perfection: The Ultimate Guide to Frying a Turkey with an Electric Fryer
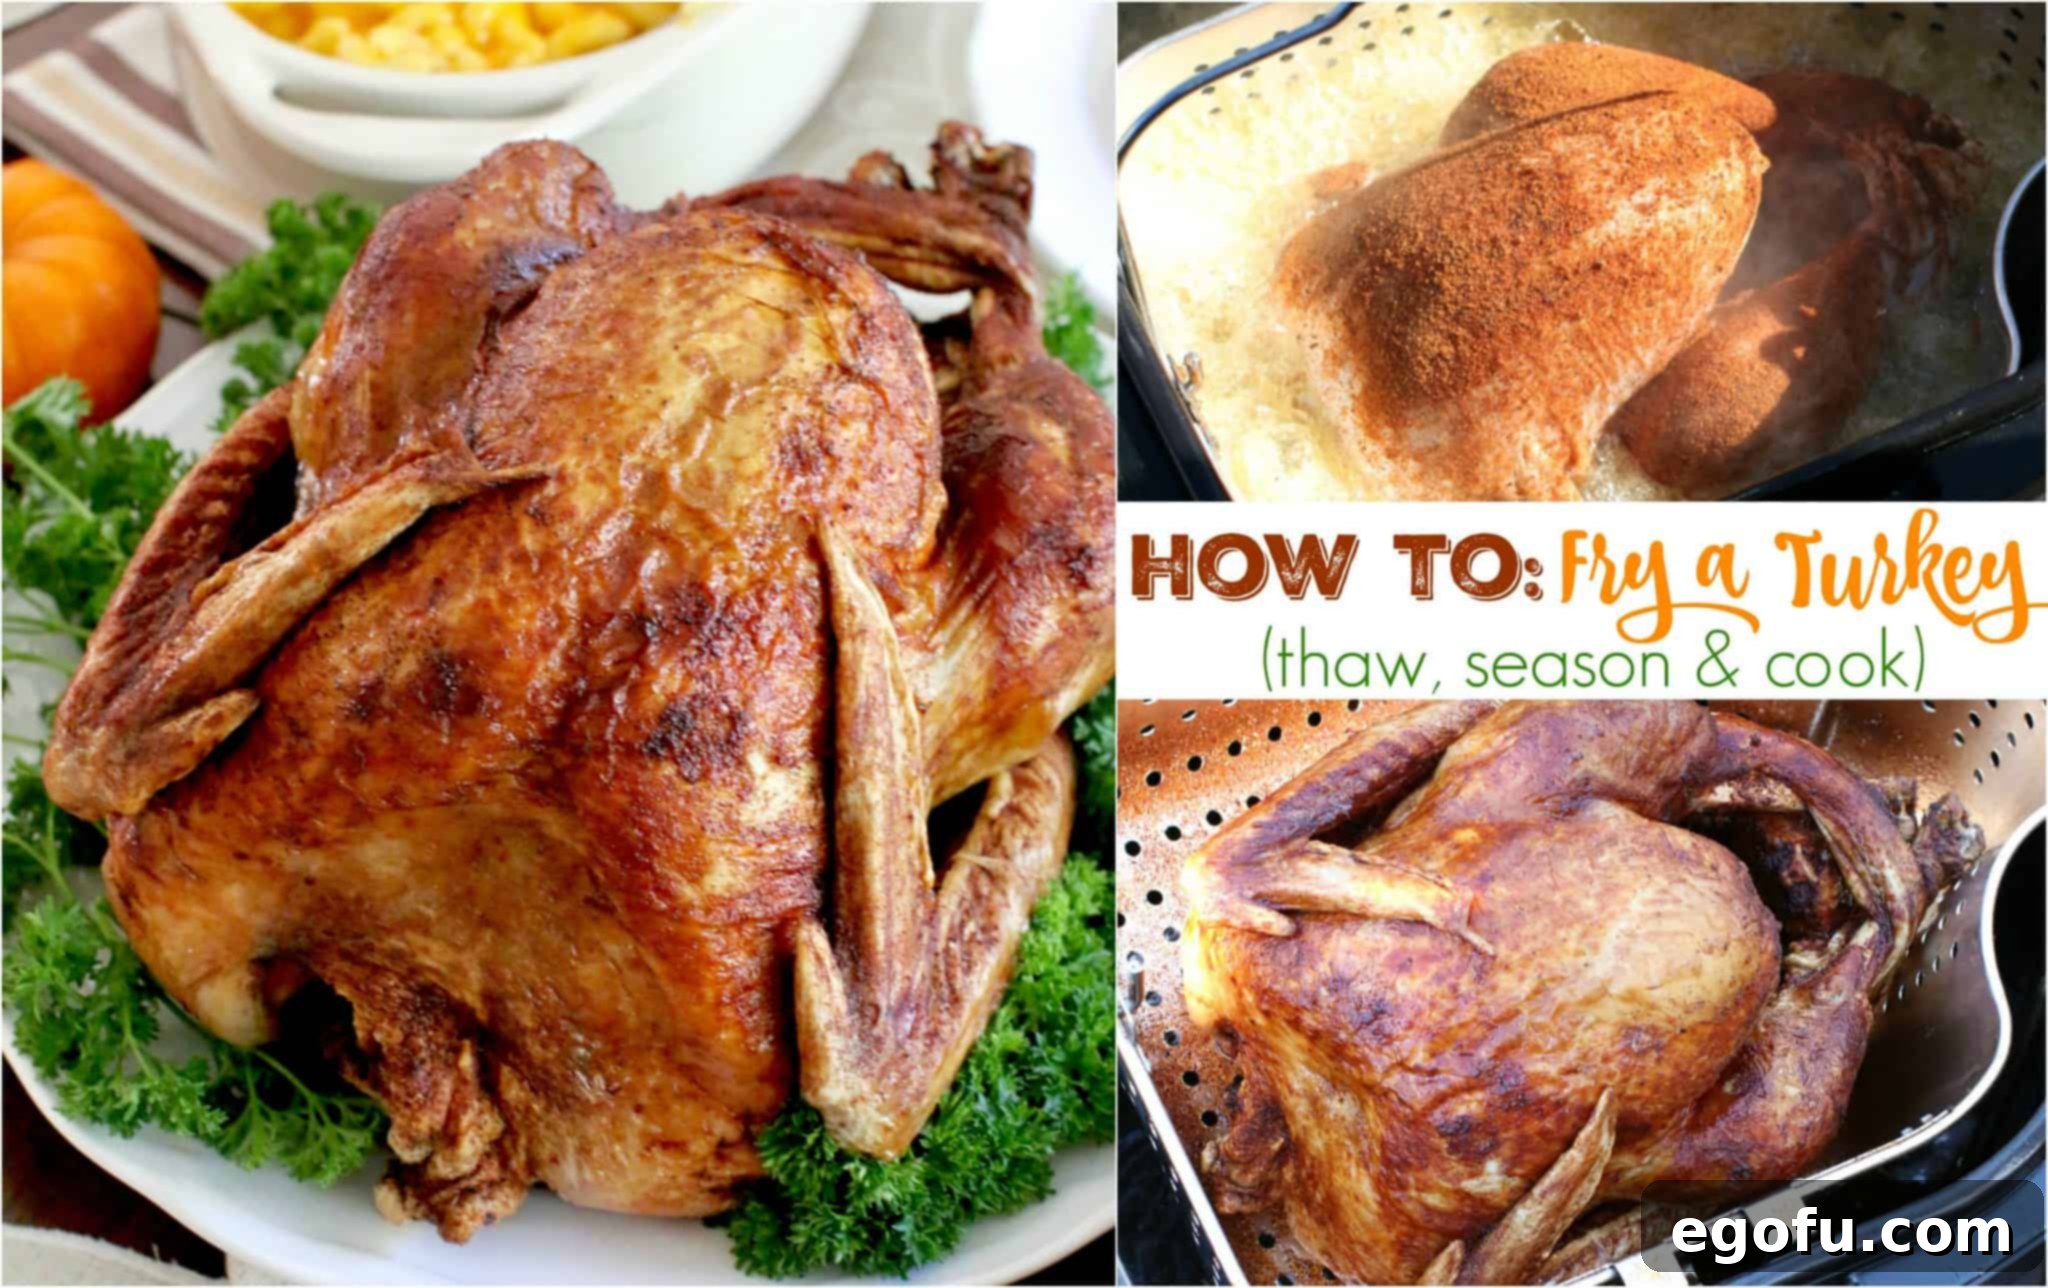
There’s a reason deep-fried turkey has become a beloved holiday tradition for many families. Beyond its impressive golden-brown, irresistibly crispy skin, the meat emerges incredibly moist and tender, far surpassing what you might achieve with traditional roasting. Plus, it cooks significantly faster, freeing up your oven for other festive dishes. If you’ve been hesitant to try it, fear not! Using an electric turkey fryer makes the process safer, simpler, and more accessible than ever before. This guide will walk you through every essential step, from choosing your bird to serving a show-stopping main course.
Choosing the Right Turkey for Frying
The journey to a perfect fried turkey begins with selecting the right bird. Most turkeys available are sold frozen, especially around major holidays like Thanksgiving and Christmas. You might find fresh turkeys at specialty butchers or grocery stores, which can save you thawing time. However, a quality frozen turkey works just as wonderfully.
- Size Matters: Electric turkey fryers typically accommodate turkeys up to 18-20 pounds. Always check your specific fryer’s capacity to ensure a safe and successful fry. A turkey that’s too large can cause oil overflow, which is extremely dangerous.
- Fresh vs. Frozen: If opting for fresh, ensure it’s truly fresh and hasn’t been previously frozen. For frozen turkeys, factor in adequate thawing time.
- Self-Basting Turkeys: Some turkeys come pre-basted with solutions. While these can still be fried, their skin might not get quite as crispy as a non-basted bird. For optimal results, a plain, un-basted turkey is often preferred for deep frying.
STEP 1: Thaw Your Turkey Safely and Completely
Thawing is arguably the most critical step in turkey frying. A partially frozen turkey can cause hot oil to violently overflow, leading to serious burns and potential fires. Plan ahead to ensure your turkey is fully thawed before it ever gets near the fryer.
Traditional Refrigerator Thawing (Recommended)
This is the safest and most recommended method for thawing a turkey. It requires patience but minimal effort.
- Timing is Key: Estimate approximately one day of thawing for every 4 pounds of turkey. So, a 16-pound turkey will need about 4 days in the refrigerator.
- Preparation: Keep your turkey in its original wrapper and place it on a tray or in a large pan to catch any drips. This prevents cross-contamination with other foods in your fridge.
- Placement: Position the turkey on the lowest shelf of your refrigerator to avoid any potential drips onto other items.
- Patience: Allow the turkey to thaw slowly and steadily. A gradual thaw helps maintain the turkey’s texture and juiciness.
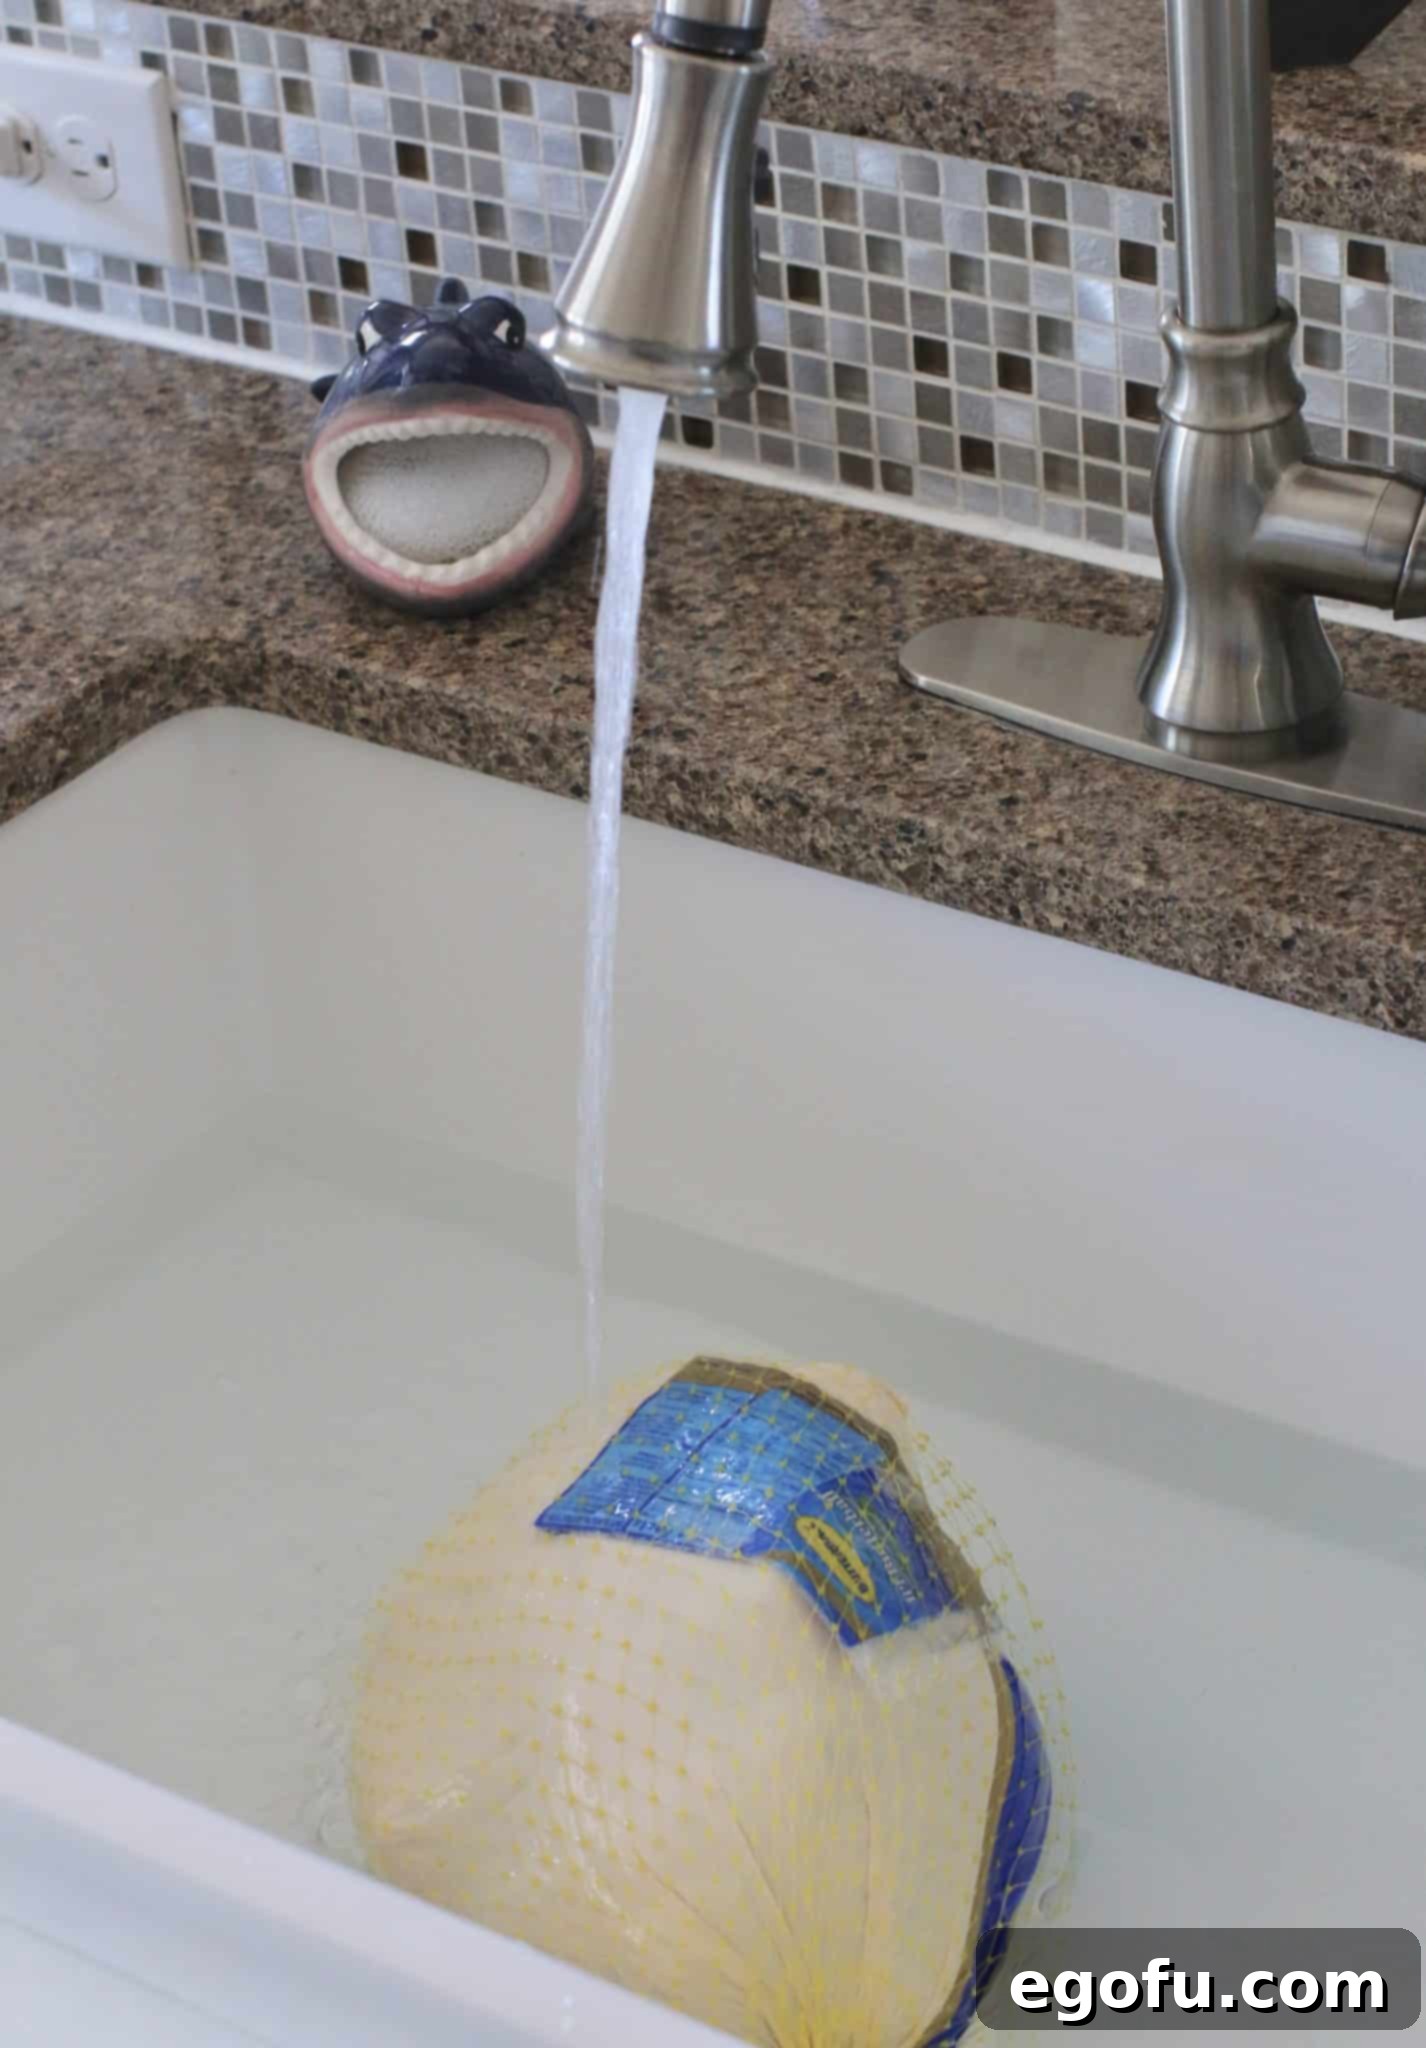
Rapid Thawing with the Cold Water Method
If you’ve found yourself in a time crunch and forgotten to thaw your turkey days in advance, the cold water method can save the day. However, it requires active attention and strict adherence to safety guidelines.
- Sink Preparation: Ensure your kitchen sink is thoroughly cleaned and sanitized. Remove all dirty dishes. Insert the drain plug.
- Cold Water Only: Fill the sink with cold tap water. It’s crucial that the water remains cold to keep the turkey out of the “danger zone” (40-140°F / 4.5-60°C) where bacteria multiply rapidly.
- Submersion: Place your turkey (still in its original, unopened wrapper) breast-side down into the cold water, making sure it is fully submerged.
- Water Changes: You must change the water every 30 minutes to ensure it stays cold and to facilitate even thawing.
- Timing: Estimate approximately 30 minutes of thawing time per pound of turkey. For example, a 10-pound turkey would take about 5 hours. This method is “quick” only in comparison to refrigerator thawing; it’s still a significant time commitment.
- Why Not Warm Water? Using warm water will thaw the exterior of the turkey too quickly, potentially allowing bacteria to grow, while the interior remains frozen. Stick to cold water for safety and proper thawing.
Regardless of the thawing method, before moving to the next step, double-check that your turkey is completely thawed by feeling for ice crystals in the cavity.
STEP 2: Set Up Your Electric Turkey Fryer and Add Oil
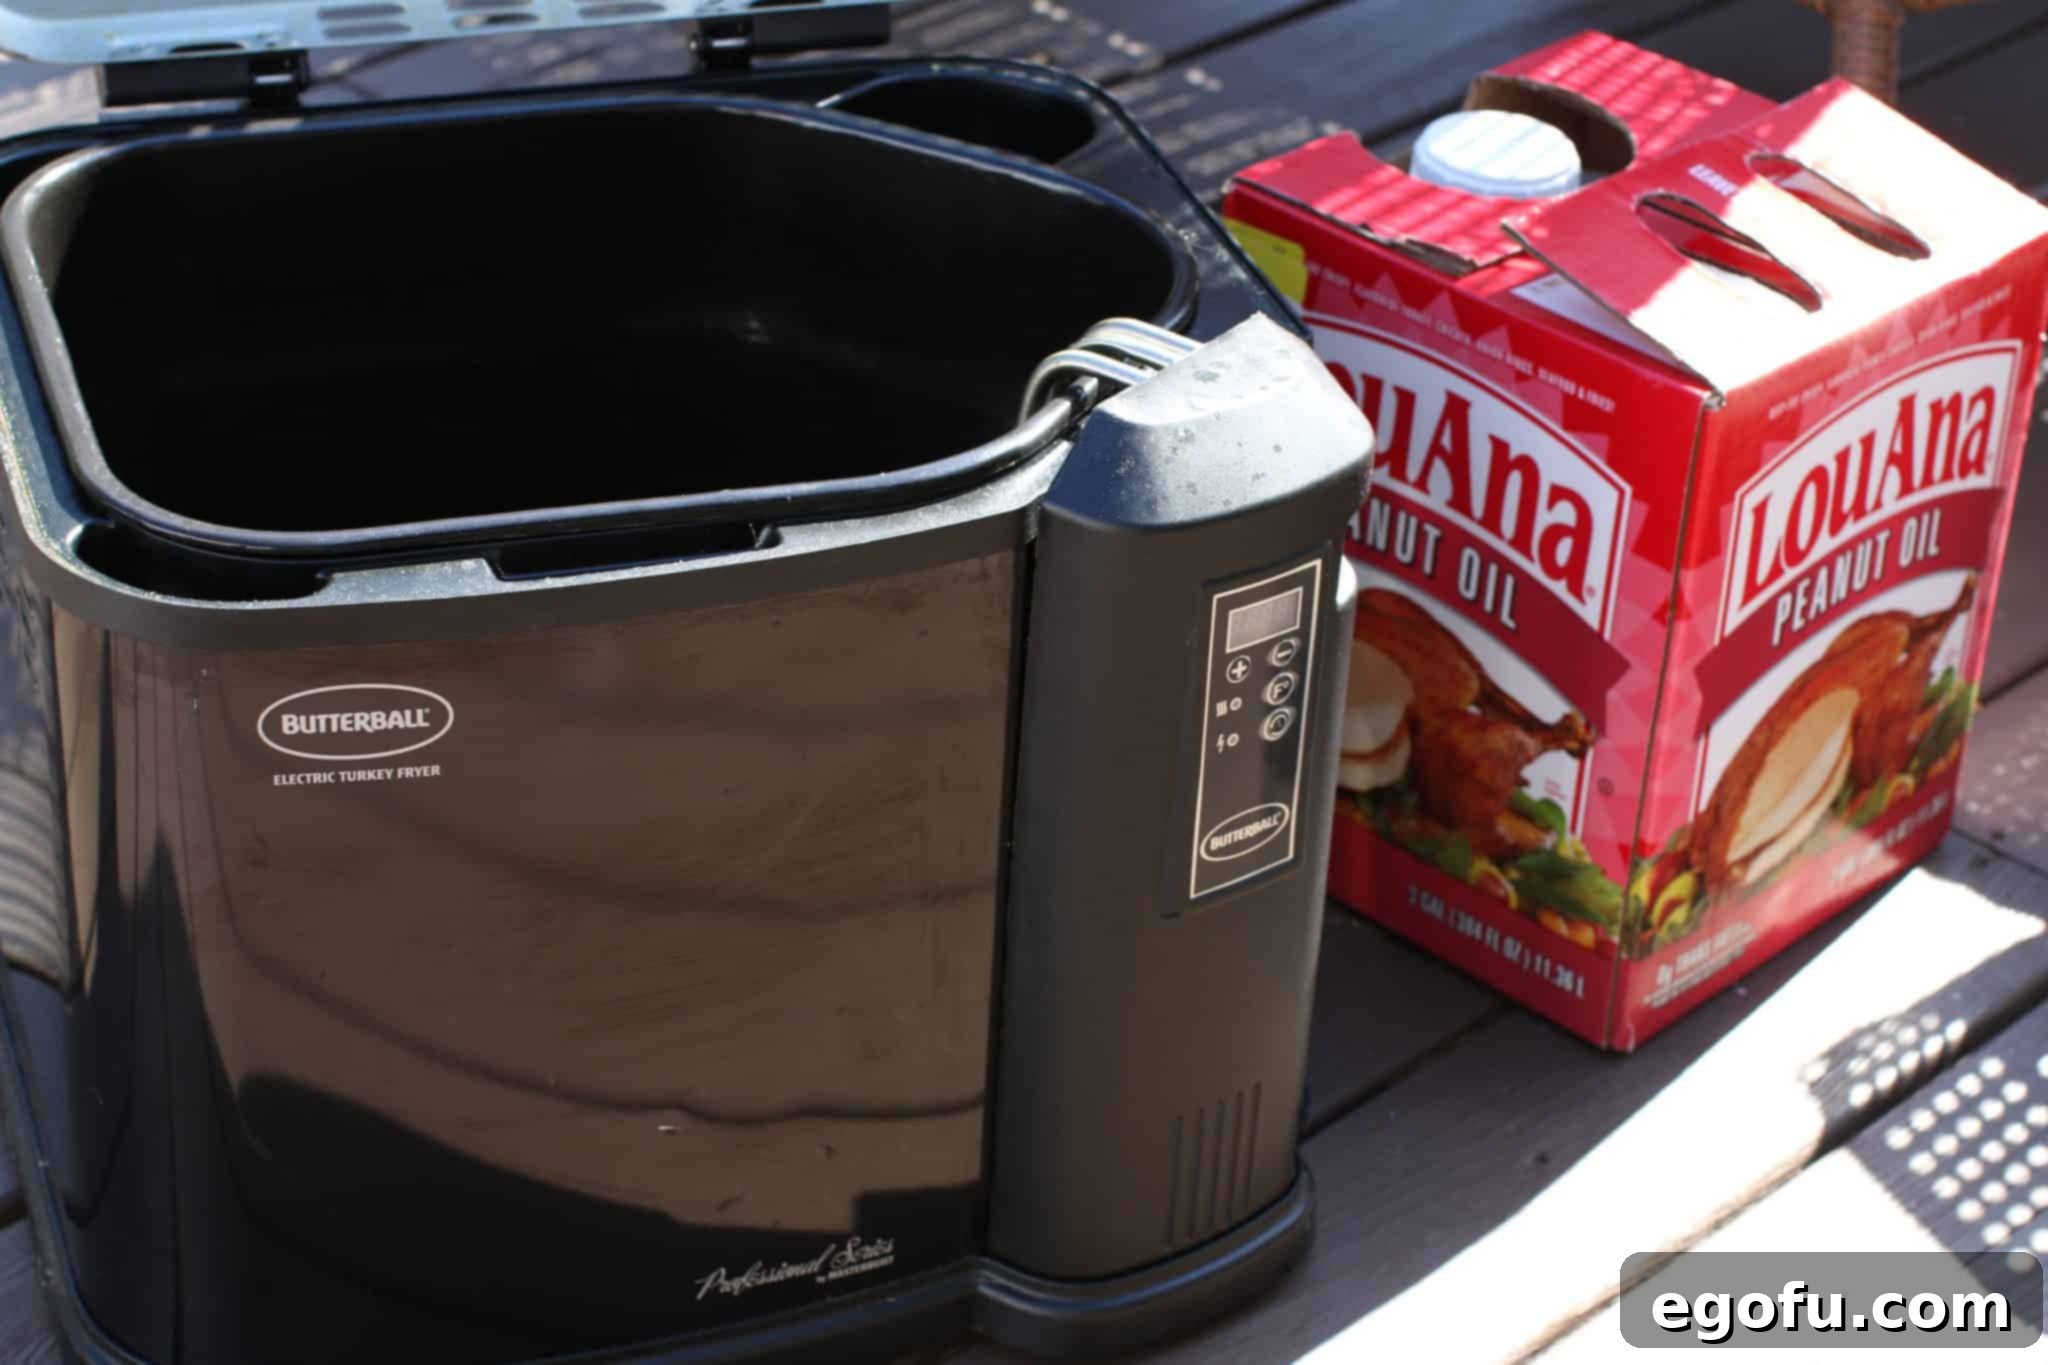
Modern electric turkey fryers have revolutionized the process, making it safer and more convenient for home cooks. Unlike propane fryers, many electric models are designed for indoor use, though ample ventilation is always recommended. We highly recommend models like the Butterball Indoor Electric Turkey Fryer by Masterbuilt (paid affiliate link), known for their safety features and consistent performance.
Why Choose an Electric Fryer?
- Enhanced Safety: Electric fryers eliminate the open flame and propane tanks associated with traditional outdoor fryers, significantly reducing the risk of grease fires.
- Indoor Use Capability: Many models are certified for indoor use, making them a great option for cold weather or limited outdoor space. However, always ensure good ventilation.
- Temperature Control: Digital controls allow for precise temperature regulation, ensuring your oil stays at the optimal frying temperature for consistent results.
- Versatility: These fryers aren’t just for turkey! You can easily fry chicken, wings, fish, or even homemade potato chips, getting maximum value out of your cooking oil.
Optimal Fryer Placement
Even with an electric fryer, thoughtful placement is crucial for safety and convenience:
- Indoors: If using indoors, choose a well-ventilated area, away from walls, cabinets, and flammable materials. A garage with an open door or a large kitchen with an exhaust fan are good options. Place it on a stable, flat surface.
- Outdoors: On a sturdy, non-combustible surface like concrete or brick, under a covered patio or porch (away from strong winds). Ensure it’s not near wooden structures, fences, or anything that could easily catch fire.
What Kind of Oil is Best for Frying a Turkey?
The type of oil you use plays a significant role in both flavor and safety. You need an oil with a high smoke point to withstand the high temperatures required for frying.
- Peanut Oil: This is the traditional choice and often considered the best due to its high smoke point (around 450°F / 232°C) and neutral flavor that won’t overpower the turkey. It also imparts a subtle, pleasant nuttiness. While sometimes more expensive, it’s widely available.
- Frying Oil Blends: Many brands offer vegetable oil blends specifically formulated for frying. These often combine oils like soybean, canola, and corn oil, providing a high smoke point and a more economical alternative to 100% peanut oil. They work wonderfully and are a great choice if you’re looking to save a bit.
- Other Options: Canola oil, sunflower oil, and grapeseed oil also have high smoke points and are suitable for frying turkey.
- Oils to Avoid: Steer clear of olive oil (especially extra virgin) and butter, as they have low smoke points and will burn quickly at frying temperatures, imparting an unpleasant flavor and potentially creating harmful compounds.
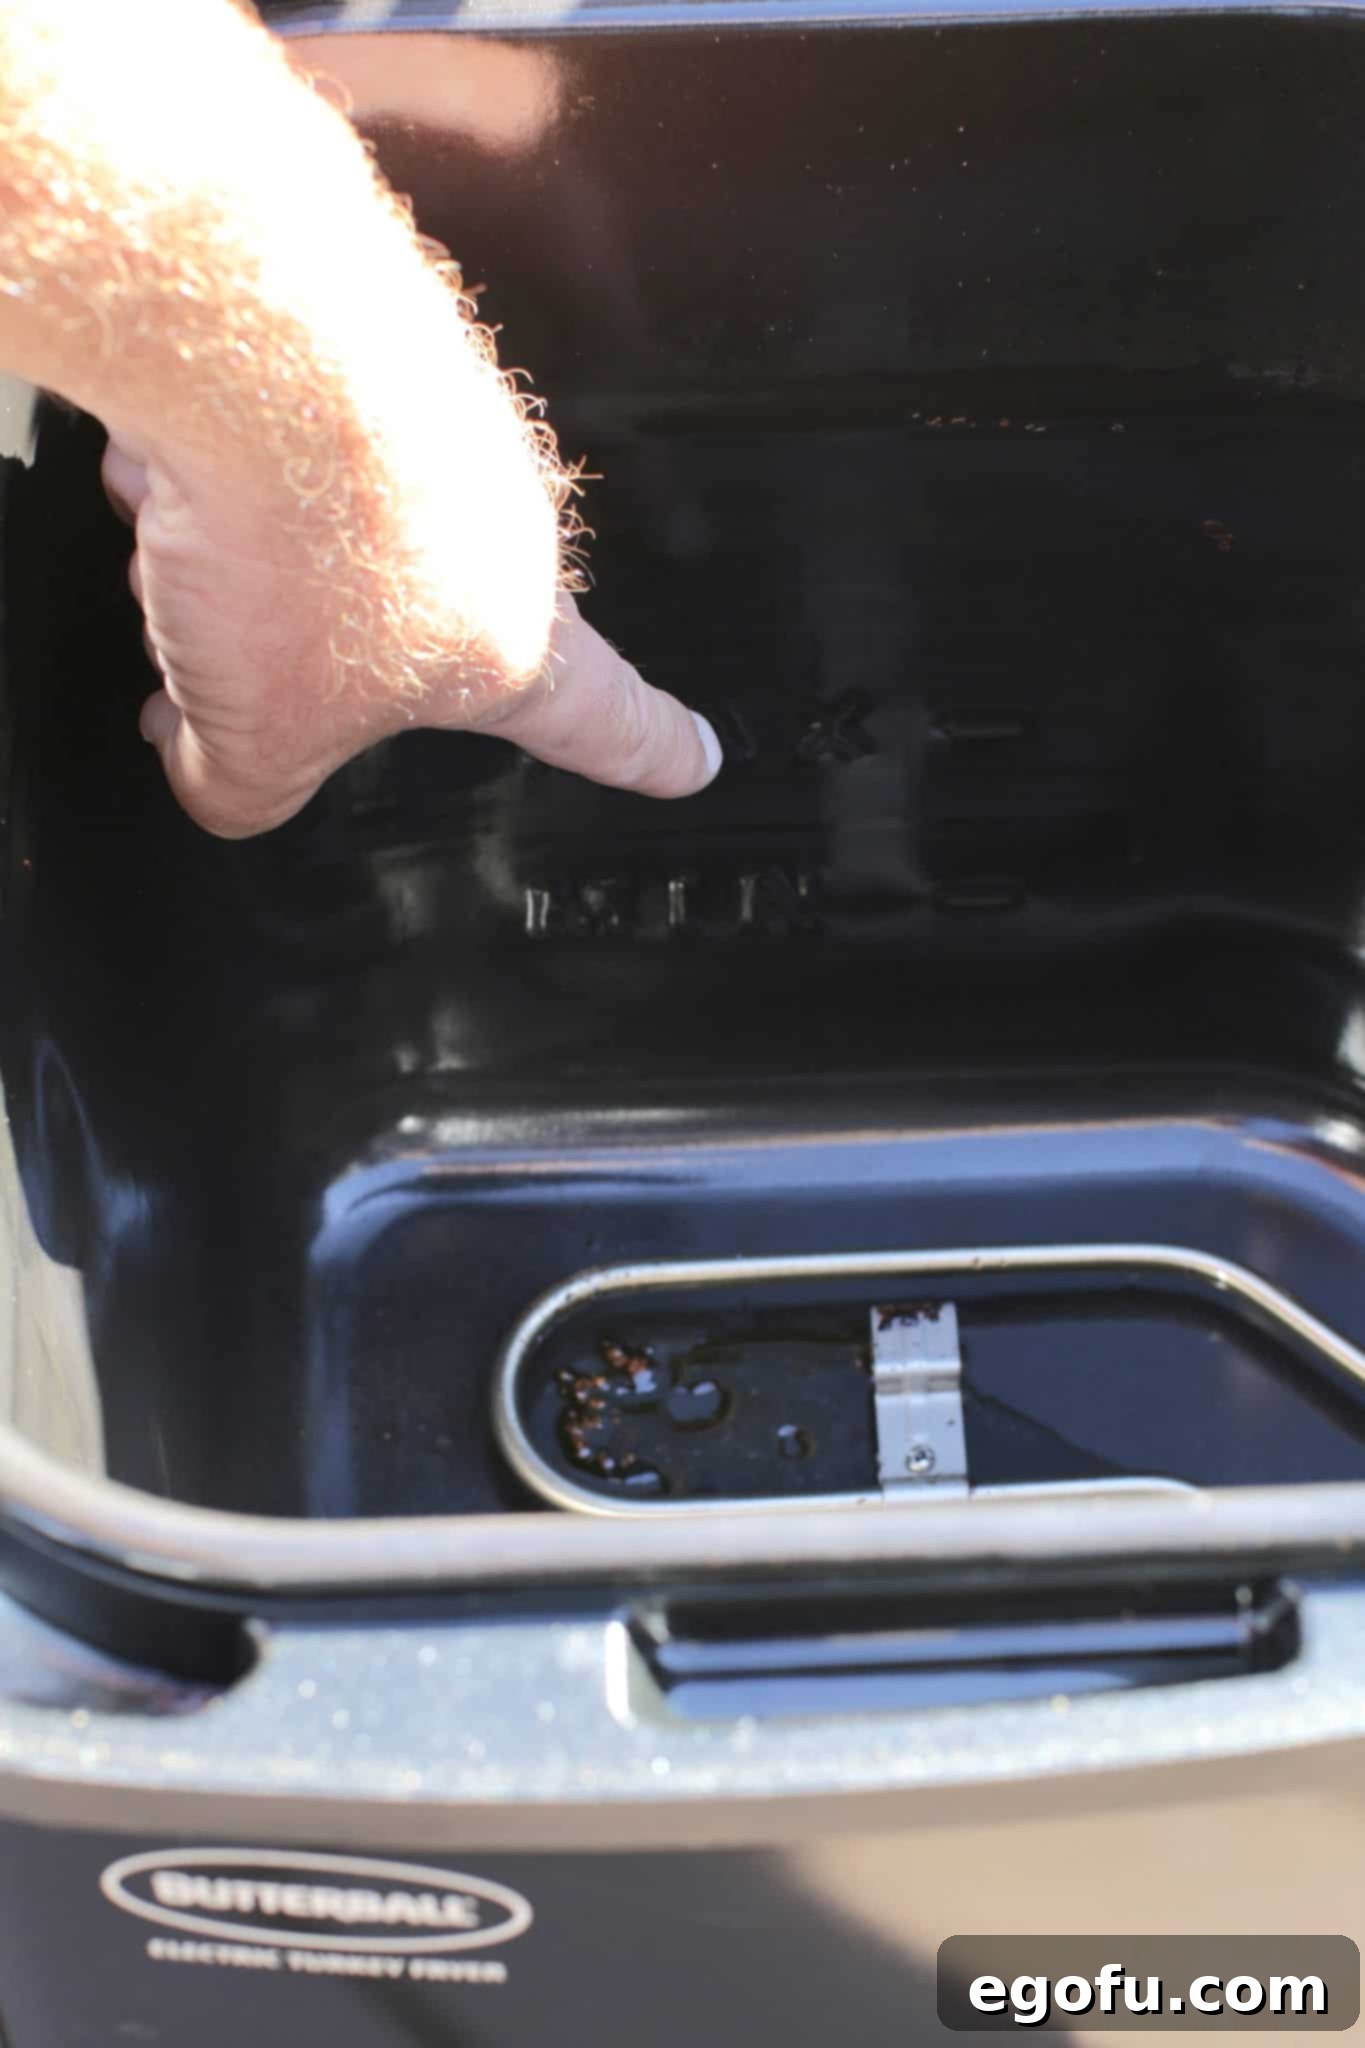
How Much Oil Should I Use? (Crucial Safety Step)
Determining the correct amount of oil is paramount to safe turkey frying. Too little, and your turkey won’t cook evenly; too much, and the oil will overflow when the turkey is submerged, creating a severe fire hazard.
- Use the Fill Line: Most indoor electric turkey fryers have a clearly marked “MAX FILL” line on the inside. This is your primary guide. Fill the fryer with oil up to this line. If your fryer has a basket, make sure to remove it before adding oil to reach the fill line. You’ll need the empty basket in your kitchen later for turkey prep.
- The Water Displacement Method (Recommended for first-timers or unmarked fryers): This method accurately determines the necessary oil volume.
- Place the empty frying basket inside your fryer.
- Carefully place your turkey (fully thawed and unwrapped) into the basket.
- Slowly add water to the fryer until the turkey is just covered by about 1 to 2 inches. Ensure the water level is well below the top rim of the fryer.
- Carefully remove the turkey from the water. Note the water level (or make a small, temporary mark on the inside of the fryer if it doesn’t have a fill line).
- Remove the turkey basket.
- Discard all the water and thoroughly dry the fryer and basket. Any residual water can cause severe oil splattering.
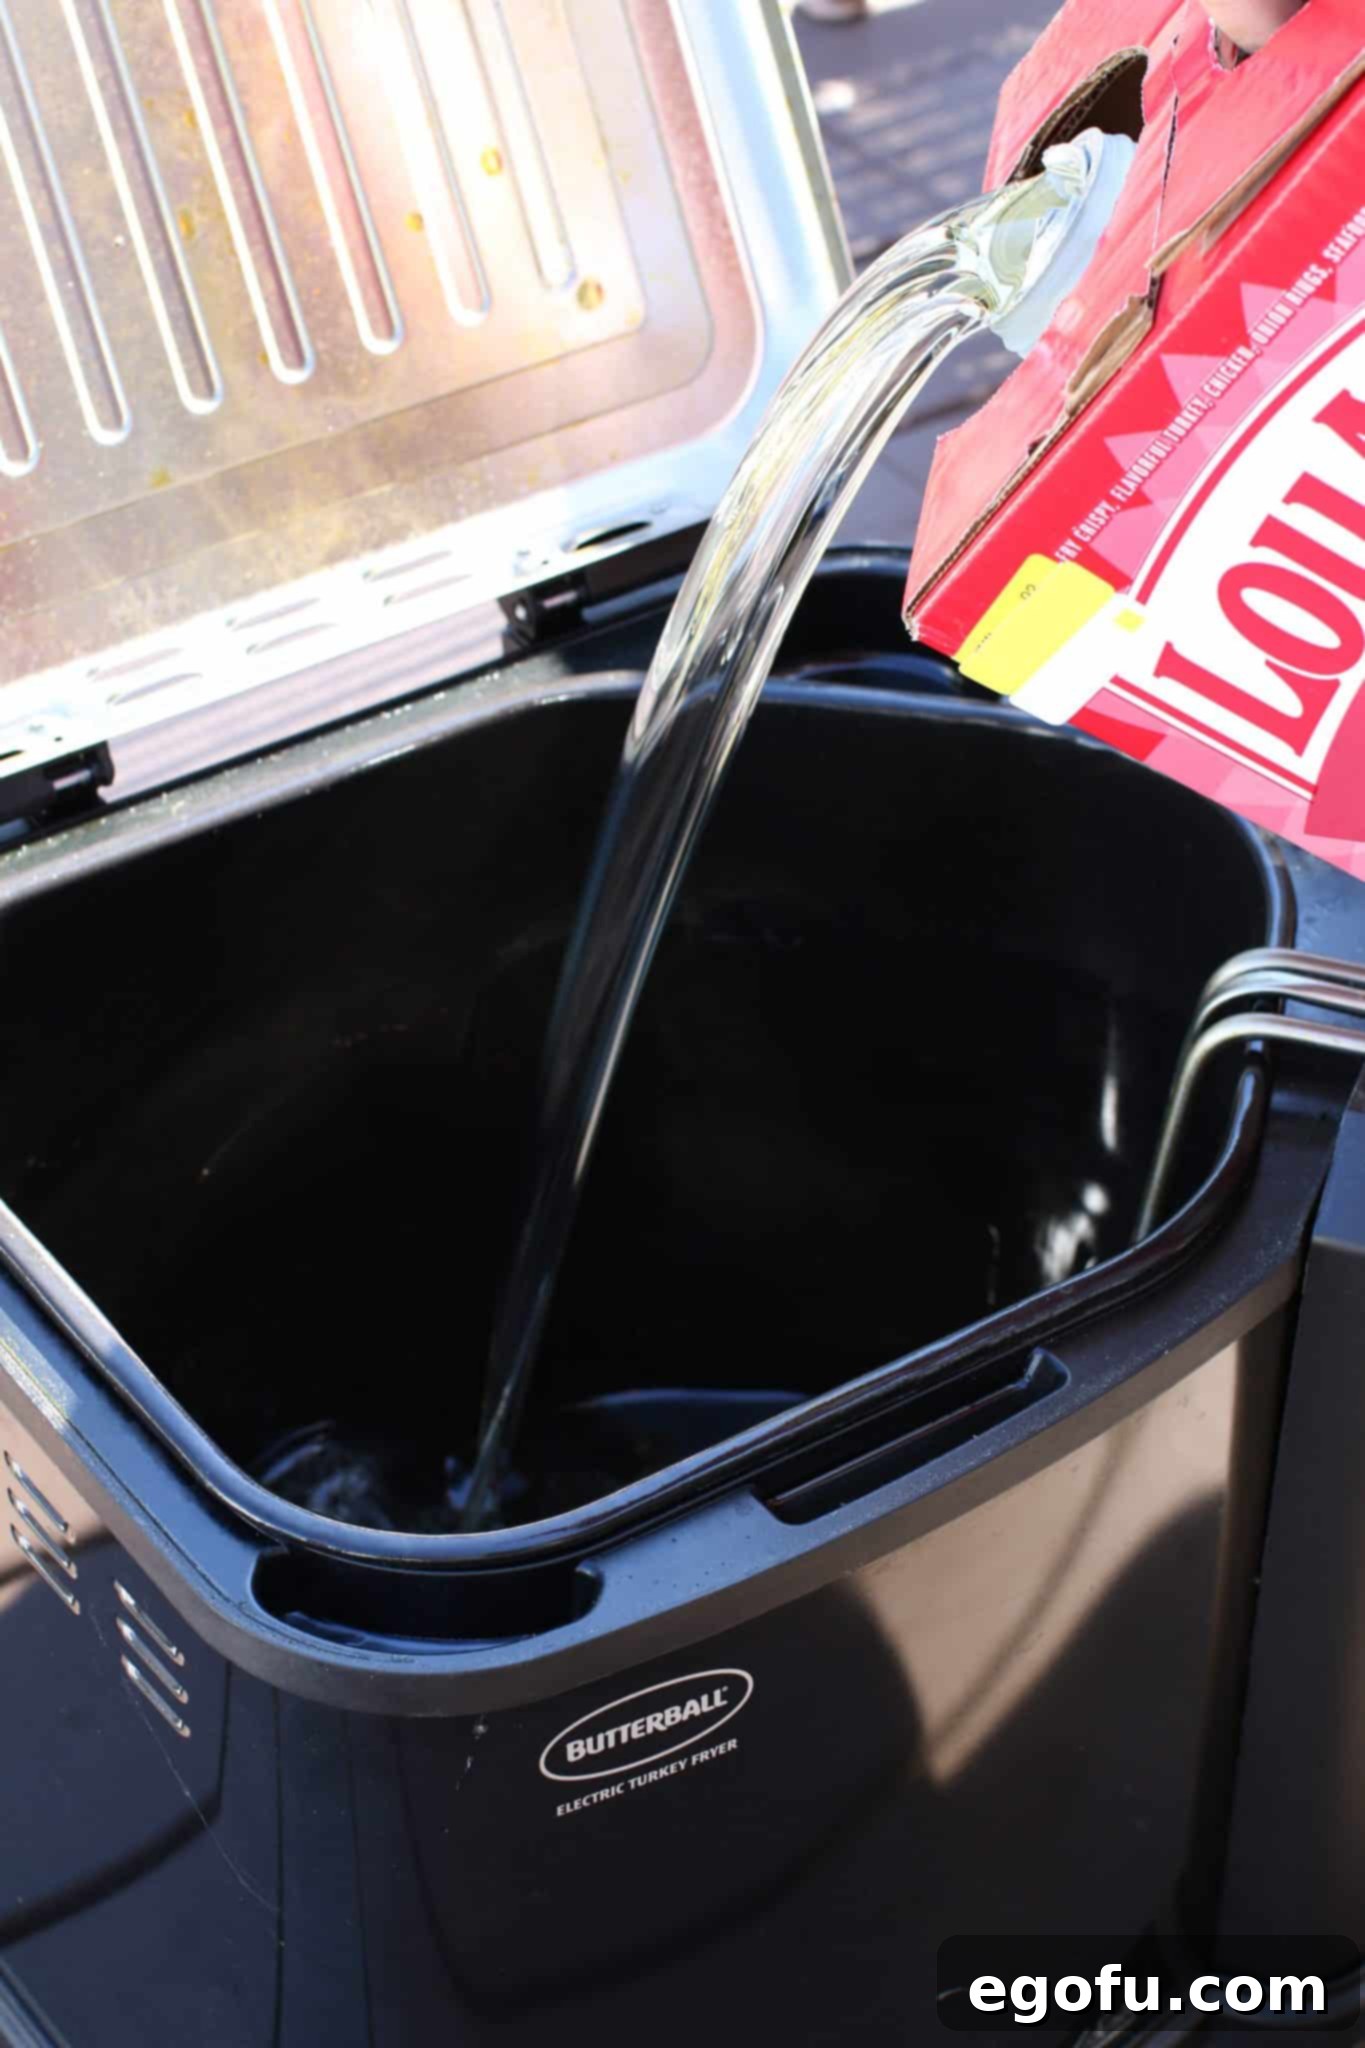
- Now, fill the fryer with oil up to the level you previously noted. This is the precise amount of oil needed for your turkey.
STEP 3: Preheat the Frying Oil
Preheating the oil is not a step to rush. Achieving the correct initial temperature is vital for the turkey to cook properly, developing that coveted crispy skin without overcooking the inside. This process often takes longer than you might anticipate.
- Allow Ample Time: We typically start heating the oil about an hour before we plan to prep and season the turkey for frying. Depending on your fryer and the volume of oil, it can take 45-60 minutes to reach the target temperature.
- Target Temperature: Most electric fryers have a maximum temperature of 375°F (190°C), which is ideal for frying turkey. Set your fryer to this temperature. The oil temperature will drop slightly when the cold turkey is introduced, but starting high ensures it quickly recovers to the optimal cooking range.
- Close the Lid: Once you’ve added the oil, close the fryer lid. This helps the oil heat more efficiently and maintains a consistent temperature.
- Monitor Temperature: Your electric fryer will have a built-in thermometer or digital display. Trust this gauge to tell you when the oil is ready. Do not guess the temperature.
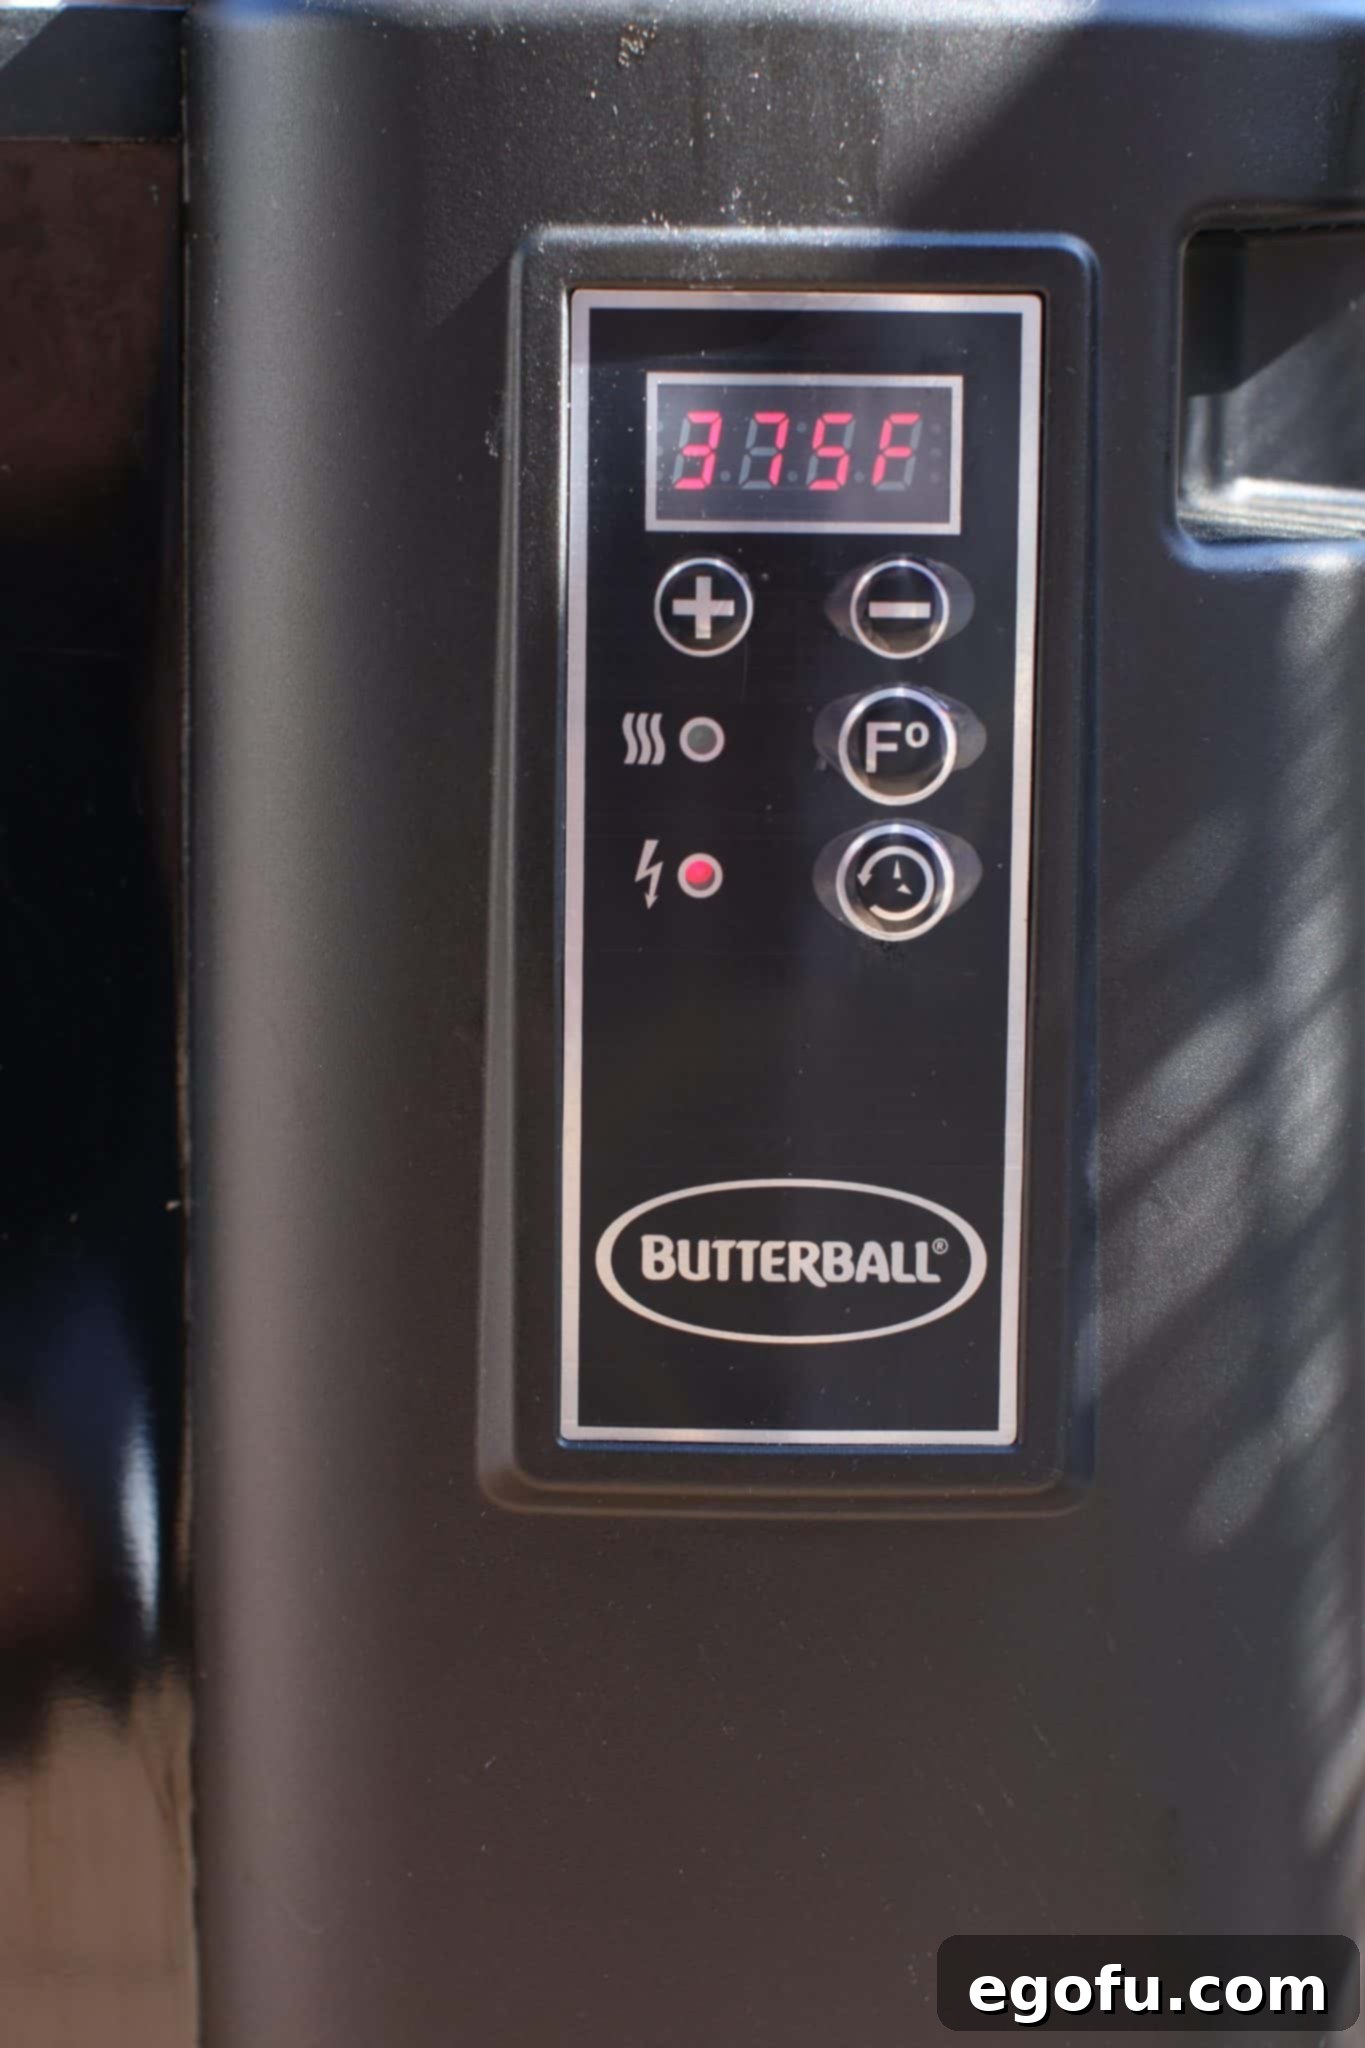
STEP 4: Season and Prepare the Turkey for Frying
While the oil is preheating, you can turn your attention to getting the turkey ready. Proper preparation here ensures both a delicious and safe frying experience.
Essential Turkey Preparation Steps:
- Unwrap and Remove Giblets: Take the thawed turkey out of its outer packaging. Reach into both the neck and body cavities to remove the giblets (liver, heart, gizzard, and neck). These are usually in a small bag, but occasionally they might be loose. You can save them for gravy or discard them.
- Crucial Drying Step: This cannot be stressed enough – pat the turkey completely dry, inside and out, with paper towels. Moisture is the enemy of hot oil. Even a small amount of water on the turkey’s surface will cause the oil to splatter violently, posing a serious safety risk. Continue patting until the skin feels dry to the touch.
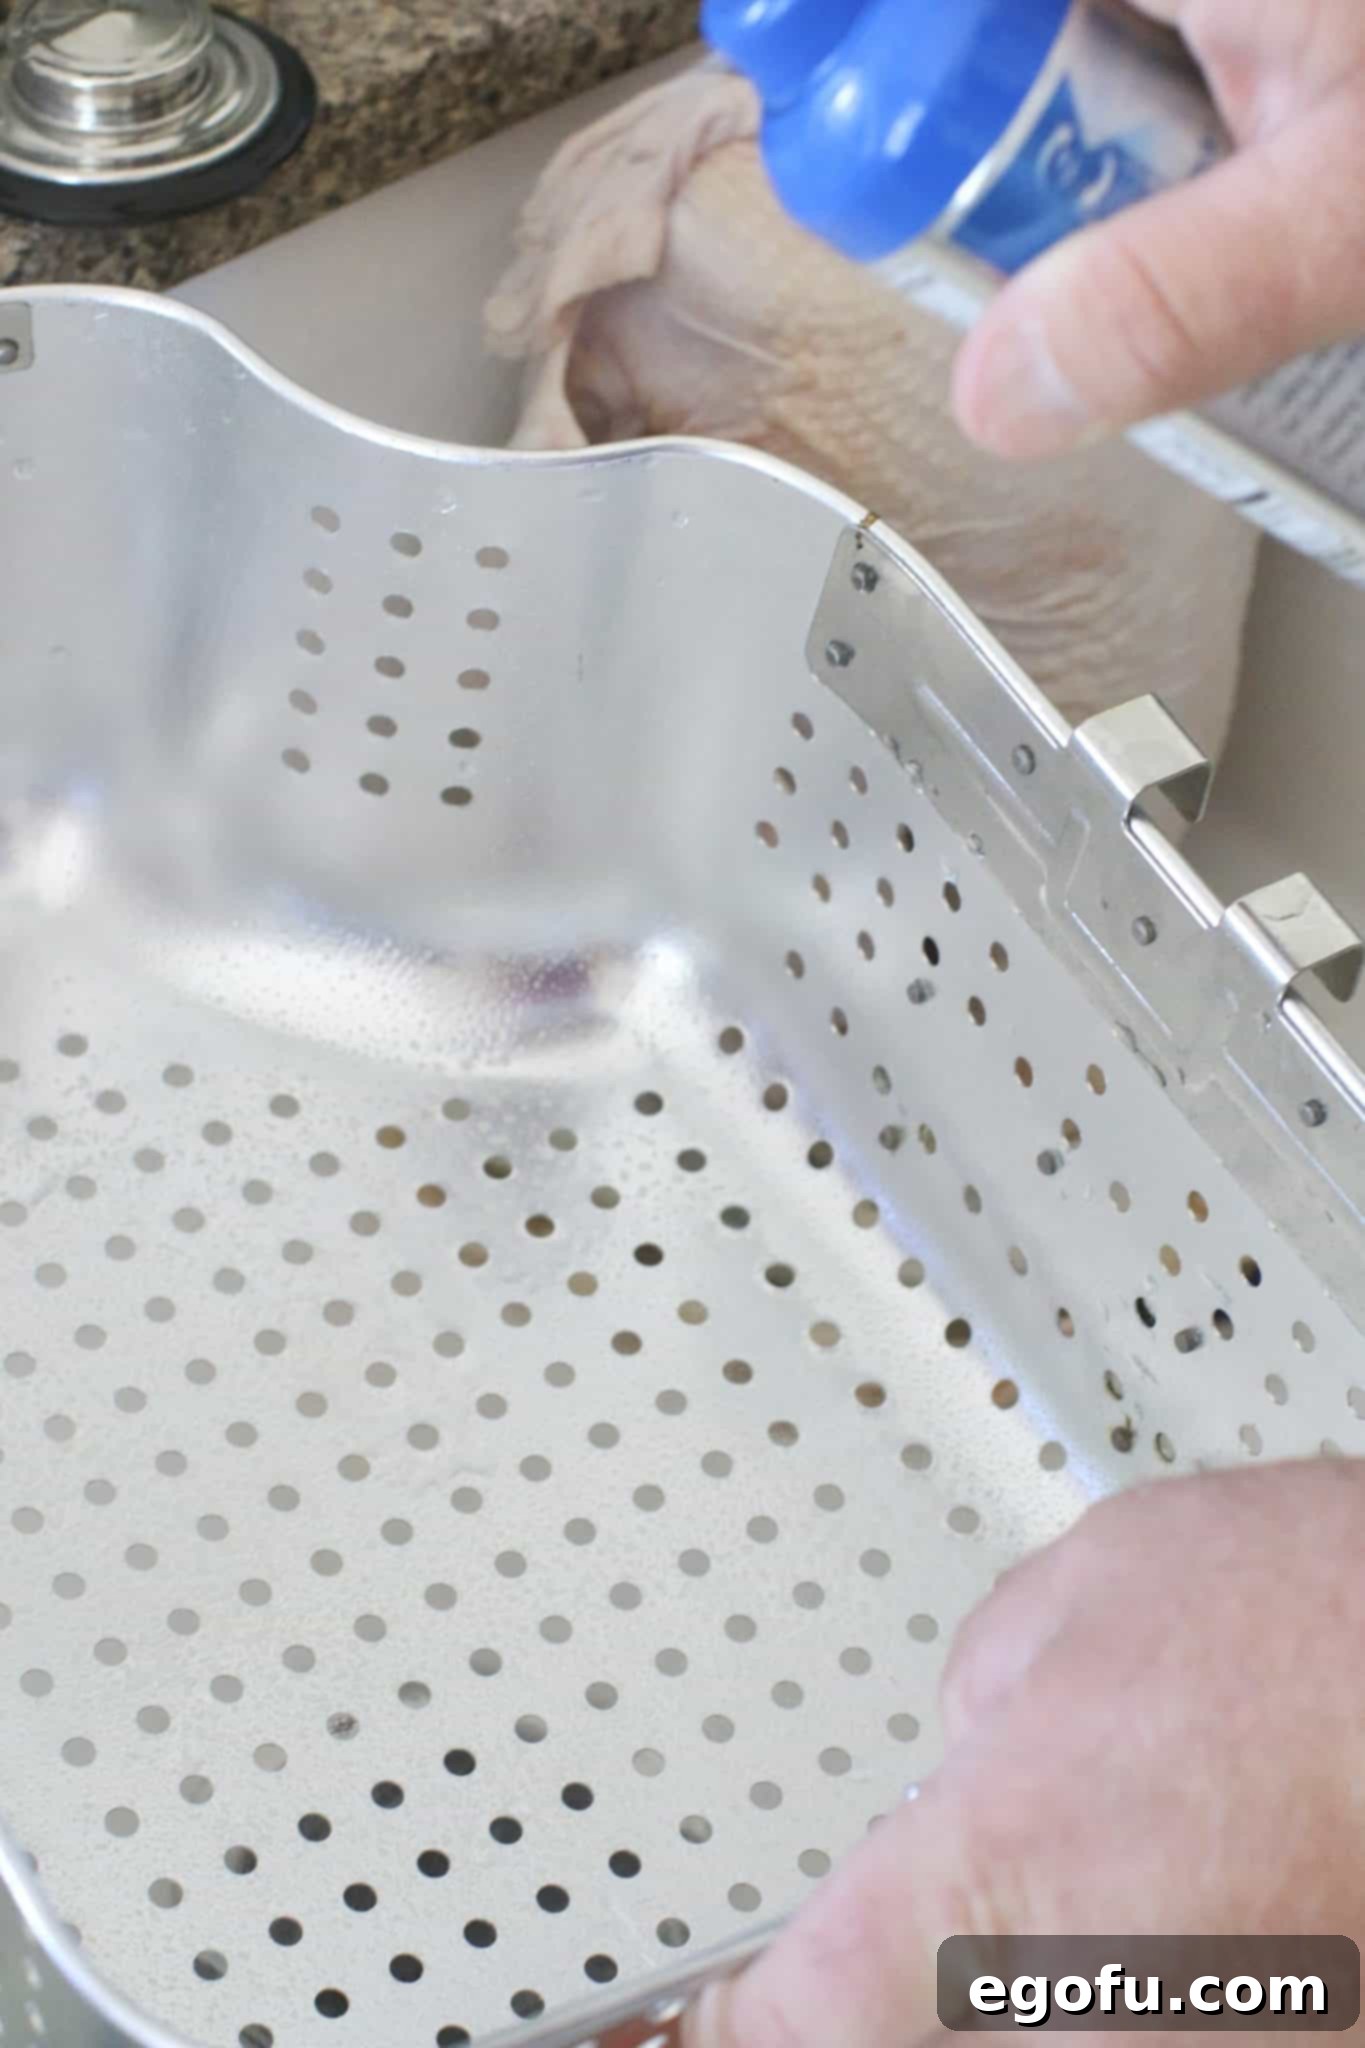
- Prepare the Frying Basket: Spray the frying basket liberally with a non-stick cooking spray. This might seem counterintuitive since it’s going into a vat of oil, but it’s essential to prevent the delicate turkey skin from sticking to the basket during frying and removal.
- Position the Turkey: Carefully place your thoroughly dried turkey, breast-side up, into the prepared frying basket.
Seasoning Your Turkey
For deep-fried turkey, a simple yet effective seasoning is often all you need. The rapid cooking process locks in juices and creates a wonderfully flavorful bird.
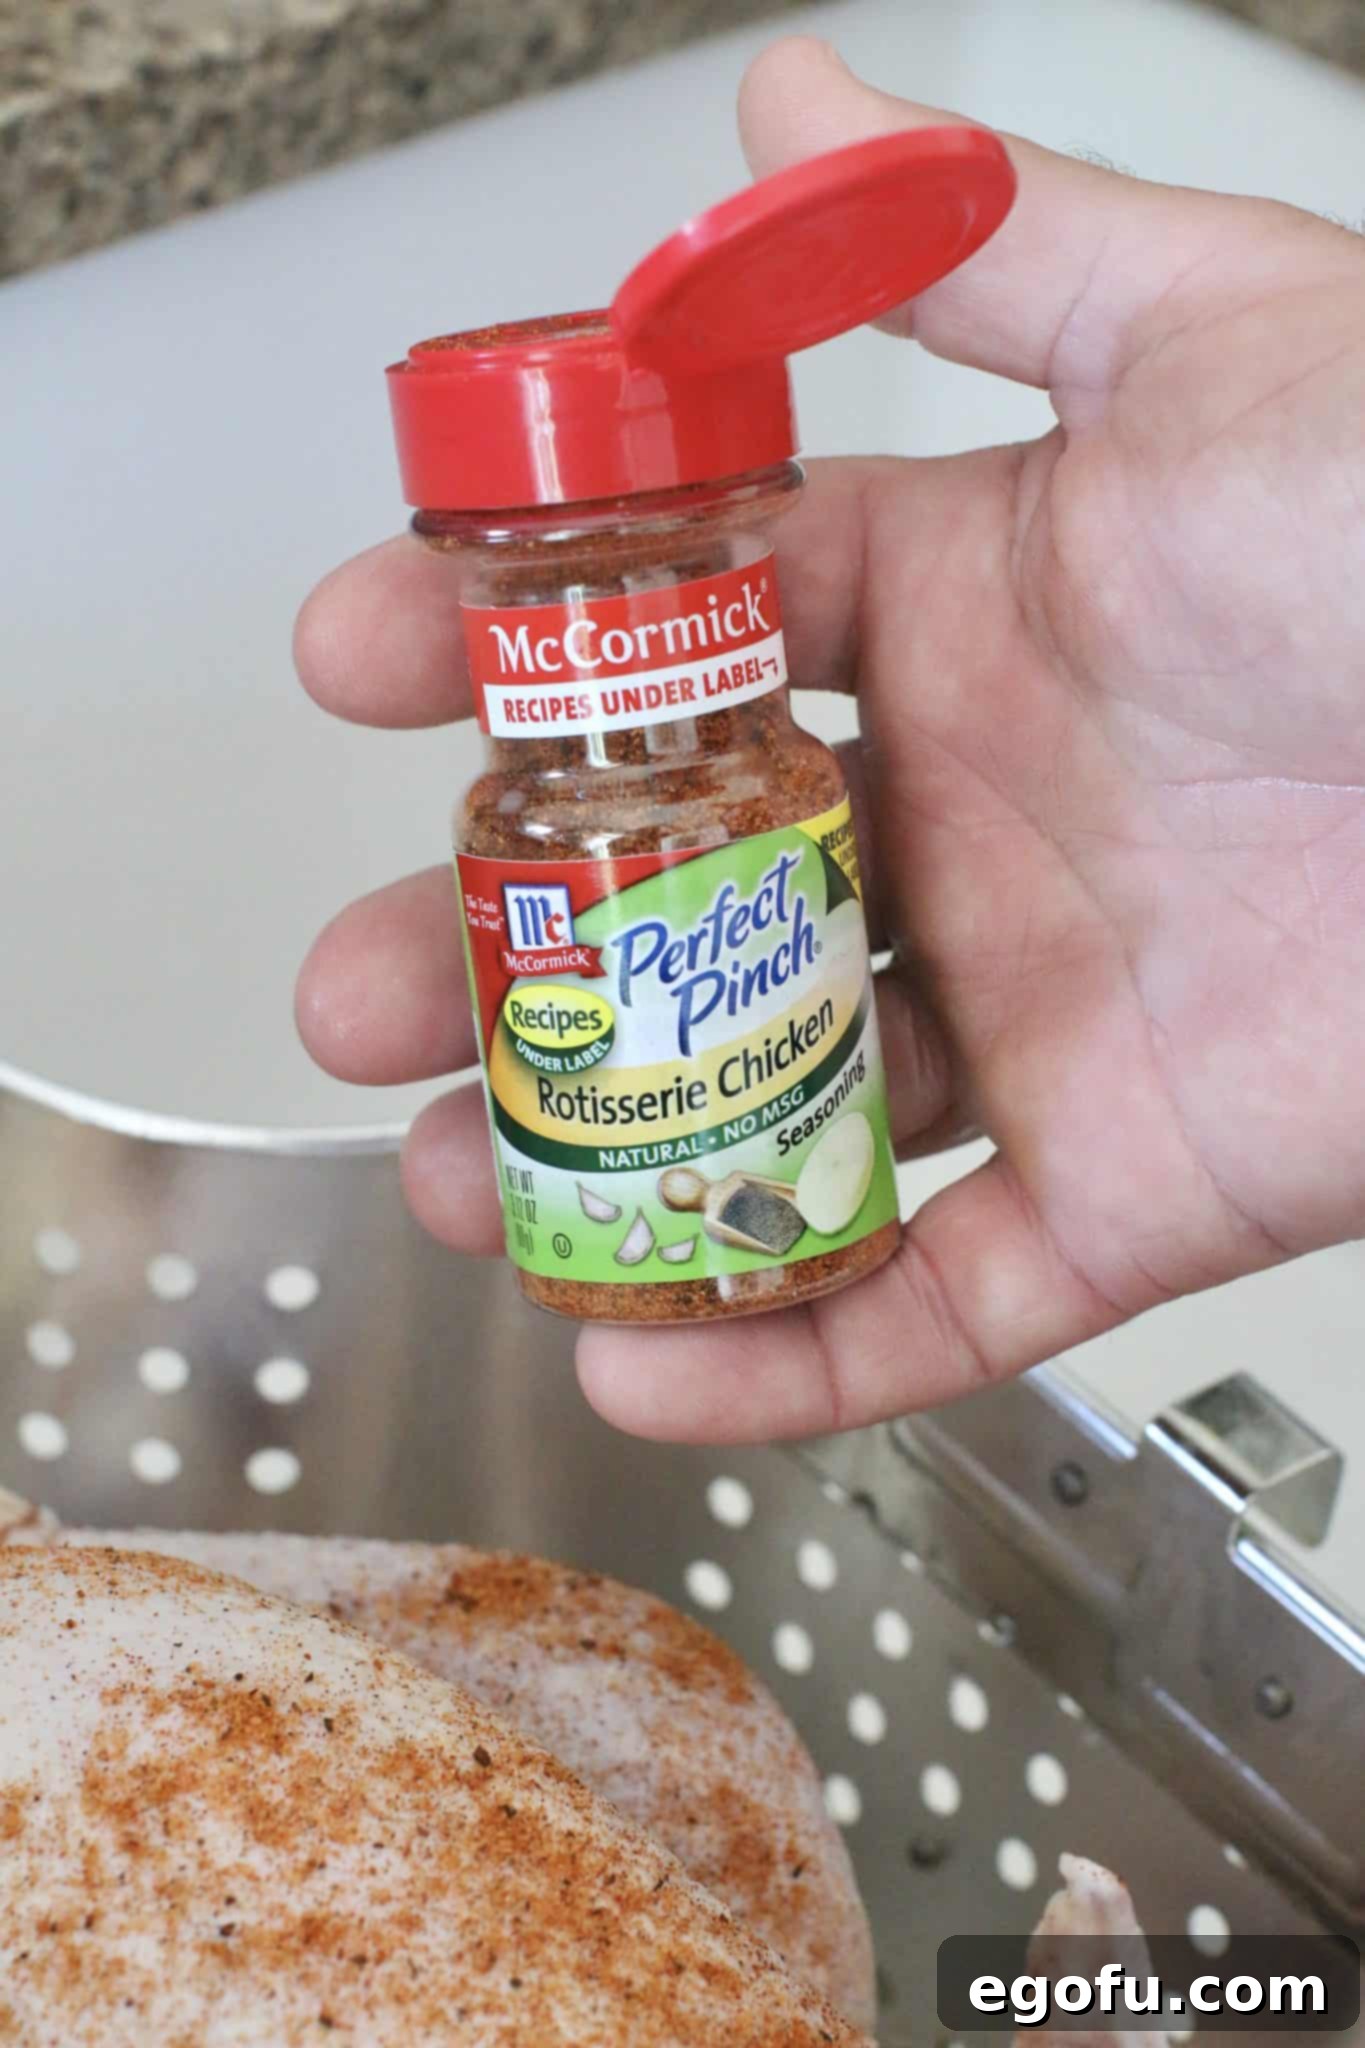
- Our Go-To Seasoning: We’ve found McCormick Perfect Pinch Rotisserie Chicken Seasoning to be a consistent winner for years. It’s a convenient, all-in-one blend that delivers fantastic flavor.
- Injecting vs. Rubbing: While injecting marinades have gained popularity, in our humble opinion, they are often unnecessary for fried turkey. The beauty of frying is how quickly the turkey cooks, resulting in incredibly juicy meat and a crispy, flavorful skin. A good rub on the surface and inside the cavity provides plenty of flavor without the extra step of injecting. If you prefer to inject, ensure the turkey is well-dried afterward. Brining is another option for deep flavor, but again, ensures the turkey is bone-dry before frying.
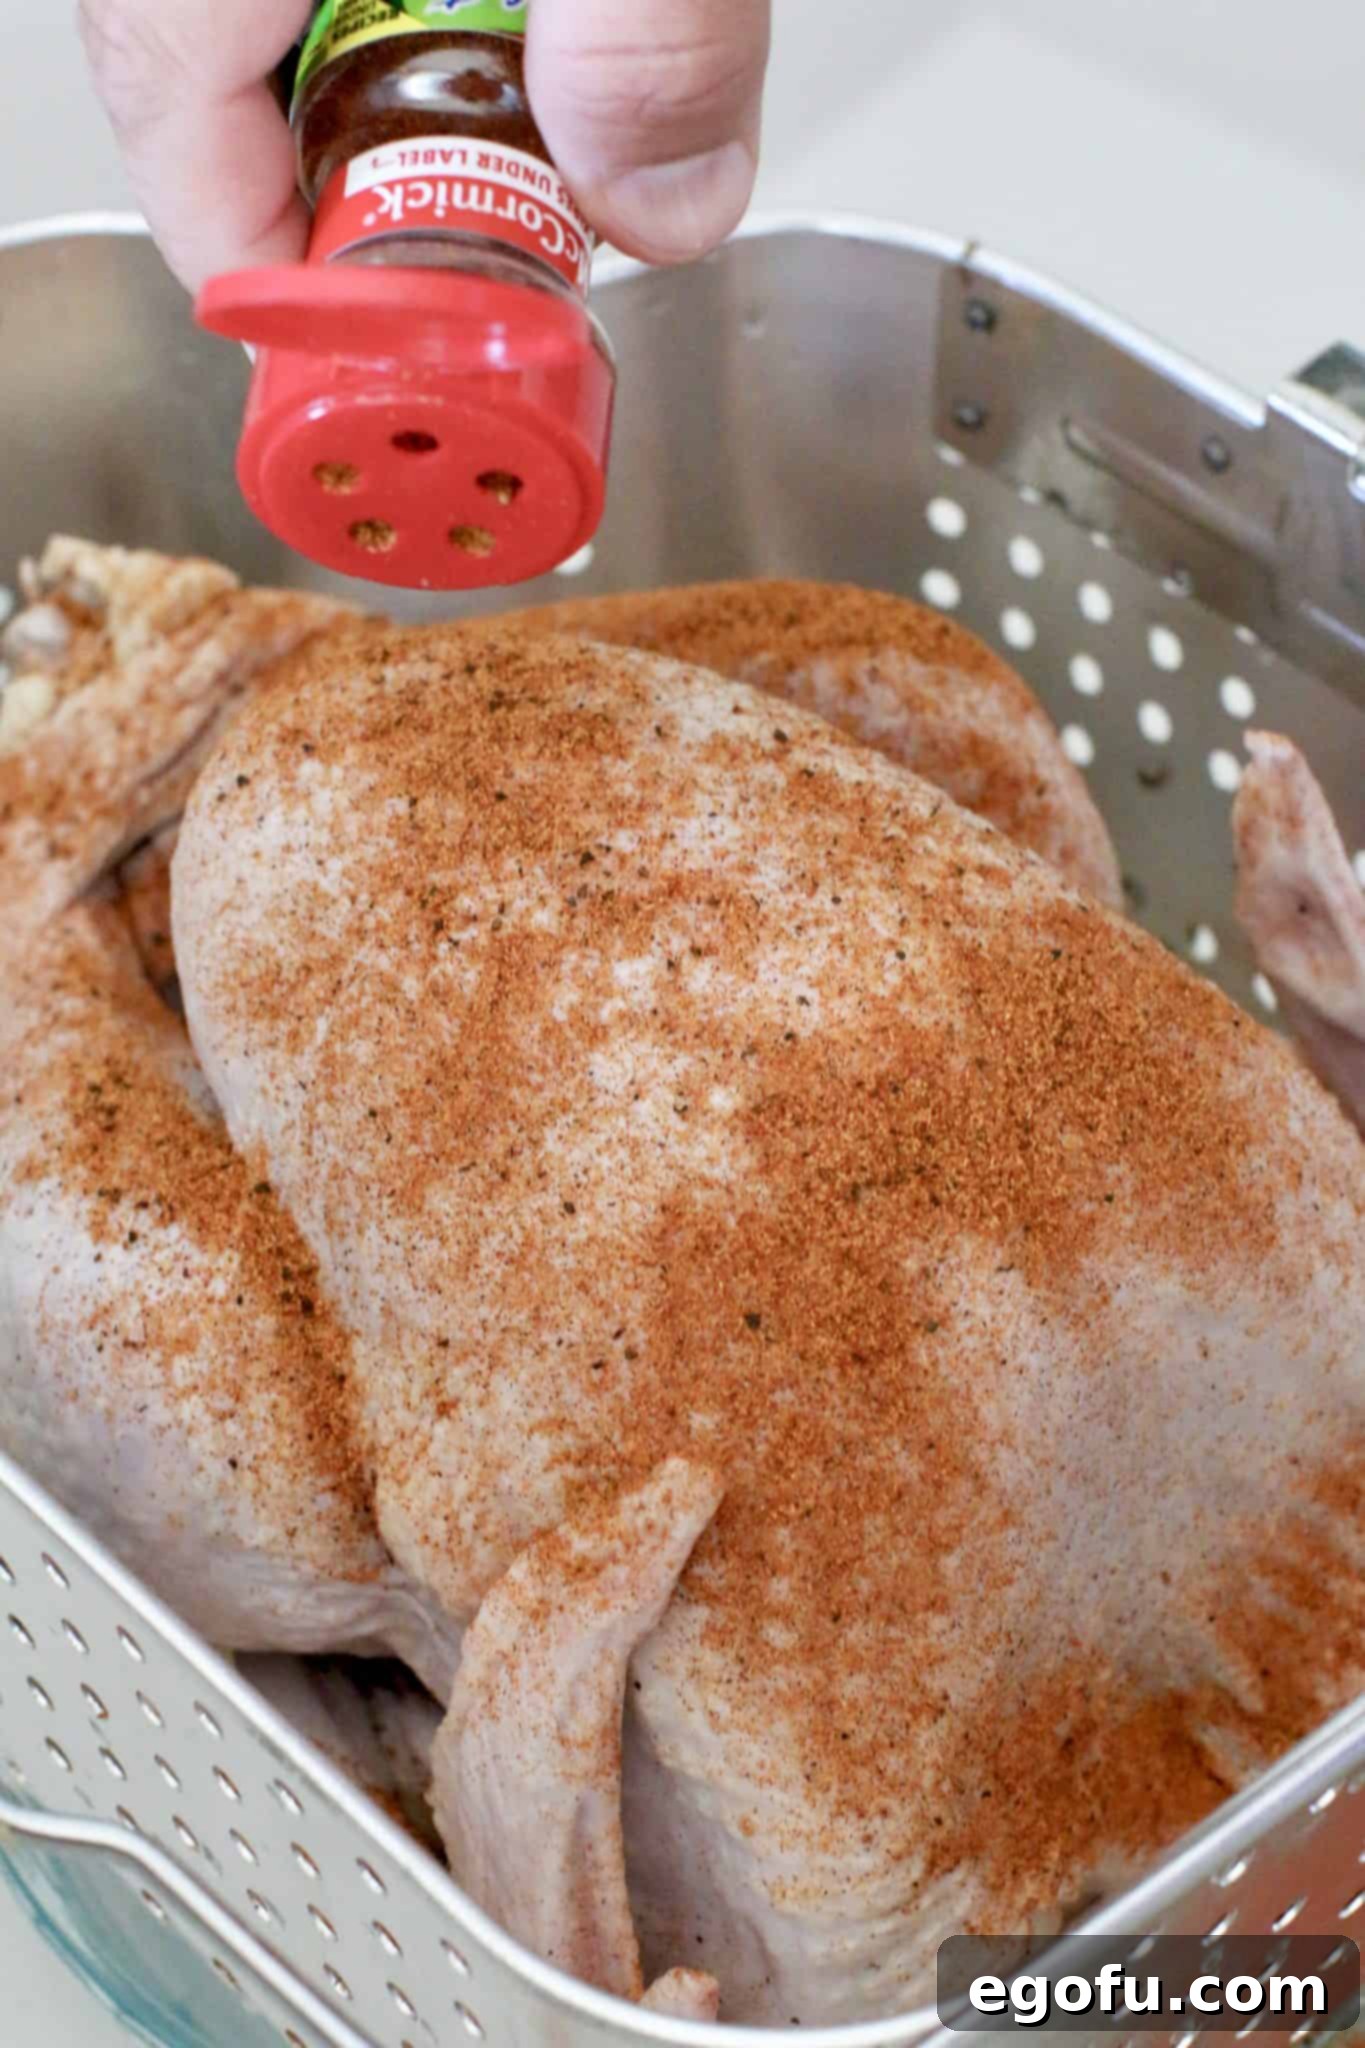
- Liberal Application: Don’t be shy with the seasoning! You’ll likely use most of, if not the entire, bottle.
- External Seasoning: Sprinkle the seasoning generously over the entire outer surface of the turkey. Use your hands to rub it in thoroughly, ensuring every part of the skin is coated.
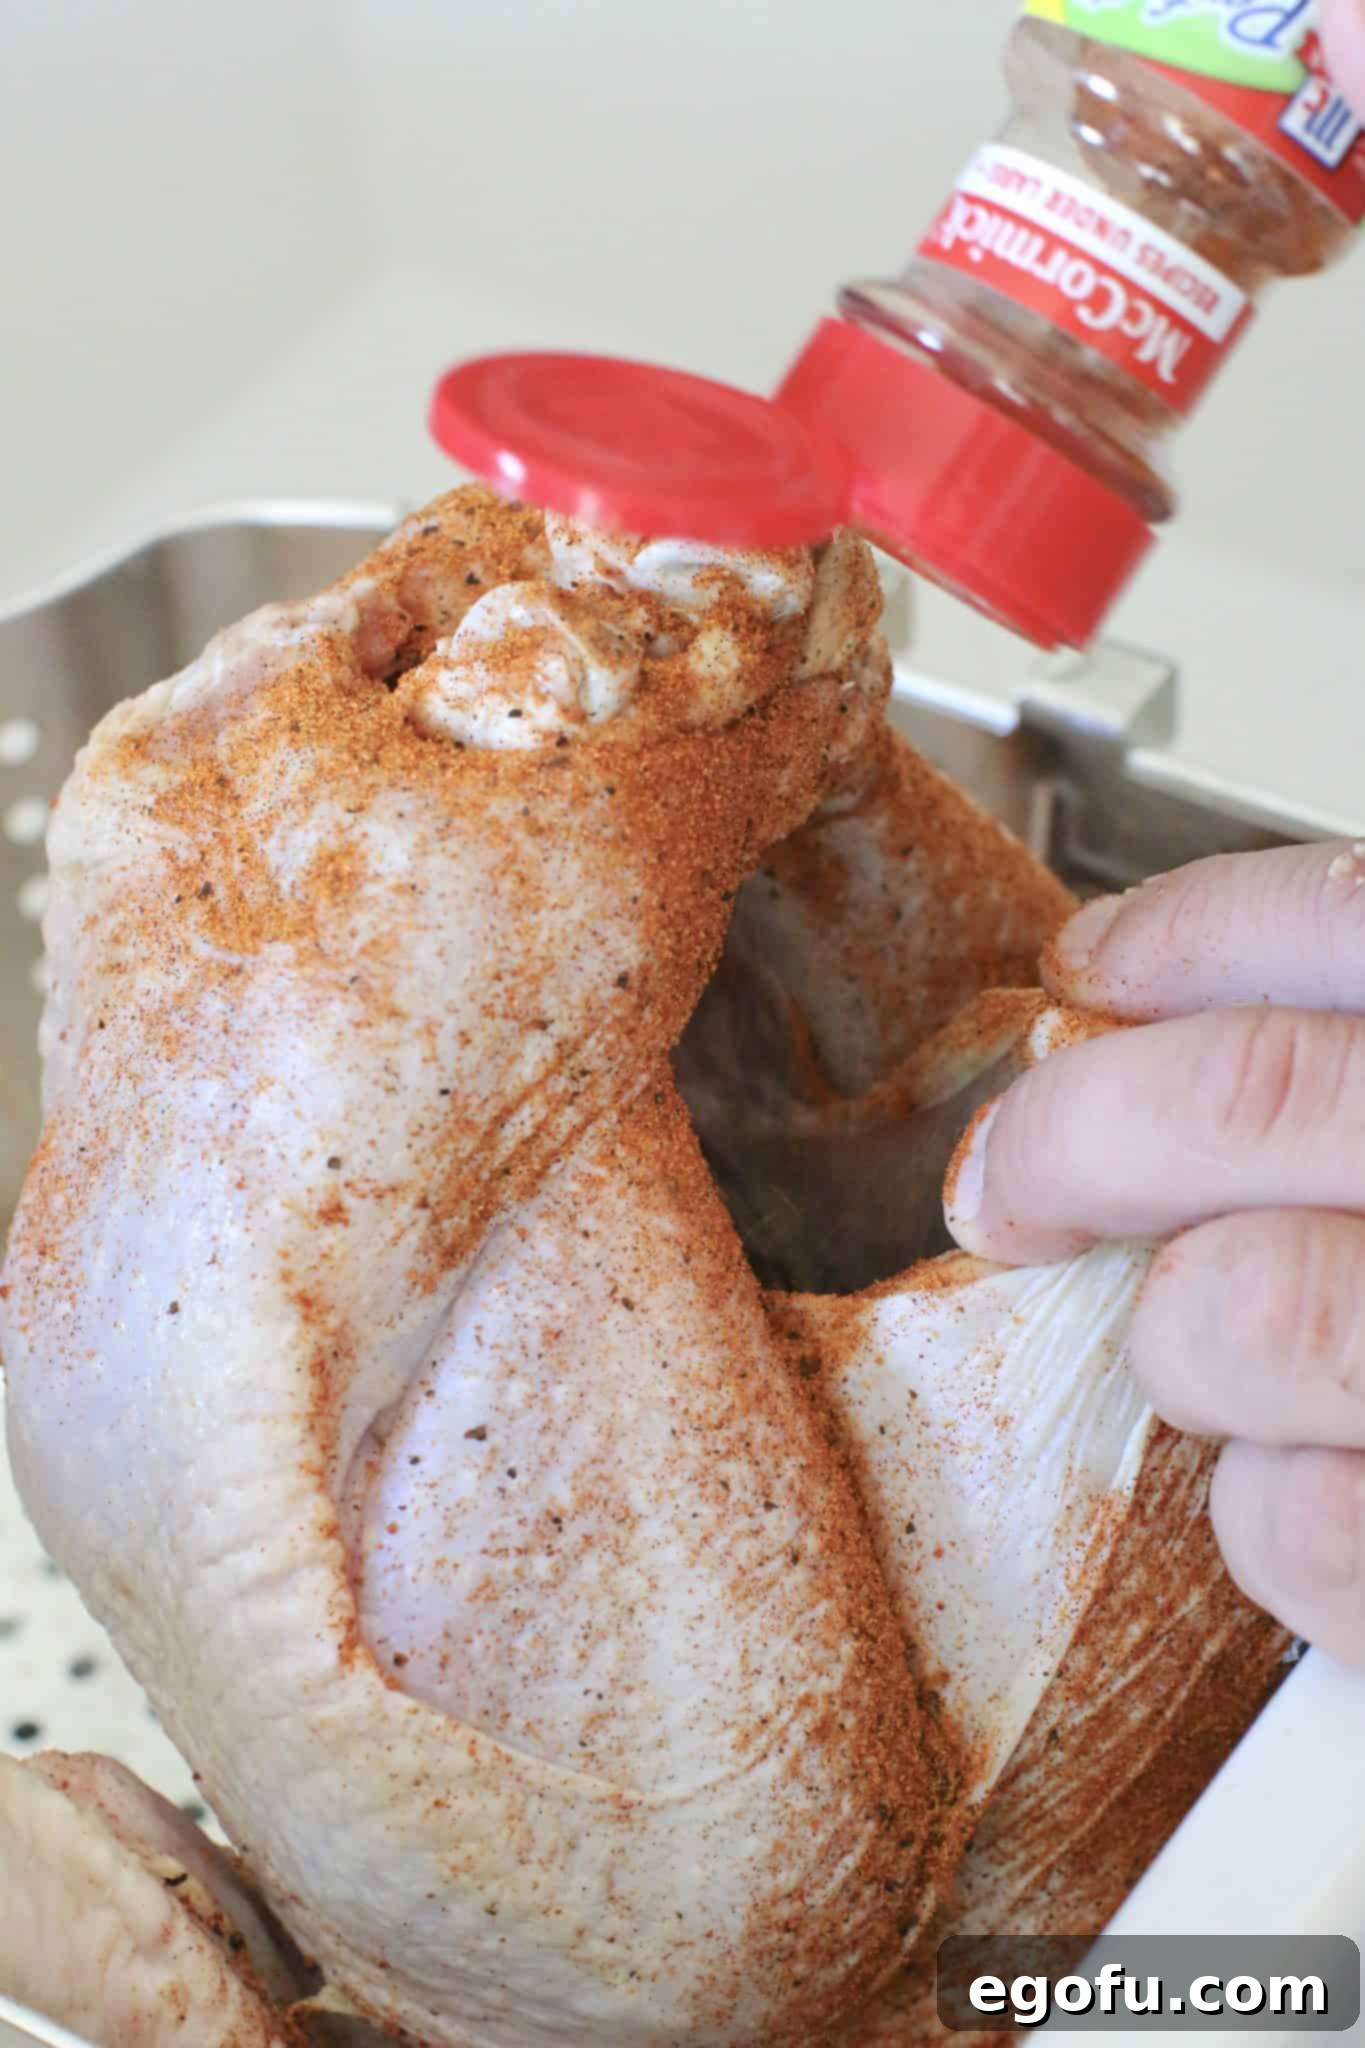
- Internal Seasoning: This is a key step often overlooked. Pour a significant amount of seasoning into the turkey’s cavity. This infuses the meat from the inside out as it cooks, contributing to a deeply flavorful bird.
- Optional Trussing: If your turkey is particularly large or has loose wings/legs, you can lightly truss it with butcher’s twine. This helps it maintain a compact shape, ensuring it fits easily into the fryer and cooks more evenly. Avoid stuffing a turkey that will be deep-fried.
STEP 5: Fry the Prepared Turkey Safely
This is where the magic happens! Lowering the turkey into the hot oil is an exciting moment, but it’s crucial to prioritize safety above all else. Gather your family to watch the spectacle, but ensure everyone keeps a safe distance.
Safety Precautions During Frying:
- Use the Extension Tool: Your fryer basket comes with a sturdy extension tool (often resembling a metal hangar with a hook). This tool is designed to help you slowly and steadily lower the turkey into the hot oil while maintaining a safe distance from any potential splattering.
- Lower SLOWLY: This is critical. Begin lowering the turkey at a snail’s pace. If you hear excessive crackling or see large bubbles, stop and allow the oil to calm before continuing. A rapid plunge can cause hot oil to splash out, leading to severe burns.
- Protective Gear: Consider wearing oven mitts or heat-resistant gloves, long sleeves, and even safety glasses to protect yourself from hot oil splatters.
- Keep Clear: Ensure children and pets are kept far away from the active fryer.
- Fire Extinguisher: Have a Class K or standard ABC fire extinguisher readily accessible. Never attempt to extinguish a grease fire with water!
The Frying Process:
- Submerge: Once the turkey is fully submerged, carefully detach the extension tool.
- Close the Lid: Lower the fryer lid to maintain a consistent oil temperature and reduce splattering.
- Set the Timer: The general rule of thumb for frying a turkey is 3 to 4 minutes per pound. For example, a 12-pound turkey would cook for approximately 36 to 48 minutes. Set a timer based on your turkey’s weight.
- Monitor Internal Temperature: The only way to truly know if your turkey is cooked is with a reliable meat thermometer.
- Insert the thermometer into the thickest part of the breast meat, avoiding bone. The target temperature for the breast is 165°F (74°C).
- For the thigh meat, insert the thermometer into the thickest part, again avoiding bone. The target temperature for the thigh is 180°F (82°C).
Check the temperature periodically as you near the end of the calculated cooking time.

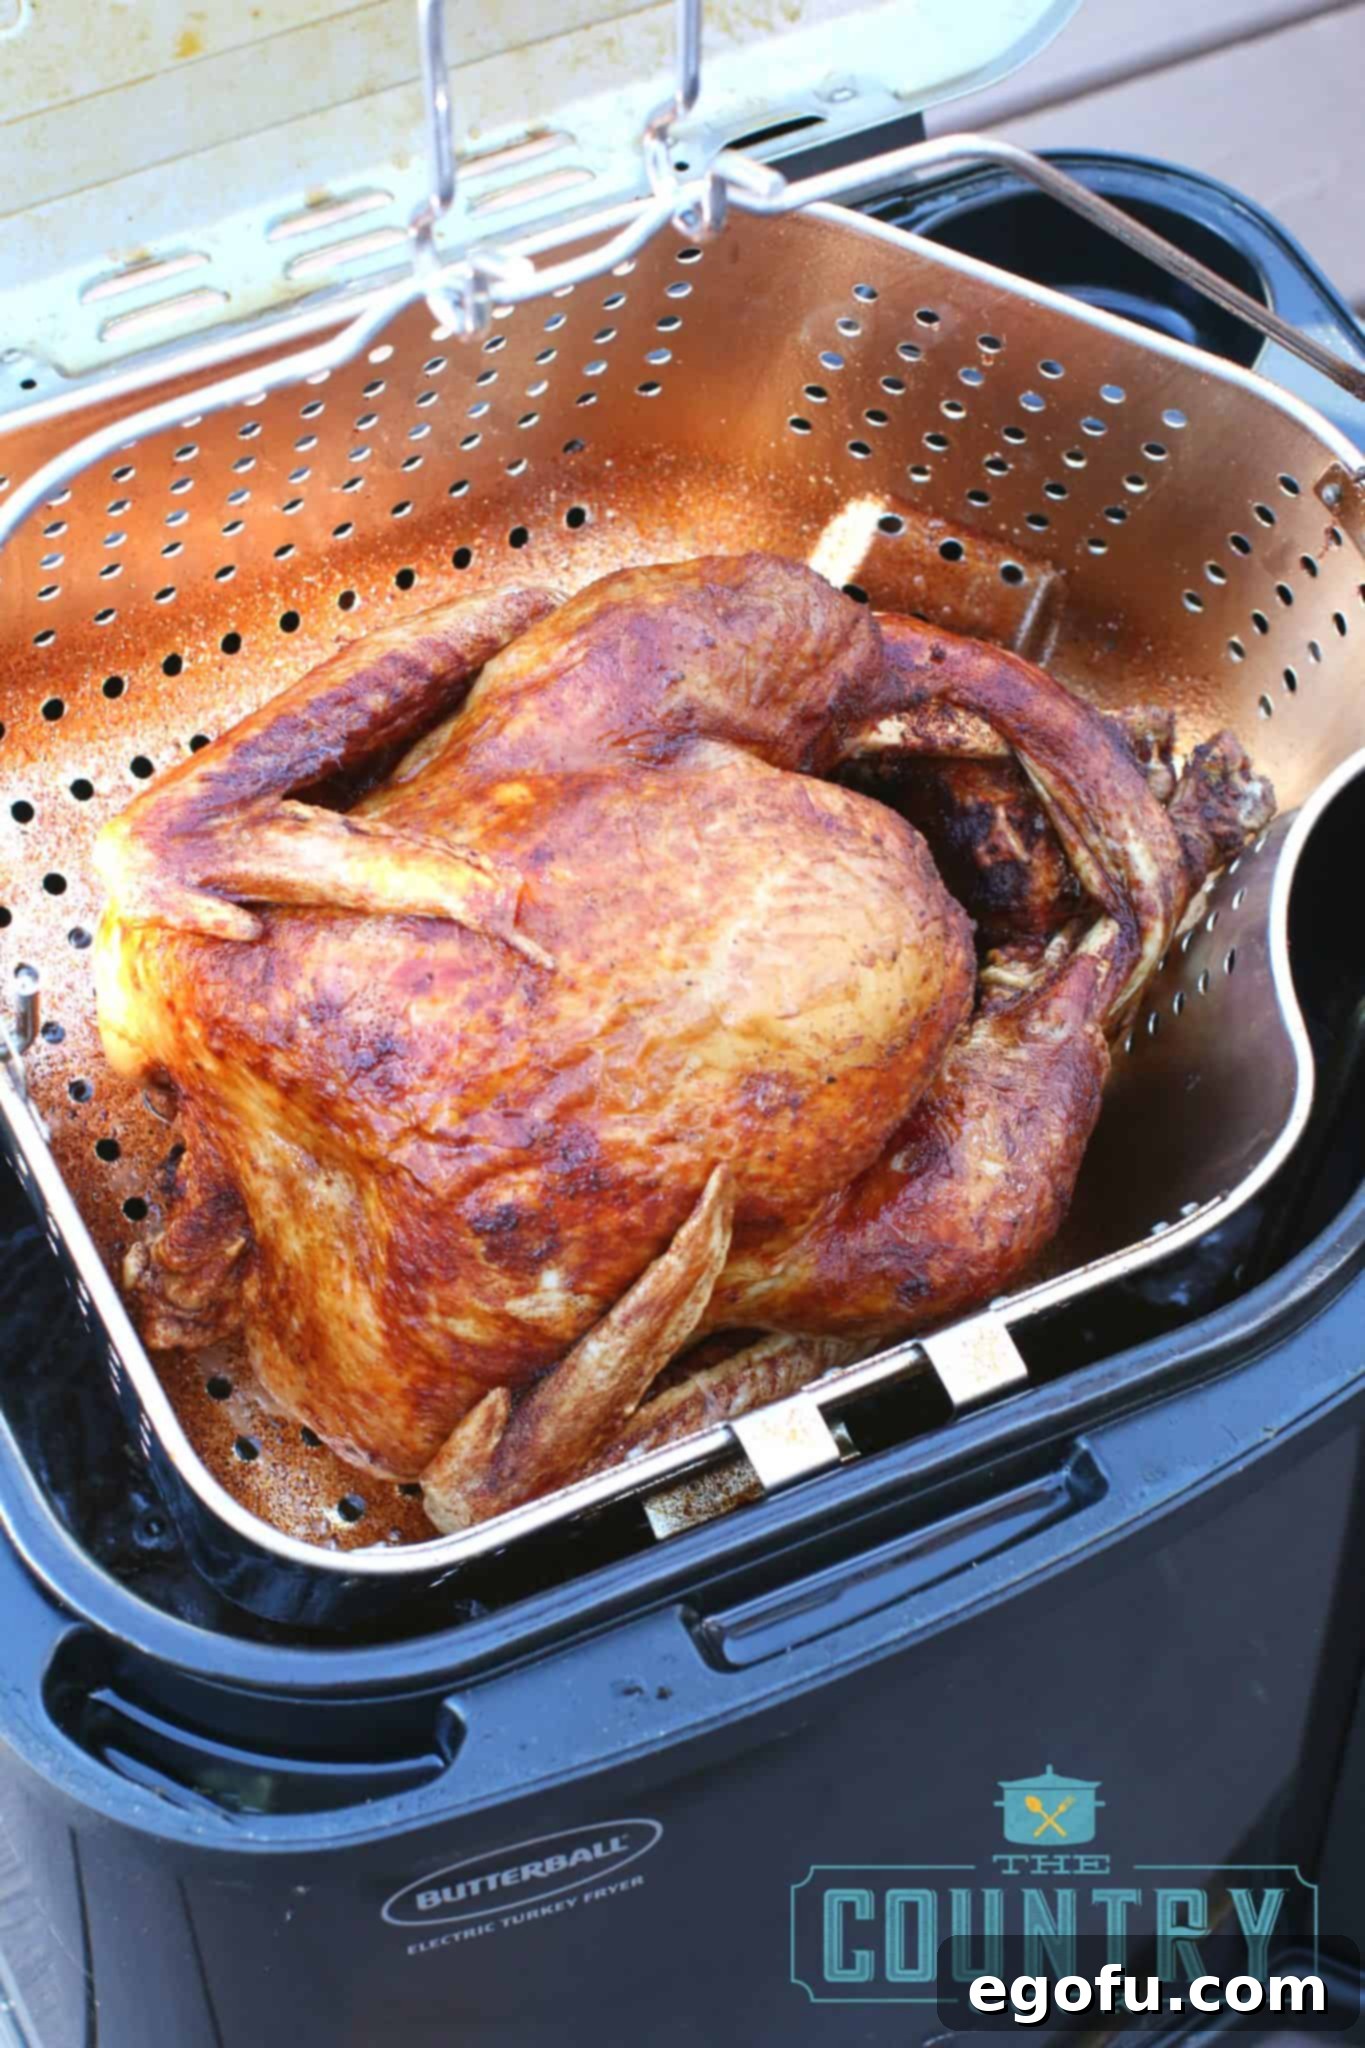
STEP 6: Resting, Carving, and Serving Your Golden Fried Turkey
Once your turkey reaches the safe internal temperatures, the cooking isn’t quite over. A few final steps ensure maximum juiciness and a beautiful presentation.
- Remove and Drain: Carefully re-attach the extension tool to the frying basket. Slowly raise the turkey out of the hot oil. Allow it to hang above the oil for a few minutes, letting any excess oil drain back into the fryer.
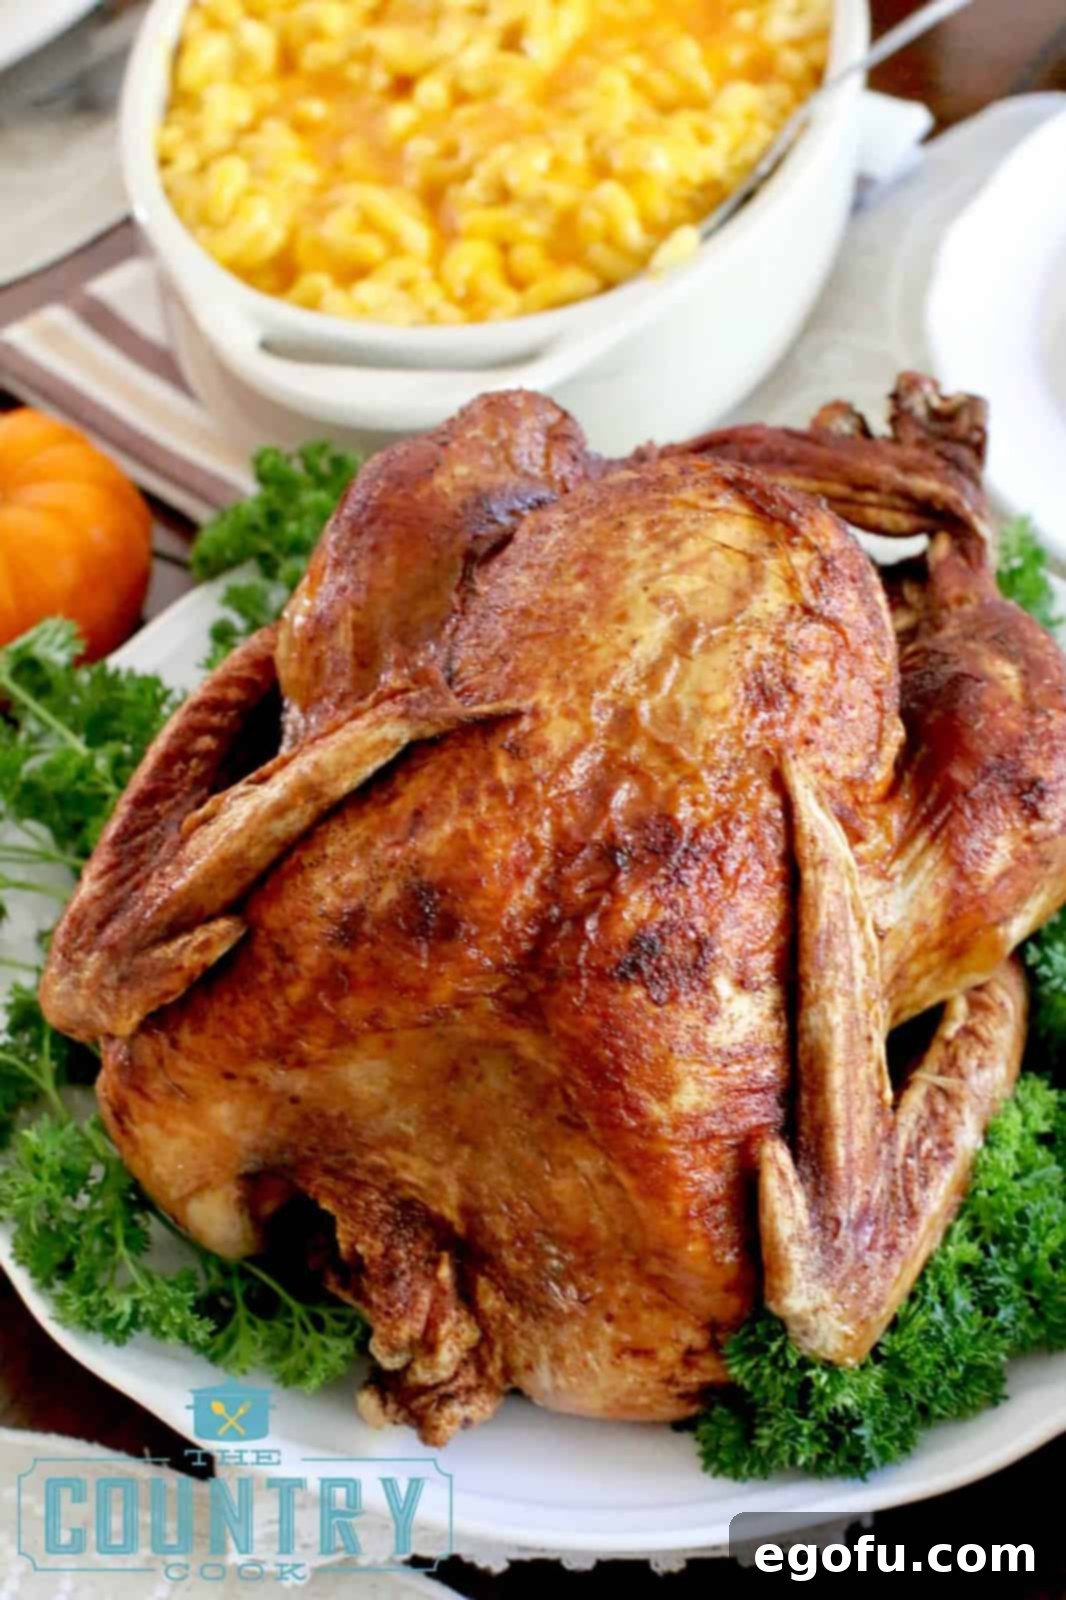
- Transfer to a Platter: With the oil drained, carefully transfer the turkey from the basket onto a sturdy cutting board or large serving platter. Using heavy-duty oven gloves or large meat forks (like carving forks) can aid in this process.
- Resting is Key: This step is often overlooked but is absolutely essential for a juicy turkey. Tent the turkey loosely with foil and let it rest for at least 15-20 minutes before carving. Resting allows the juices, which have been driven to the center of the bird during cooking, to redistribute throughout the meat. Cutting too soon will result in dry meat.
- Carving: After resting, carve the turkey as you normally would. The crispy skin might make carving slightly different, but the tender meat beneath will be worth it.
- Presentation: For a picture-perfect presentation, garnish your platter with fresh, curly parsley, orange slices, or cranberries. This simple touch adds a festive appeal, whether you’re taking photos for Instagram or simply delighting your family.
Troubleshooting Common Fried Turkey Issues
Even with careful planning, things can sometimes go awry. Here are a few common issues and how to address them:
- Turkey Not Getting Crispy:
- Cause: Turkey was not patted dry enough, oil temperature was too low, or turkey was overcooked.
- Solution: Ensure the turkey is bone-dry before frying. Maintain consistent oil temperature. Avoid overcrowding the fryer if attempting to fry multiple smaller items (not recommended for whole turkeys).
- Oil Temperature Drops Too Much:
- Cause: Introducing a very cold turkey, too much turkey for the oil volume, or not enough preheating time.
- Solution: Ensure turkey is at room temperature for about 30 minutes before frying (after thawing and drying). Allow ample time for oil to preheat fully. Electric fryers are designed to recover quickly, but significant drops can prolong cooking and impact crispiness.
- Turkey Is Dry:
- Cause: Overcooking.
- Solution: Rely on a meat thermometer, not just cooking time. Remove the turkey promptly once it reaches the target internal temperatures. Always allow for a proper resting period.
Conclusion: Enjoy Your Magnificent Fried Turkey!
Frying a turkey with an electric fryer is a rewarding experience that produces a truly spectacular main course. The crispy skin, tender meat, and fast cooking time make it a perfect choice for holiday gatherings or any special occasion. With careful attention to thawing, oil management, and safety protocols, you’ll be serving up a golden, juicy masterpiece that will impress everyone at your table. Don’t hesitate to give it a try – you might just discover your new favorite way to cook turkey!
More Festive Recipes for Your Holiday Table
- Crock Pot Mississippi Turkey Breast
- The Best Turkey Gravy Recipe
- Easy Roast Turkey Recipe
- Collard Greens with Ham
- Crock Pot Macaroni and Cheese
- Easy Homemade Cranberry Sauce
- Crock Pot Million Dollar Mashed Potatoes
- Crock Pot Green Bean Casserole
- Green Bean Casserole (Oven recipe)
- Southern Sweet Potato Pie
- Butter Crumble Apple Pie
- Southern Pecan Pie
- Brown Sugar Pumpkin Pie
- The Best Crock Pot Pecan Pie
- Crock Pot Corn Casserole
- Green Bean Casserole (with no cream soups)
- Garlic and Herb Stuffing
- Thanksgiving Recipe Roundup
How to Fry a Turkey Recipe
A foolproof guide to deep-frying a whole turkey using an electric fryer, complete with step-by-step instructions for thawing, seasoning, and achieving perfect results.
Prep Time: 1 hour
Cook Time: 30 minutes
Total Time: 1 hour 30 minutes
Servings: 12
Author: Brandie Skibinski
Ingredients
- 10-20 pound frozen turkey (or fresh)
- 1 bottle McCormick Rotisserie Chicken Seasoning
- 3 gallons peanut oil (or a frying blend)
Instructions
- Thaw the turkey (Refrigerator Method): Place the wrapped turkey into the fridge about 2-3 days before cooking (estimate one day of thawing per 4 pounds of turkey). Place on a tray to catch any drips.
- How-to “Quick” Thaw a Turkey (Cold Water Method): Clean your sink. Fill with cool water. Place your turkey (breast-side down, still in its wrapper) into the cool water, ensuring the water covers the top. Change the water every 30 minutes. Estimate about 30 minutes per pound.
- Set up your electric fryer and add oil: Remove the frying basket. Using the “water displacement method” (detailed in the post above) or your fryer’s internal fill line, add the appropriate amount of peanut oil or frying blend to the fryer. Do not fill above the maximum line.
- Preheat the oil: Set your electric fryer to 375°F (190°C). Close the lid and allow the oil to preheat for approximately 45-60 minutes.
- Prepare and season the turkey: Once thawed, remove the turkey from its wrapping. Remove any giblets from both cavities. Crucially, pat the turkey completely dry, inside and out, with paper towels. Spray the frying basket with non-stick cooking spray. Place the dried turkey, breast-side up, into the basket. Generously sprinkle the entire outside of the turkey with McCormick Rotisserie Chicken Seasoning, rubbing it in thoroughly. Then, pour additional seasoning into the turkey’s cavity for internal flavor.
- Fry the prepared turkey safely: With the oil fully preheated, attach the extension tool to the frying basket. Slowly and carefully lower the turkey into the hot oil. Ensure you maintain a safe distance and wear protective gear. Once fully submerged, remove the extension tool and lower the lid. Fry the turkey for approximately 3-4 minutes per pound until the internal temperature reaches 165°F (74°C) in the breast and 180°F (82°C) in the thigh (use a meat thermometer).
- Rest, carve, and serve: Once cooked, re-attach the extension tool and slowly raise the turkey from the oil. Allow excess oil to drain completely back into the fryer. Carefully transfer the turkey to a large platter or cutting board. Tent loosely with foil and let it rest for 15-20 minutes before carving. Garnish with fresh parsley for an appealing presentation.
Course: Main Course
Cuisine: American
Nutrition
Calories: 567kcal | Protein: 87g | Fat: 22g | Sodium: 450mg
Nutritional Disclaimer
“The Country Cook” is not a dietician or nutritionist, and any nutritional information shared is an estimate. If calorie count and other nutritional values are important to you, we recommend running the ingredients through whichever online nutritional calculator you prefer. Calories and other nutritional values can vary quite a bit depending on which brands were used.
Did you make this recipe?
Share it on Instagram @thecountrycook and mention us #thecountrycook!
