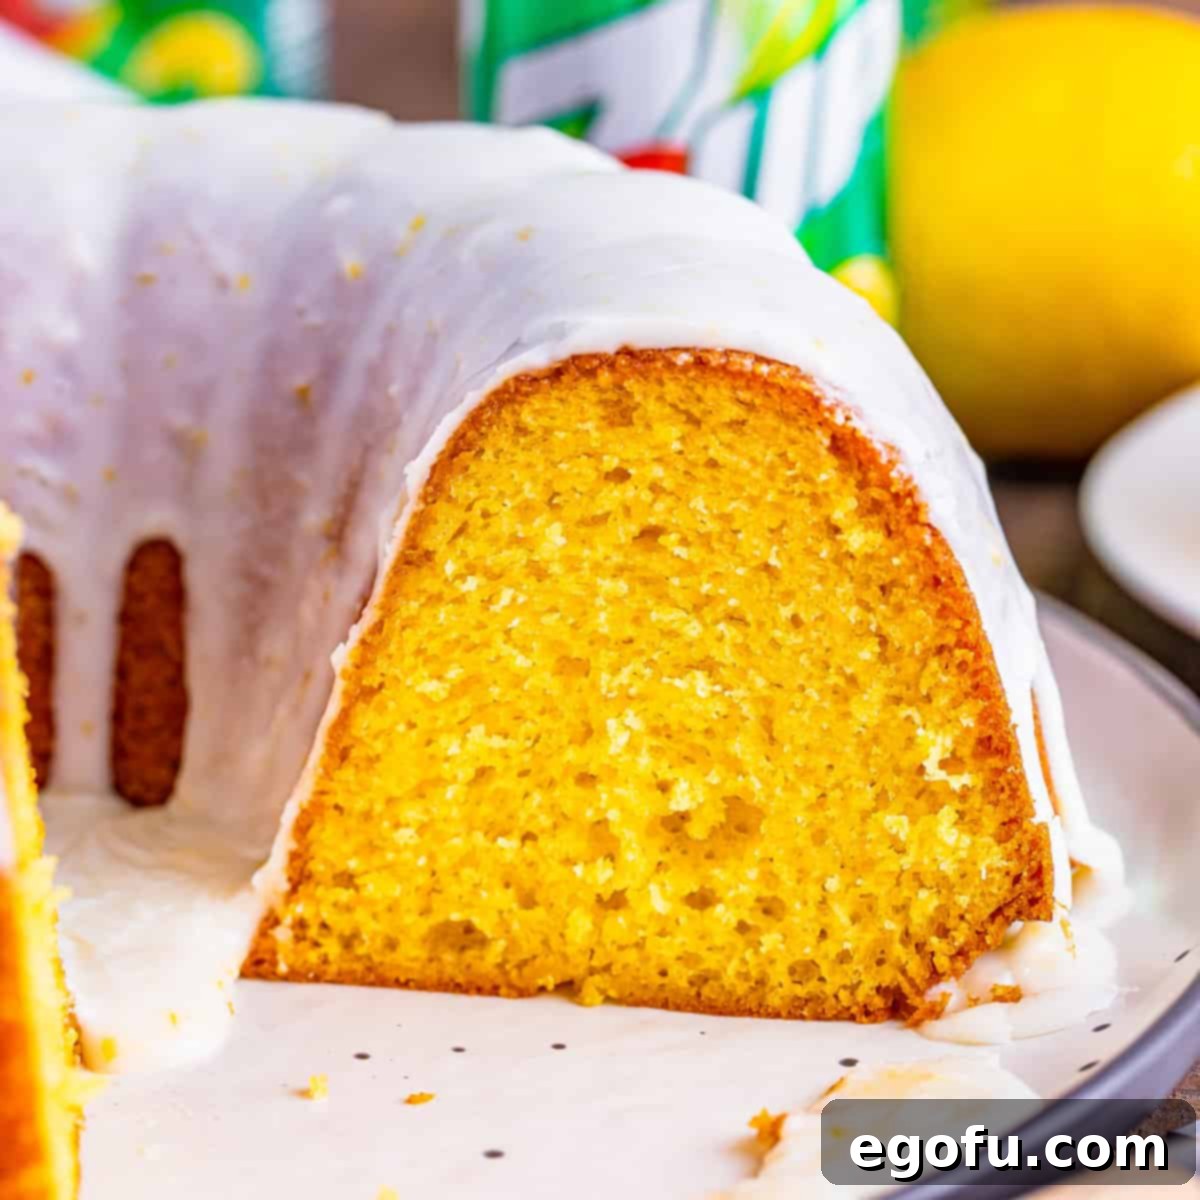
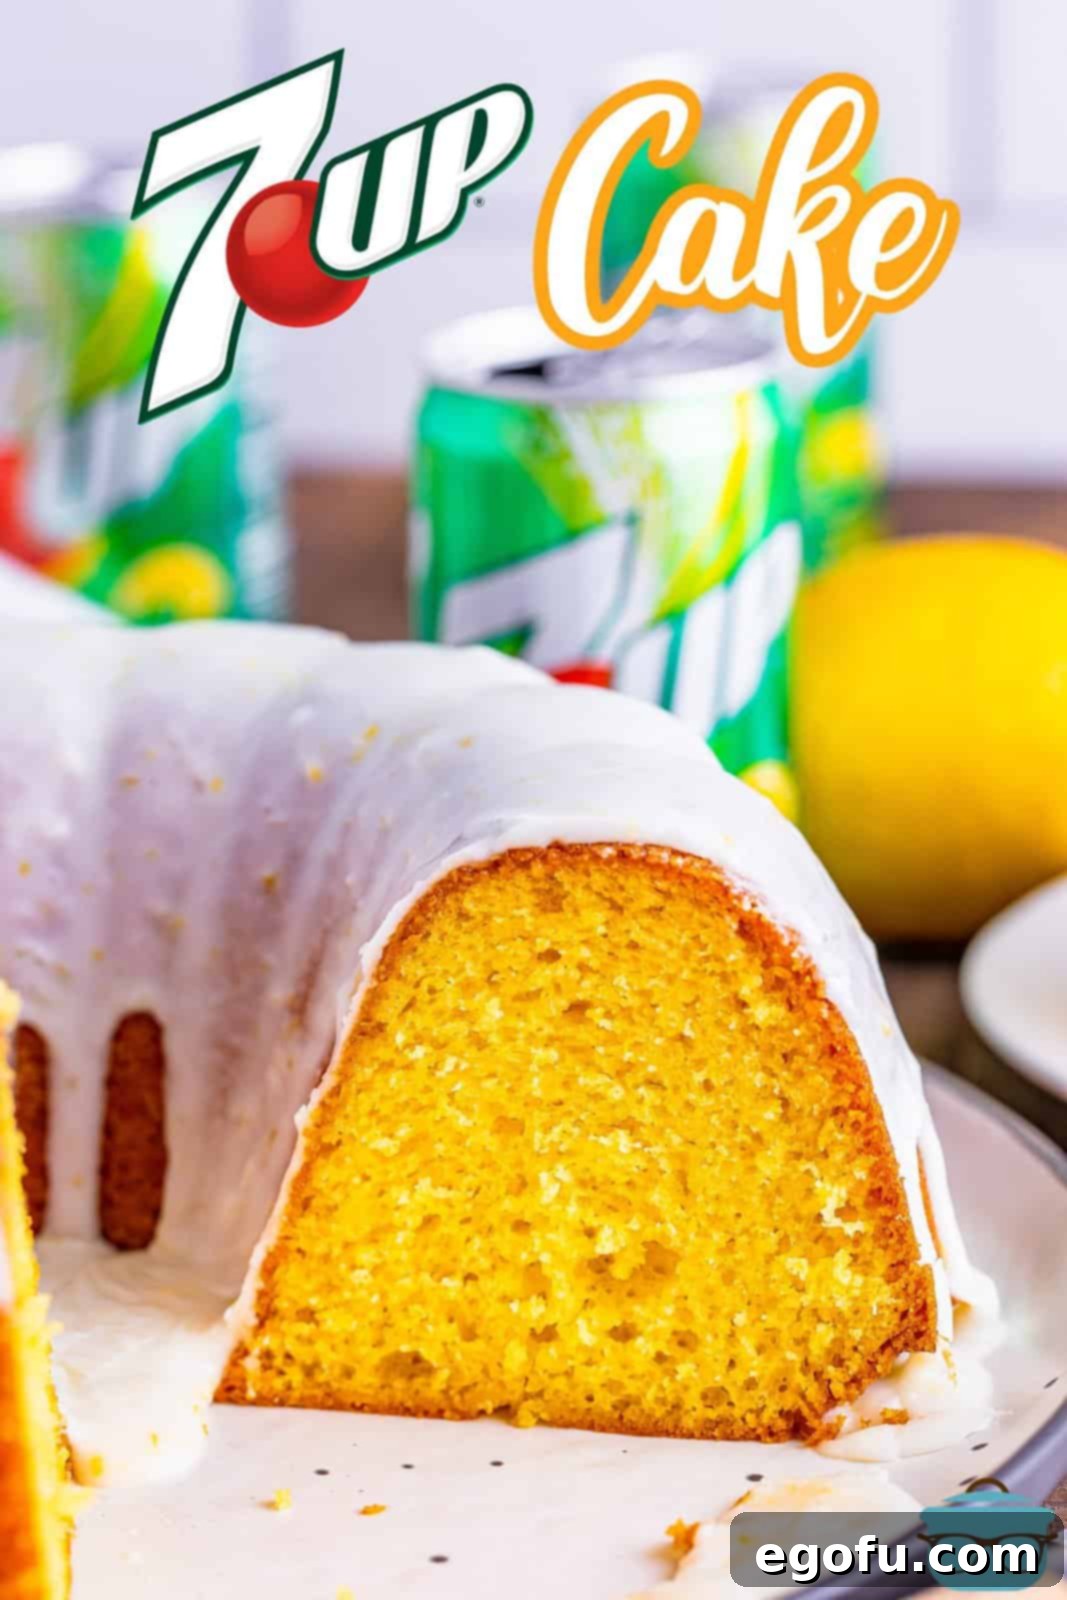
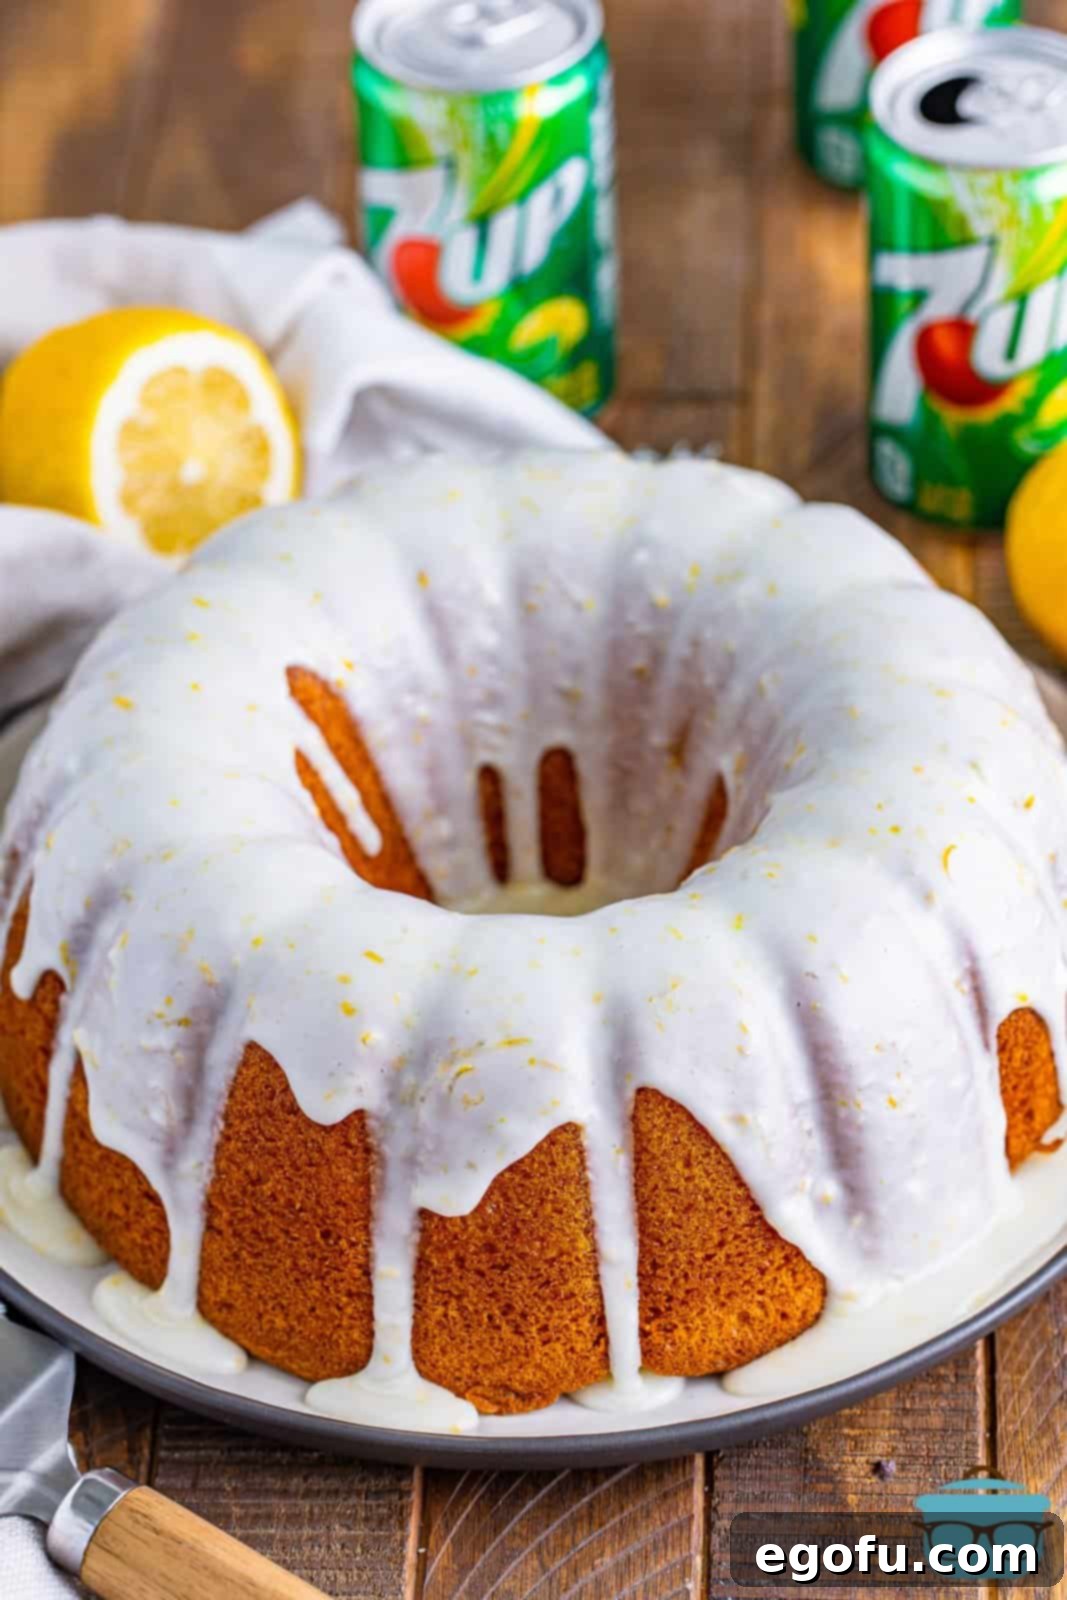
Experience the delightful burst of citrus with this incredible 7Up Cake recipe! This easy-to-make lemon pudding cake is renowned for its exceptional moistness and light texture, elevated by a jazzed-up boxed cake mix and crowned with a luscious, homemade lemon icing drizzle. It’s a perfect dessert for any occasion, promising a refreshing and satisfying treat for everyone.
THE ULTIMATE EASY & DELICIOUS LEMON-LIME BUNDT CAKE
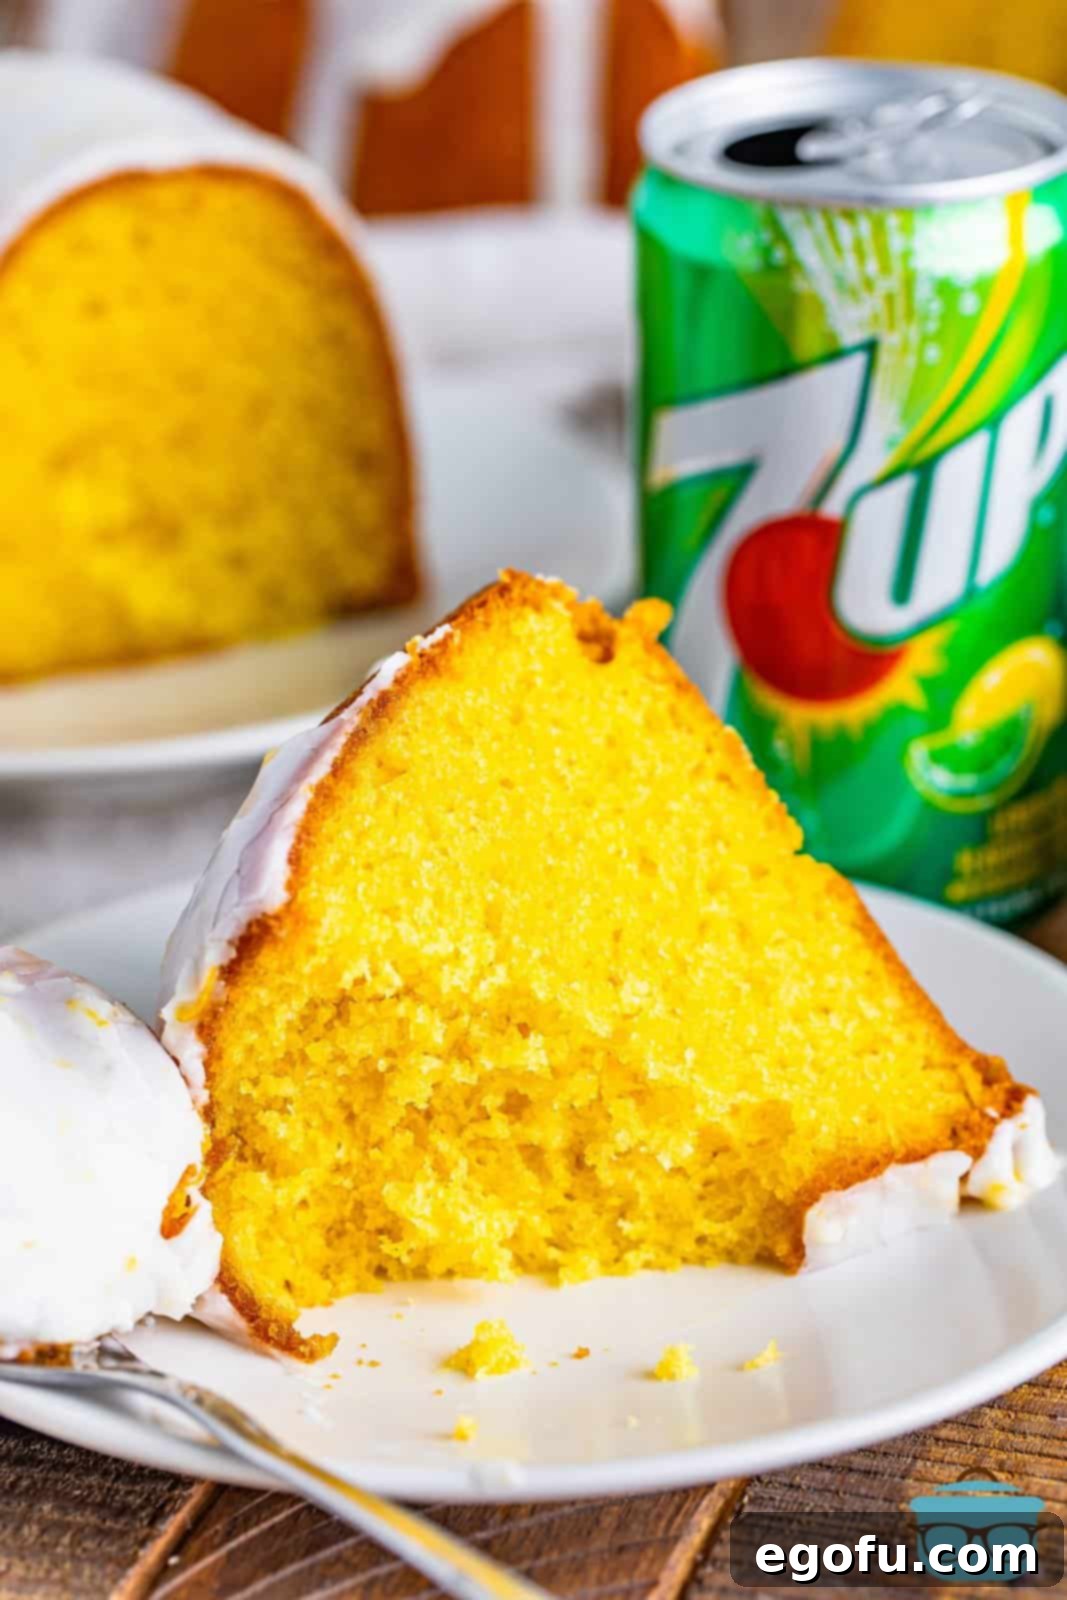
There’s something truly magical about cakes that start with a humble boxed mix but taste entirely homemade. Our 7Up Cake is a prime example, transforming simple ingredients into a show-stopping dessert that will have everyone asking for the recipe. Much like its cousin, the Coca-Cola Cake, the secret ingredient here isn’t overtly noticeable in taste but plays a crucial role in delivering an unbelievably moist and tender crumb. The lemon-lime soda infuses the cake with a subtle tang and an airy lightness that’s simply irresistible.
While this bundt cake is so incredibly flavorful and moist it could easily be enjoyed on its own, the bright, slightly tart lemon icing drizzle is what truly makes it shine. This vibrant glaze provides a beautiful contrast to the cake’s sweetness, adding a “pop” of zesty flavor that perfectly complements the citrus notes within the cake. It’s a recipe I love to share as gifts, and without fail, friends and family always request the secret – so you know it’s a winner!
YOUR TOP QUESTIONS ABOUT 7UP CAKE, ANSWERED!
We understand you might have questions about baking the perfect 7Up Cake. Here, we address some of the most common inquiries to ensure your baking experience is smooth and successful, resulting in a flawless, delicious dessert every time.
Absolutely! This recipe is versatile enough for a standard 9×13-inch baking dish. For baking times, I recommend following the instructions provided on the back of your chosen cake mix box for a 9×13-inch pan, as these often vary slightly by brand. Typically, a 9×13-inch cake will bake faster than a bundt cake, usually around 25-35 minutes, but always rely on the toothpick test for perfect doneness. The goal is for a toothpick inserted into the center to come out clean.
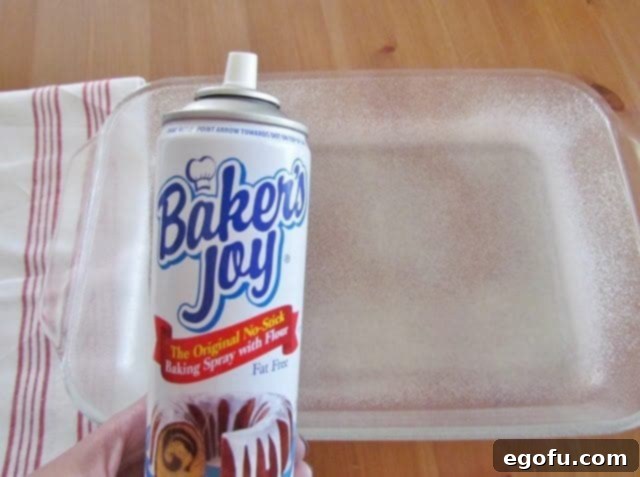
Bundt pans can be notoriously tricky, but a few simple steps ensure your beautiful cake releases perfectly every time. The key is thorough greasing. While some bakers swear by dusting with flour after greasing or creating elaborate “magic release” pastes, I find the easiest and most reliable method is to use a nonstick baking spray that contains flour (such as Baker’s Joy or Pam Baking Spray). Make sure to spray every nook and cranny of your bundt pan generously. Don’t just give it a quick pass; ensure a visible, even coating across all interior surfaces. This creates a barrier that prevents the cake batter from adhering to the intricate design. It’s a trick I rely on constantly, and it works beautifully every single time, without requiring any specialty ingredients. For those who prefer a traditional approach, you can generously grease your pan with softened butter or shortening, then dust it evenly with flour, tapping out any excess. This also forms an effective nonstick layer.
This is a fantastic and common question! Over the past few years, cake mix manufacturers have indeed reduced the standard box size. Originally, most mixes were 18.25 ounces, then they shifted to 15.25 ounces, and now some brands are as small as 13.25 ounces. As of my last update, Duncan Hines remains my preferred brand and typically comes in at 15.25 ounces, as does Wal-Mart’s Great Value brand. However, these sizes can change without notice. The good news is that I have thoroughly tested this 7Up Cake recipe with a smaller 13.25-ounce cake mix, and it performed beautifully with absolutely NO adjustments needed to the other ingredients. So, regardless of the precise size of your yellow cake mix (within these common ranges), you can proceed with confidence knowing your cake will turn out perfectly moist and delicious.
The beautiful bundt pan featured in these photos is the Tasty 9-inch Round Nonstick Steel Fluted Cake Pan from Walmart. Unfortunately, at the moment, it appears to be out of stock, and I cannot guarantee if or when it will return. If you’re looking for similar options, this Nordic Ware Bundt Pan (paid affiliate link) is quite similar in design and consistently receives excellent reviews. Another lovely option that creates a similar elegant shape is this fluted bundt pan (paid affiliate link). The good news is that any 10-cup bundt pan will work wonderfully with this recipe, so feel free to use your favorite or explore new designs!
To keep your 7Up Cake tasting its best, proper storage is essential. For optimal freshness, place any leftover cake in an airtight container. It can be stored at room temperature on your counter for up to 2 days. If you need to extend its shelf life, transfer the covered container to the refrigerator, where it will stay delicious for up to 5 days. Always ensure the container is tightly sealed to prevent the cake from drying out and absorbing other odors from the fridge.
Yes, this 7Up Cake freezes beautifully, making it an excellent option for meal prepping desserts or saving for future enjoyment! To freeze, ensure the cake has completely cooled, and preferably, freeze it before applying the icing. Wrap the cake (or individual slices) very tightly first in plastic wrap, ensuring no air pockets, and then in a layer of aluminum foil. This double layer of protection is crucial to prevent freezer burn and maintain moisture. When properly wrapped, the cake can be stored in the freezer for up to 3 months. To serve, simply thaw it overnight in the refrigerator, then let it come to room temperature before adding the fresh lemon icing.
KEY INGREDIENTS FOR YOUR MOIST 7UP CAKE
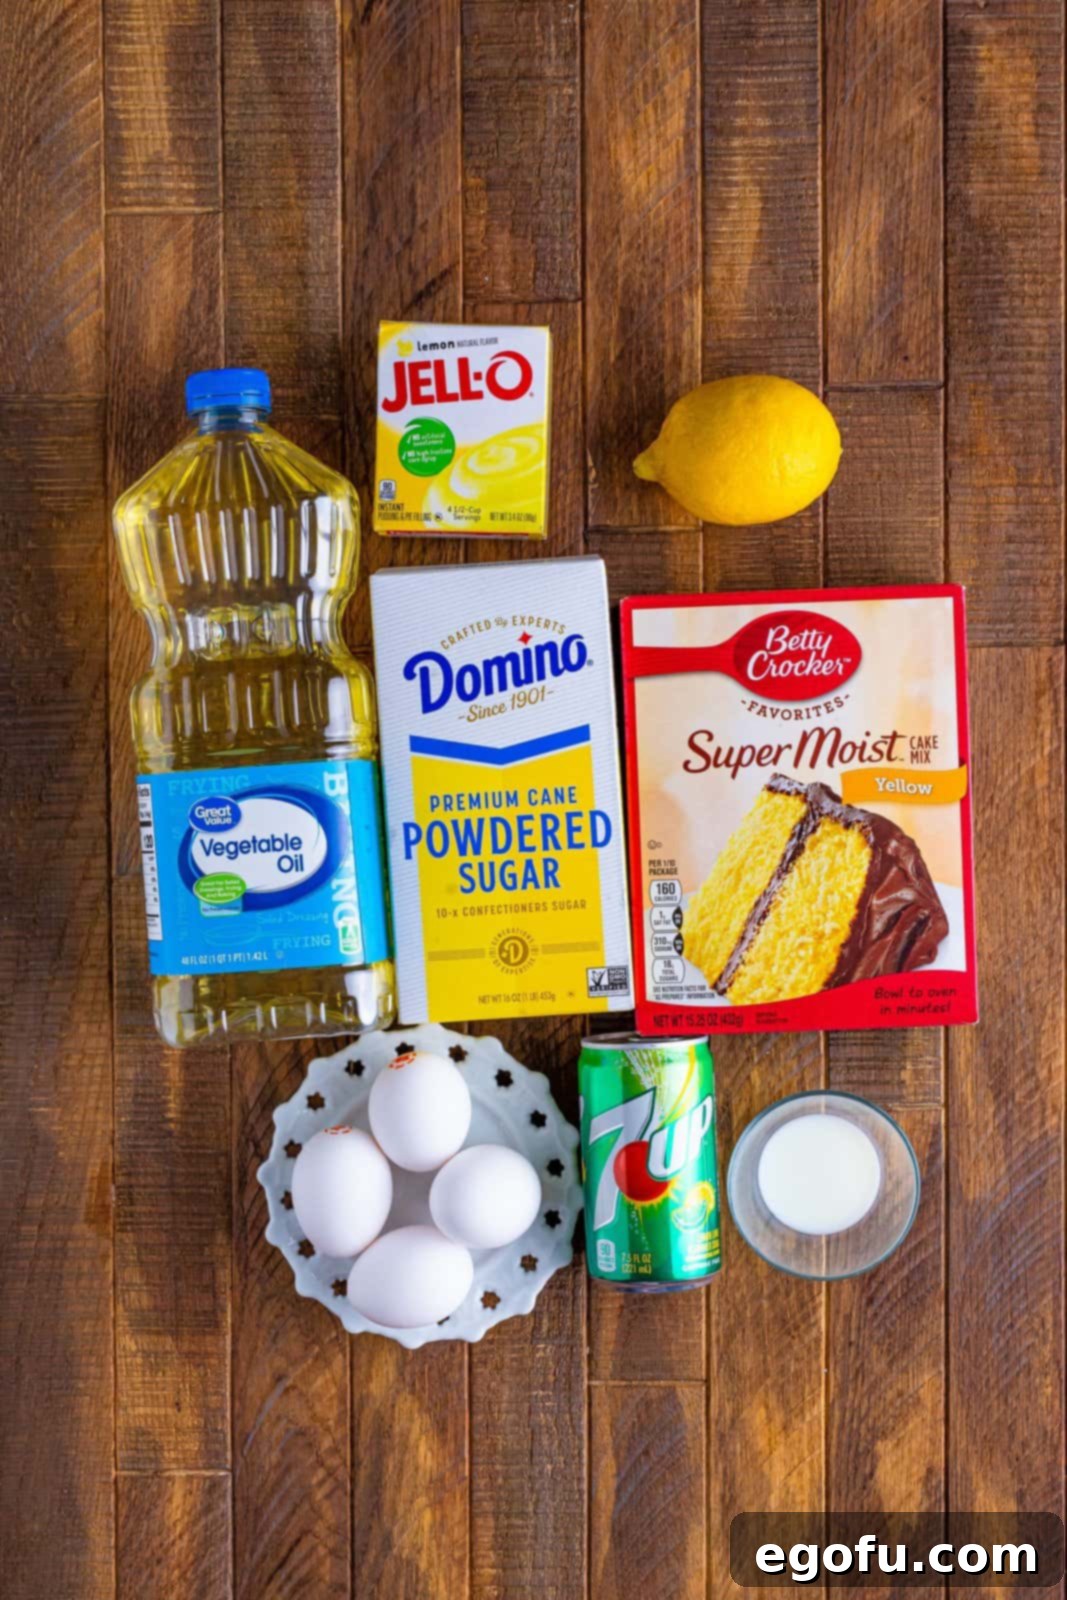
Crafting this sensational 7Up Cake requires a few simple ingredients, most of which you likely already have in your pantry. Each component plays a vital role in creating its signature moistness and vibrant lemon-lime flavor. Below, we detail what you’ll need and offer tips for optimal results and potential substitutions.
- Yellow Cake Mix: This is your convenient base! While a classic yellow cake mix provides a neutral canvas, feel free to experiment. A lemon cake mix will intensify the citrus flavor, a butter cake mix will add a richer depth, and French vanilla can offer a lovely aromatic twist. Choose whichever aligns with your preference for the final flavor profile.
- Instant Lemon Pudding: The unsung hero for moisture and flavor! Be sure to grab a small (4-ounce) box of instant lemon pudding mix. The “instant” variety is key as it activates with liquid and helps bind the cake, ensuring an incredibly moist and tender crumb. You don’t need to stick to the Jell-O brand; a store-brand instant pudding works perfectly well.
- 7Up Soda: The star ingredient! The carbonation in 7Up acts as an extra leavening agent, contributing to the cake’s light and airy texture, while its lemon-lime flavor adds a subtle, refreshing zing that marries perfectly with the lemon pudding. While I highly recommend original 7Up for the best flavor and texture, you could try Sprite or Mountain Dew for a similar lemon-lime profile. I would advise against diet soda, as artificial sweeteners can sometimes alter the cake’s texture and overall taste. Ginger Ale typically has a different flavor profile that might not complement the lemon as effectively.
- Large Eggs: Eggs contribute to the cake’s structure, richness, and binding. For best results in baked goods, aim for room temperature eggs. Room temperature eggs emulsify more easily with other ingredients, creating a smoother batter and ultimately leading to a lighter, fluffier cake texture. If you forget to take them out ahead of time, simply place them in a bowl of warm (not hot) water for 5-10 minutes.
- Vegetable Oil: This fat source is crucial for moisture. Vegetable oil ensures a consistently moist and tender cake with a fine crumb. While you can substitute it with the same amount of melted butter, be aware that butter can result in a slightly denser and heavier cake due to its different fat composition. For maximum moistness, oil is generally preferred in this type of recipe.
- Fresh Lemon Juice (for icing): When it comes to citrus, fresh is always best! Freshly squeezed lemon juice provides a bright, natural tartness that bottled lemon juice simply cannot replicate. Bottled varieties often have an artificial or metallic taste that can detract from the vibrant flavor of your homemade icing. For the ultimate fresh taste, use real lemons.
- Powdered Sugar (for icing): The base of our simple yet elegant lemon drizzle. Powdered sugar (also known as confectioners’ sugar) dissolves easily, creating a smooth, lump-free glaze.
- Lemon Zest (optional, for icing): For an extra burst of concentrated lemon flavor and beautiful flecks of yellow, add finely grated lemon zest. It adds an aromatic depth that elevates the icing.
- Milk (for icing): A small amount of milk helps achieve the perfect drizzling consistency for your icing. Start with one tablespoon and add more slowly, half a teaspoon at a time, until you reach your desired thickness.
BAKING YOUR PERFECT 7UP CAKE: A STEP-BY-STEP GUIDE
Making this 7Up Cake is incredibly straightforward, even for novice bakers. Follow these simple steps to create a show-stopping dessert that tastes like it came from a professional bakery. The key is in proper preparation and letting the ingredients do their magic!
Step 1: Prepare Your Oven and Pan
Begin by preheating your oven to 325°F (160°C). This ensures the oven is at the correct temperature for even baking from the moment your cake goes in. Next, prepare your 10-inch bundt pan by generously spraying it with a nonstick baking spray that contains flour (like Baker’s Joy). Alternatively, you can thoroughly grease the pan with softened butter or shortening and then dust it lightly with flour, ensuring every crevice is covered. This critical step prevents the cake from sticking and ensures an easy release, preserving its beautiful bundt shape.
Step 2: Combine Cake Ingredients
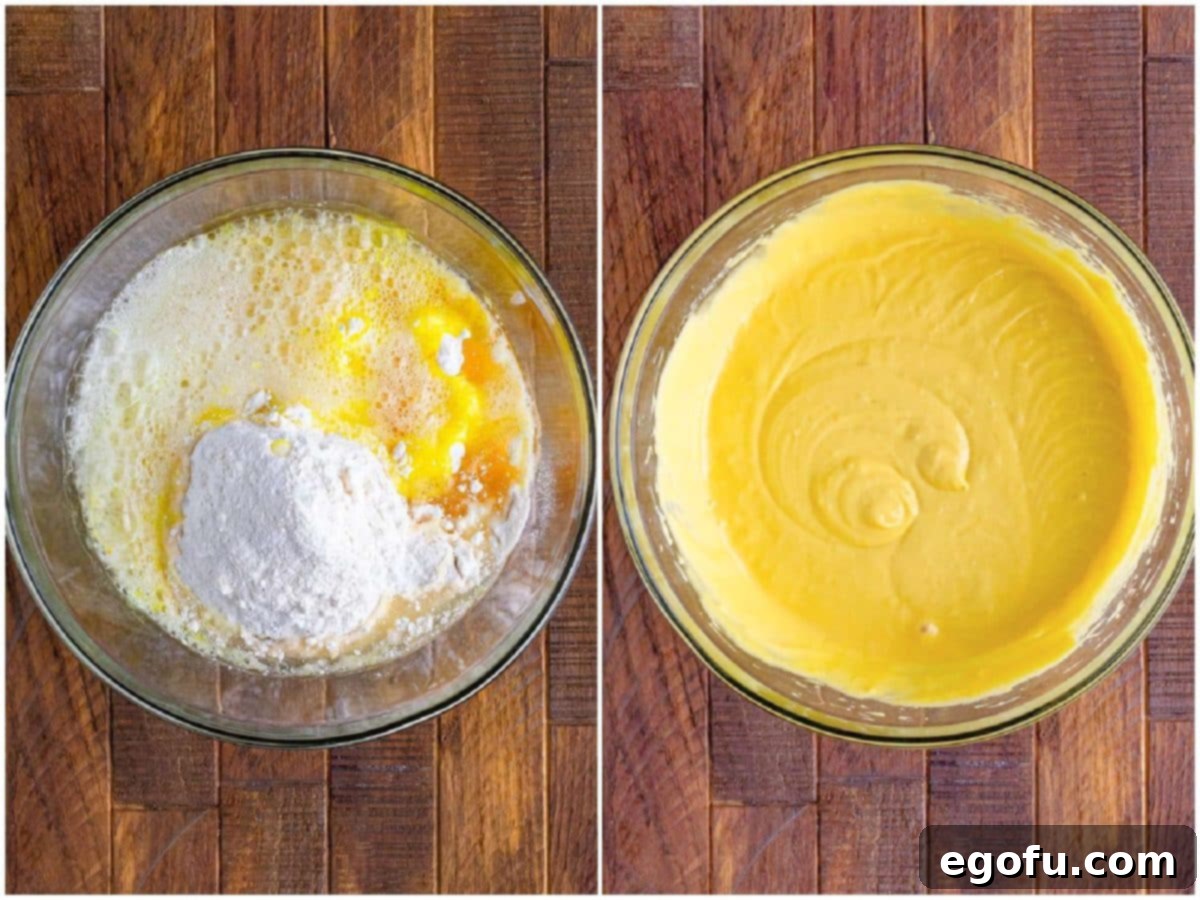
In a large mixing bowl, combine all the dry and wet ingredients for the cake: the yellow cake mix, the small box of instant lemon pudding, the ¾ cup of 7Up soda, the 4 large room-temperature eggs, and the ¾ cup of vegetable oil. Using room-temperature eggs will help create a smoother batter and a more tender final cake.
Step 3: Mix Until Thoroughly Combined
Using an electric mixer on medium speed, beat the ingredients until they are thoroughly combined and the batter is smooth. Be careful not to overmix, as this can develop the gluten in the flour and lead to a tougher cake. Mix just until no dry streaks remain, usually about 1-2 minutes. The batter will be slightly thicker than a standard cake mix due to the pudding.
Step 4: Bake the Cake
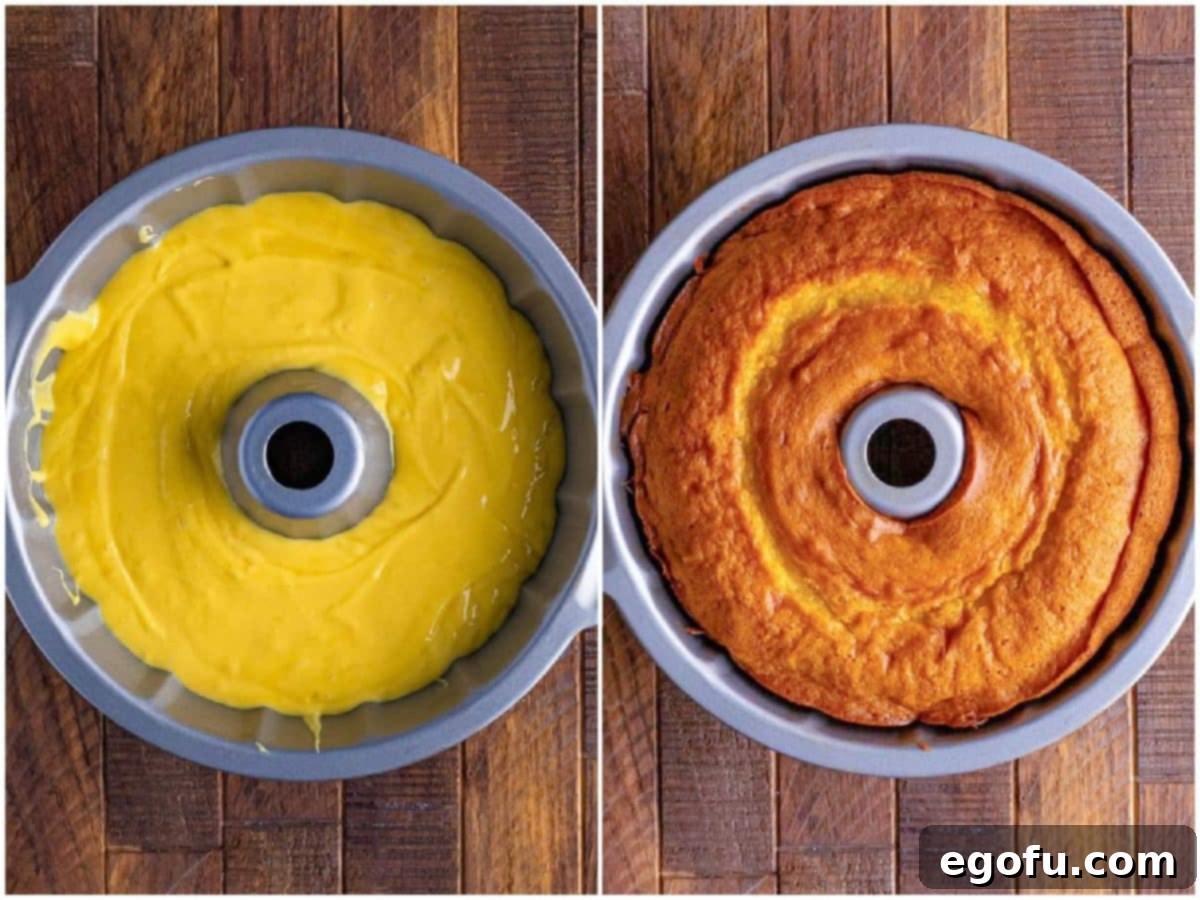
Pour the prepared cake batter evenly into your greased and floured bundt pan. Place the pan in the preheated oven and bake for approximately 35-45 minutes. Baking times can vary depending on your oven, so rely on the visual cue and the toothpick test: insert a toothpick or a thin fork into the deepest part of the cake; if it comes out clean, your cake is done. Once baked, remove the cake from the oven and allow it to cool in the pan on a wire rack for at least 15-20 minutes. This cooling period is crucial for the cake to set properly and prevent it from breaking when inverted.
Step 5: Cool and Invert the Cake
After the initial cooling in the pan, carefully invert the bundt cake onto a cooling rack or a cake plate. Allow the cake to cool completely to room temperature before applying the icing. Attempting to ice a warm cake will cause the glaze to melt and run off, resulting in a less appealing finish.
Step 6: Prepare the Luscious Lemon Icing
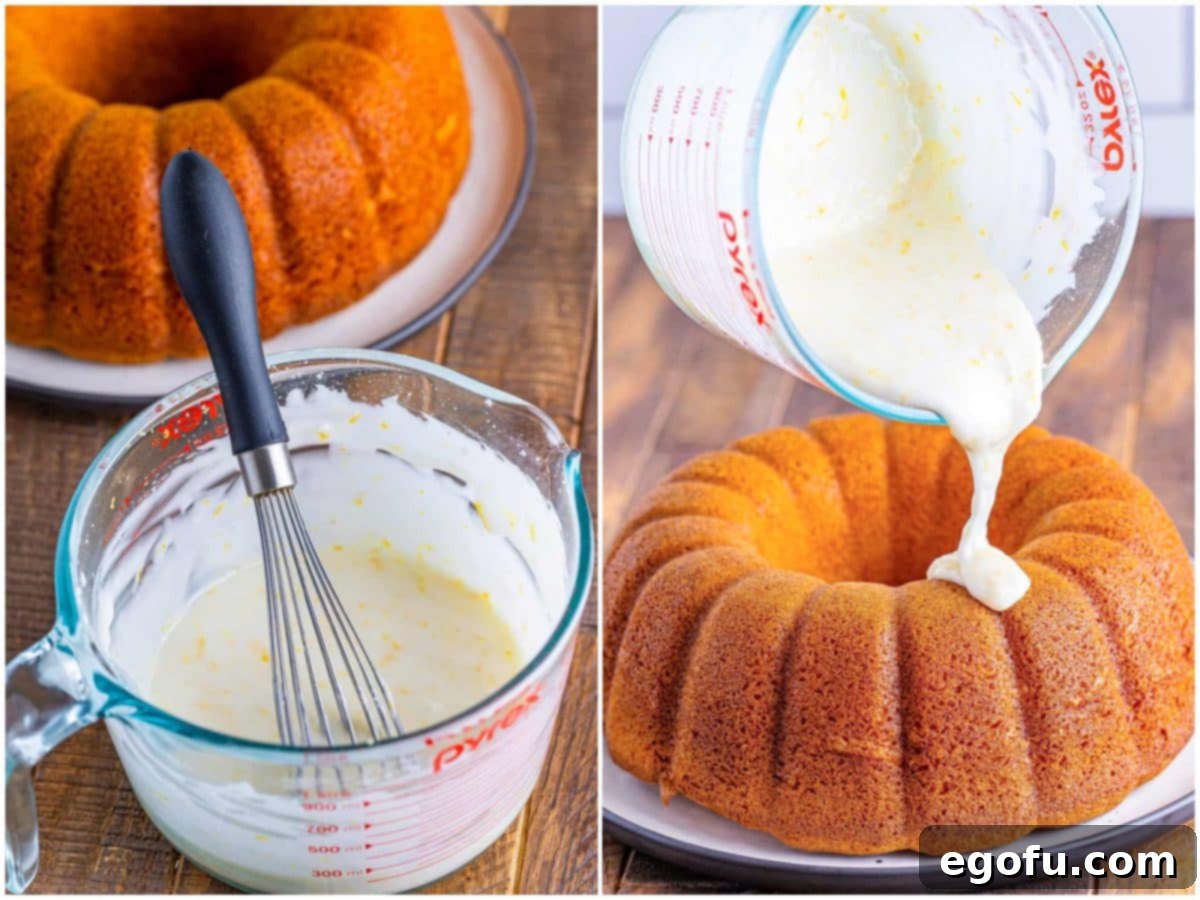
While the cake cools, prepare your irresistible lemon icing. In a small bowl, whisk together the powdered sugar, fresh lemon juice, and the optional lemon zest. Begin by adding 1 tablespoon of milk, mixing until smooth. Slowly add the remaining milk, half a teaspoon at a time, until you achieve your desired drizzling consistency. I personally prefer a slightly thicker icing that coats the cake beautifully, but you can adjust it to be thinner if you prefer a lighter glaze. The goal is a pourable but not watery consistency.
Step 7: Drizzle and Serve
Once the cake is completely cool, slowly pour the freshly made lemon icing over the top, allowing it to cascade down the sides of the bundt cake. Let the icing sit for a bit, perhaps 10-15 minutes, to allow it to set slightly. Keep in mind that this is a drizzle, so it won’t harden fully like a traditional buttercream frosting. The slight setting will prevent it from being too messy when sliced. Then, slice and serve this magnificent, moist, and zesty 7Up Cake to rave reviews!
LOOKING FOR MORE DELICIOUS DESSERT RECIPES?
If you loved this 7Up Cake, you’re in for a treat! We have a treasure trove of delightful cake recipes that are just as easy and satisfying. Explore these other fantastic options to sweeten your day:
- Chocolate Pudding Bundt Cake
- Pineapple Upside Down Bundt Cake
- 7Up Biscuits (A unique savory twist with 7Up!)
- White Chocolate Raspberry Cake
- Shirley Temple Poke Cake
- Melted Ice Cream Cake
- Dr Pepper Cake
- Coca Cola Cake
- Snickerdoodle Bundt Cake
- Gooey Butter Cake
Originally published: January 2012
Updated with new photos & republished: May 2023

7Up Cake
This 7Up Cake is a remarkably moist lemon pudding cake, made with an enhanced boxed cake mix and finished with a delectable homemade lemon icing drizzle. It’s an easy, impressive dessert!
Rated 4.89/5 by 88 users
Pin Recipe
Prep Time: 10 minutes
Cook Time: 55 minutes
Total Time: 1 hour 5 minutes
Servings: 10
Author: Brandie Skibinski
Ingredients
For the cake:
- 1 box yellow cake mix
- 4 ounce small box instant lemon pudding
- ¾ cup 7-Up soda (or similar lemon-lime soda)
- 4 large eggs
- ¾ cup vegetable oil
For the frosting:
- 2 cups powdered sugar
- 1 Tablespoon fresh lemon juice
- Lemon zest from one lemon (optional)
- 1-2 Tablespoons milk
Instructions
- Preheat oven to 325°F (160°C). Prepare a 10-inch bundt pan by generously spraying it with nonstick cooking spray that contains flour, or grease and flour it thoroughly.
- In a medium bowl, combine the yellow cake mix, instant lemon pudding, 7-Up soda, large eggs, and vegetable oil.
- Mix until thoroughly combined and smooth, being careful not to overmix.
- Pour the batter into the prepared bundt pan.
- Bake for about 35-45 minutes, or until a toothpick inserted into the center comes out clean. Allow the cake to cool completely in the pan on a wire rack, then carefully remove it from the bundt pan and place it on a cake plate.
- While the cake cools, prepare the icing. In a small bowl, combine the powdered sugar, fresh lemon juice, and lemon zest (if using). Slowly add 1-2 tablespoons of milk until you’ve reached your desired drizzling consistency.
- Once the cake is completely cool, slowly pour the icing over the cake, allowing it to drip down the sides.
- Allow the icing to set slightly for a bit (it won’t harden completely like a frosting), then slice and serve.
Video
Notes
- Refer to the FAQ’s and ingredient list above for detailed substitutions or answers to common questions.
Course: Dessert
Cuisine: American
Nutrition
Calories: 465 kcal | Carbohydrates: 71g | Protein: 3g | Fat: 19g | Sodium: 394mg | Sugar: 43g
Nutritional Disclaimer
“The Country Cook” is not a dietician or nutritionist, and any nutritional information shared is an estimate. If calorie count and other nutritional values are important to you, we recommend running the ingredients through whichever online nutritional calculator you prefer. Calories and other nutritional values can vary quite a bit depending on which brands were used.
Did you make this recipe?
Share it on Instagram @thecountrycook and mention us #thecountrycook!
