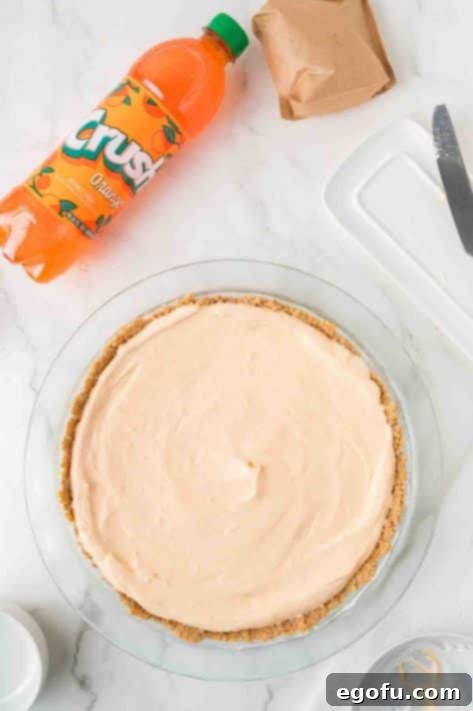
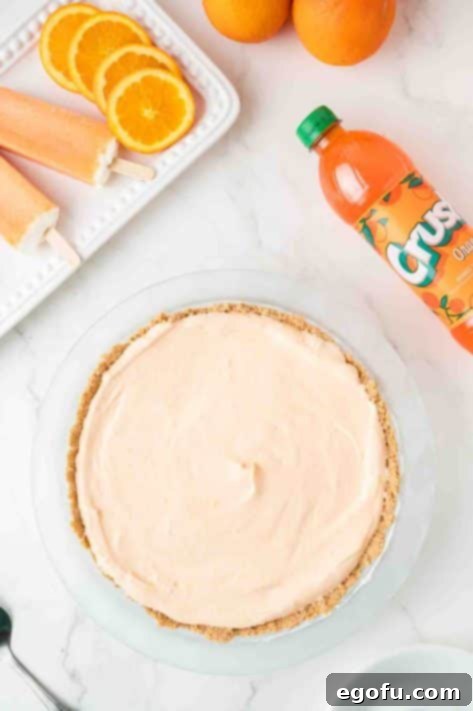
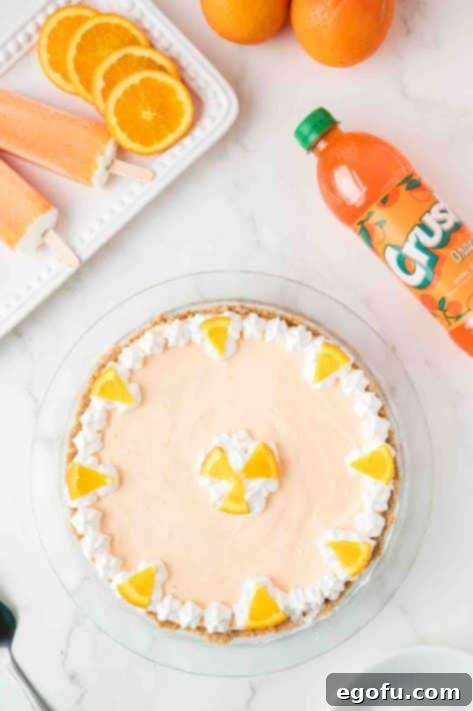
Unlock the secret to a refreshingly simple dessert with this incredible **Orange Creamsicle Pie**! Imagine the nostalgic burst of an orange creamsicle, but in a creamy, dreamy pie form that requires absolutely no baking. This isn’t just a dessert; it’s a delightful journey back to childhood summers, crafted with a mere handful of ingredients and ready to chill in your freezer in just 15 minutes of active prep time. Perfect for busy weeknights, effortless entertaining, or simply satisfying that sweet craving, this freezer pie combines the classic, vibrant flavors of orange and smooth vanilla into an irresistible treat that’s destined to become a family favorite.
An Effortless 15-Minute No-Bake Delight: Your Ultimate Summer Dessert
For anyone who adores the iconic orange and vanilla flavor combination found in a Dreamsicle or Creamsicle, you’ve found your perfect dessert match. This recipe stands out, offering a unique twist on the traditional no-bake pie. We understand that not everyone is a fan of cream cheese, which often forms the base of many no-bake recipes. If you’ve been searching for a delicious alternative, this Orange Creamsicle Pie is precisely what you need. Its incredible creaminess comes without a trace of cream cheese, creating a lighter, yet equally satisfying texture.
One of the distinctive features of this recipe is our innovative use of orange soda instead of the more common orange Jell-O. This substitution not only simplifies the ingredient list but also infuses the pie with an authentic, zesty orange flavor that truly elevates the creamsicle experience. Because this pie is free of cream cheese, it relies on the freezer to achieve its perfect set and maintain its delightful consistency, making it an ideal make-ahead dessert. If you’re eager to try something different, incredibly easy, and bursting with flavor, this is the dessert for you.

Frequently Asked Questions About Your Orange Creamsicle Pie
Absolutely! This pie is wonderfully suited for advance preparation, making it an ideal choice for parties, family gatherings, or any occasion where you want to impress without the last-minute rush. In fact, we highly recommend making it at least one full day before you plan to serve it. This allows ample time for the pie to properly set and achieve its optimal frozen consistency, ensuring perfect slices every time. Simply cover it securely with plastic wrap once assembled and store it in the freezer until needed.
Yes, absolutely! This recipe is incredibly adaptable for those seeking a sugar-free dessert option. You can easily create a sugar-free graham cracker crust by substituting traditional brown sugar with a baking-friendly sugar alternative like Splenda. For the star ingredient, the orange soda, opt for a sugar-free orange soda variety. Additionally, both the instant vanilla pudding mix and the whipped topping (like Cool Whip) are widely available in sugar-free versions. By making these simple swaps, you can enjoy all the classic creamsicle flavor without the added sugar, making it a guilt-free pleasure for everyone.
Certainly! While a homemade graham cracker crust adds an extra touch of freshness and flavor, we understand that convenience is key for busy bakers. If you prefer to save time and effort, feel free to use a store-bought graham cracker crust. Just ensure it’s a standard 9-inch crust, and you can proceed directly to preparing the filling. This small shortcut won’t compromise the delicious taste or texture of your Orange Creamsicle Pie.
Yes, chilling the crust is a crucial step for the best results. A minimum of 30 minutes in the refrigerator allows the butter in the crust to firm up, binding the graham cracker crumbs together. If you skip this chilling period, the crust may be too soft and crumbly, making it difficult to cut neat slices of your finished pie. This brief chill time ensures your crust holds its shape beautifully and provides a perfect foundation for the creamy filling.
To achieve the correct consistency and ensure your pie holds its form, freezing is absolutely essential for this recipe. Unlike traditional no-bake pies that often rely on cream cheese or gelatin for structure, this Orange Creamsicle Pie uses a unique combination that requires deep chilling. If you only refrigerate it, the filling will remain too soft and messy, making it challenging to slice neatly, and pieces will likely collapse upon serving. Freezing allows the pie to firm up completely. Once frozen solid, you can then let it thaw slightly in the refrigerator or on the counter for about 20-30 minutes before slicing, achieving that perfect, creamy-yet-firm texture reminiscent of a true creamsicle.
To maintain its delightful texture and freshness, any leftover Orange Creamsicle Pie should be stored in the freezer. Tightly cover the pie dish with plastic wrap, ensuring no air can get in, or transfer individual slices to an airtight container. When you’re ready to enjoy another slice, simply remove it from the freezer and let it sit at room temperature for about 10-15 minutes, or in the refrigerator for 20-30 minutes, until it reaches your desired thawing consistency. This ensures your pie remains a delicious treat for days to come.

Essential Ingredients for Your Orange Creamsicle Pie: A Closer Look
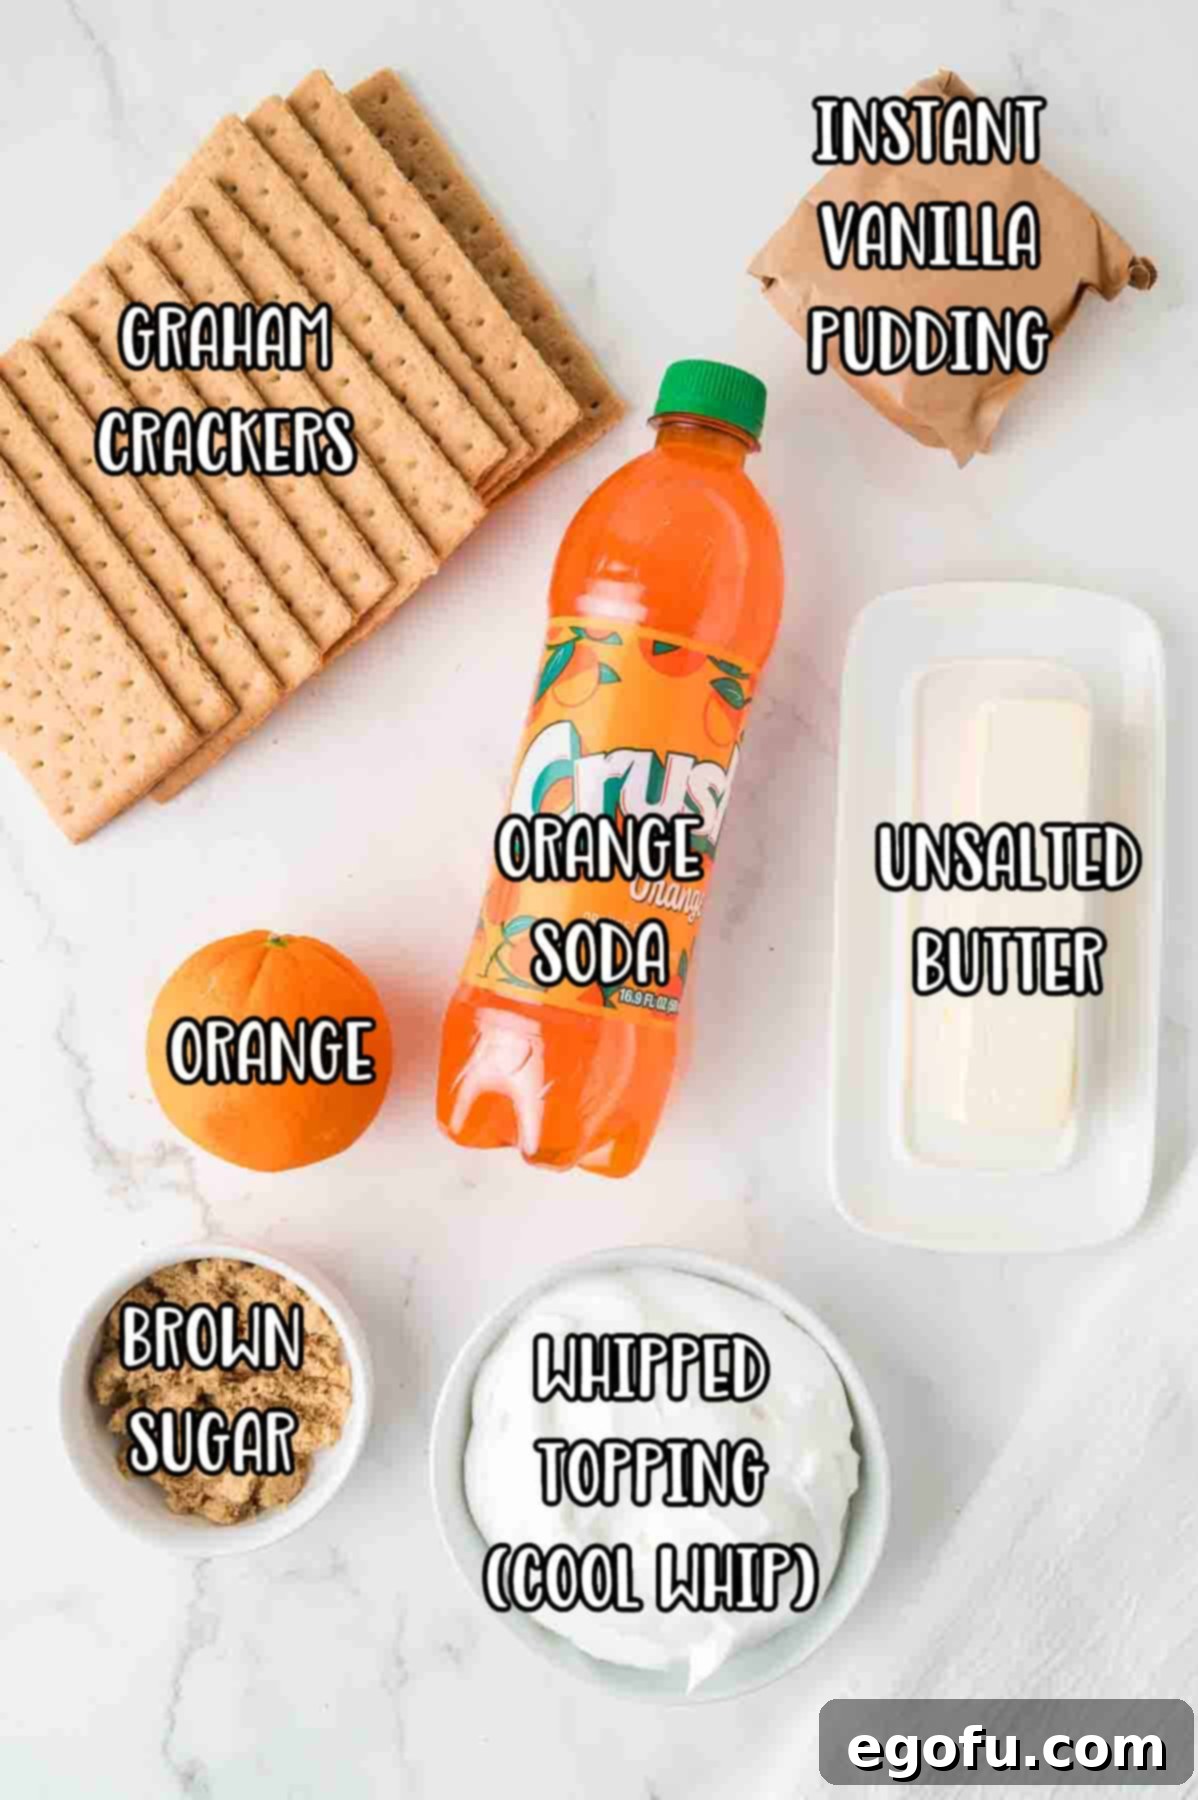
Crafting this delightful Orange Creamsicle Pie requires just a few key ingredients, each playing a vital role in achieving that signature flavor and texture. Here’s a detailed breakdown to ensure your pie turns out perfectly every time:
- Graham Crackers: These form the base of our irresistible crust. You’ll need approximately 12 full graham cracker sheets, which, once processed, will yield about 1 ½ cups of fine crumbs. If you prefer to use pre-crushed graham cracker crumbs, simply measure out 1 ½ cups. For a slightly different flavor profile or if graham crackers aren’t available, vanilla wafers or even shortbread cookies can be a delicious alternative, offering a rich, buttery base.
- Unsalted Butter: Melted unsalted butter binds the graham cracker crumbs together, creating a firm and flavorful crust. While unsalted butter is preferred for better control over the pie’s sweetness, you can certainly use salted butter if that’s what you have on hand. The minimal amount of salt it contains typically won’t overpower the sweetness and might even subtly enhance the overall flavor, balancing the rich notes.
- Light Brown Sugar: Packed light brown sugar adds a touch of sweetness and a hint of molasses flavor to the crust, complementing the graham crackers beautifully. If brown sugar isn’t available, white granulated sugar can be used in the same quantity, providing a clean sweetness to the crust.
- Cold Orange Soda: This is the secret ingredient that gives our pie its distinctive creamsicle flavor and vibrant orange hue, replacing the typical milk or Jell-O found in similar recipes. Choose your favorite brand of orange soda, but ensure it is very cold. The cold temperature is crucial for the instant pudding to set properly, just as cold milk would. For a lighter version, diet orange soda works perfectly without compromising on flavor.
- Instant Vanilla Pudding Mix: We cannot emphasize this enough: you absolutely MUST use INSTANT vanilla pudding mix. The “Cook and Serve” variety requires heat to thicken and set, which will not work in this no-bake recipe. These two types of pudding are often displayed next to each other on grocery store shelves, so please double-check the packaging carefully. Using the wrong type will result in a runny, gloopy mess instead of a firm, creamy filling.
- Whipped Topping (like Cool Whip): This ingredient contributes significantly to the pie’s light, airy, and creamy texture. Remember that frozen whipped topping needs to be thawed completely before use. The best way to thaw it is in the refrigerator for several hours or overnight; never thaw it on the counter, as this can affect its texture and stability. While homemade whipped cream can be used for an even fresher taste, it is less stable than commercial whipped topping and tends to break down more quickly. If opting for homemade, plan to serve and enjoy the pie on the same day it’s made for optimal freshness. Any brand of whipped topping will work just as well as Cool Whip.
- Whipped Cream (for garnish): This is typically the pressurized whipped cream found in cans in the refrigerated section of your grocery store, like Reddi-Wip. It’s perfect for a quick and easy topping to add an extra layer of creamy indulgence just before serving.
- Orange Slices (for garnish): Fresh orange slices or canned mandarin orange segments (well-drained) add a beautiful pop of color and a fresh citrusy aroma, enhancing the overall presentation and flavor of your Orange Creamsicle Pie. They provide a lovely visual contrast and a refreshing bite.
How to Prepare Your Irresistible Orange Creamsicle Pie: A Step-by-Step Guide
Creating this delightful Orange Creamsicle Pie is a straightforward process, broken down into simple, manageable steps. Follow these instructions to ensure a perfectly set, deliciously creamy, and utterly refreshing dessert:
Step 1: Crafting the Perfect Graham Cracker Crust
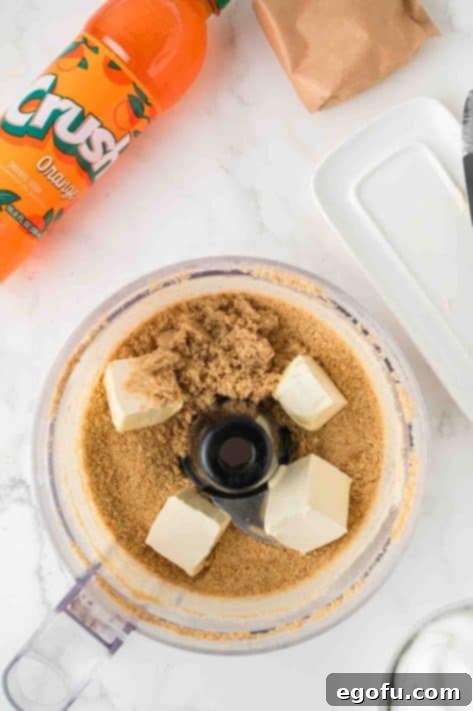
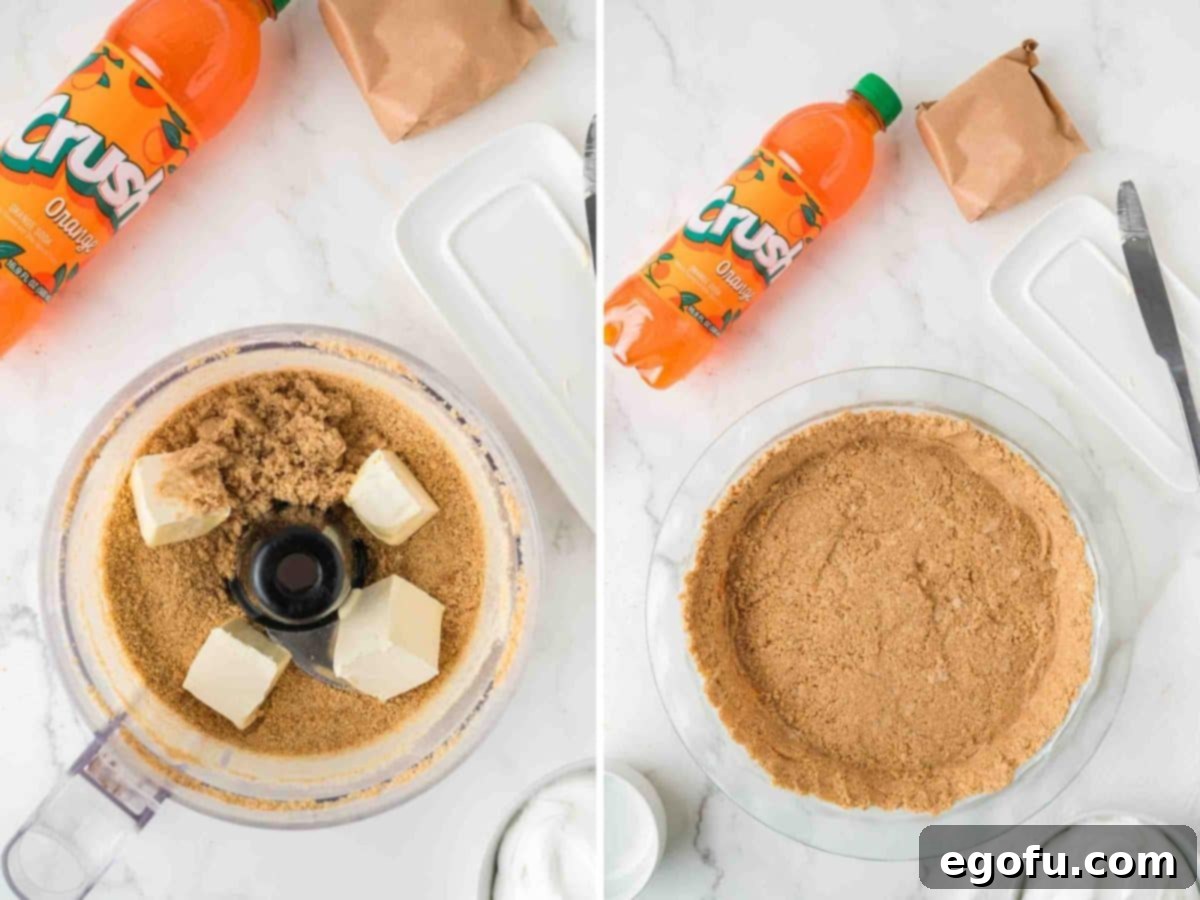
Begin by preparing your graham cracker crust. Place the graham crackers into a food processor and pulse until they are finely ground into consistent crumbs. If you don’t have a food processor, you can easily achieve this by placing the graham crackers in a sturdy Ziploc bag and crushing them with a rolling pin or the bottom of a heavy pan until finely crumbled. Next, add the melted unsalted butter and light brown sugar to the crumbs in the food processor (or a bowl if crushing manually). Process or stir again until the mixture is well combined and begins to clump together, resembling wet sand.
Step 2: Pressing and Chilling the Crust
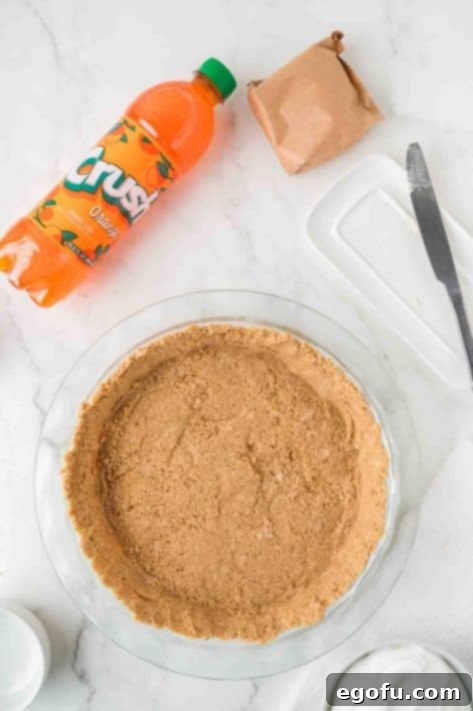
Lightly spray a standard 9-inch pie dish with nonstick cooking spray. This small step helps immensely when it comes to serving, allowing slices to release effortlessly. Transfer the graham cracker mixture into the prepared pie dish. Using the back of a spoon or your fingertips, firmly press the mixture evenly into the bottom and up the sides of the dish. Once the crust is formed, place the pie dish in the refrigerator for at least 30 minutes. This chilling period is crucial for the butter to solidify, setting the crust and preventing it from crumbling when the pie is sliced later.
Step 3: Preparing the Creamy Orange Creamsicle Filling
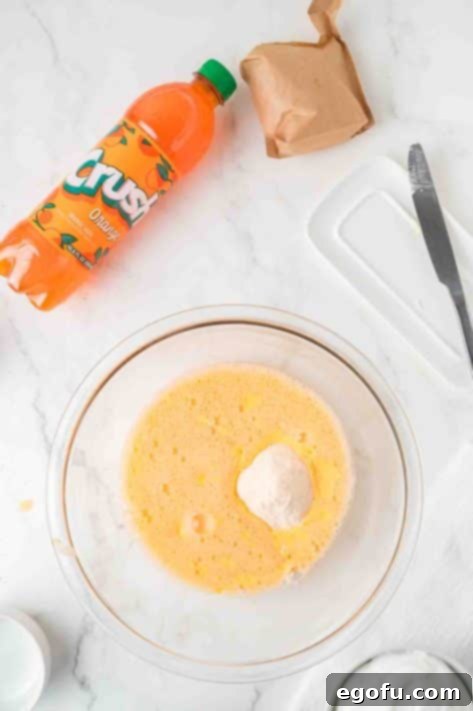
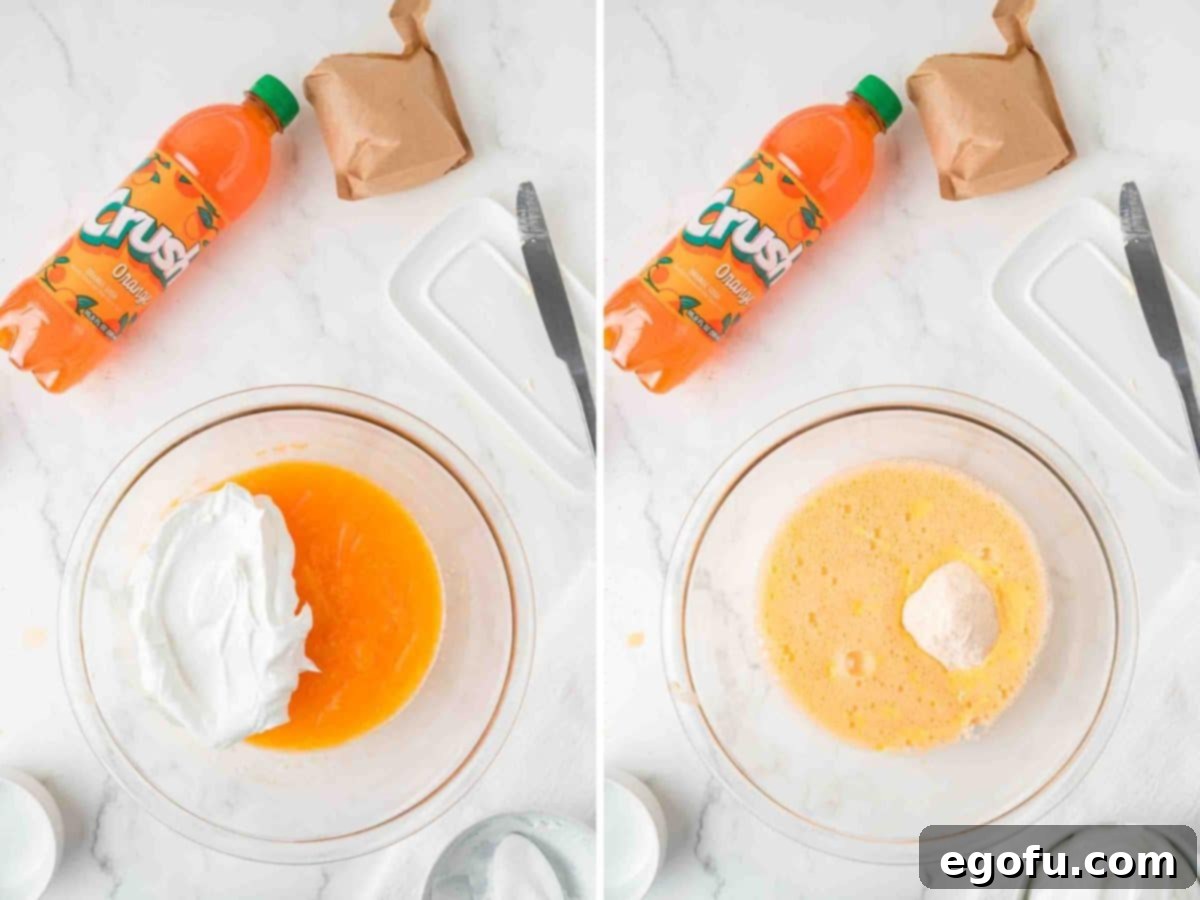
While your crust is chilling, it’s time to prepare the star of the show: the creamy orange filling. In a large mixing bowl, whisk together the cold orange soda and the instant vanilla pudding mix. Whisk vigorously for about 2-3 minutes, or until the mixture becomes smooth and starts to thicken slightly. The cold temperature of the soda is vital here, as it helps activate the instant pudding. Ensure there are no lumps for a perfectly smooth filling.
Step 4: Incorporating the Whipped Topping
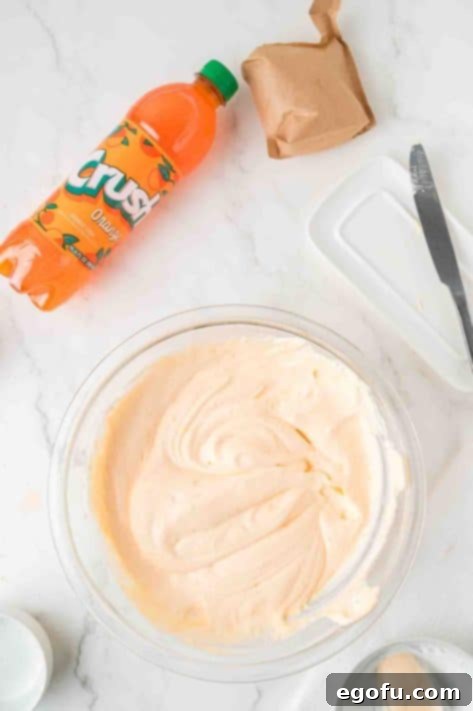
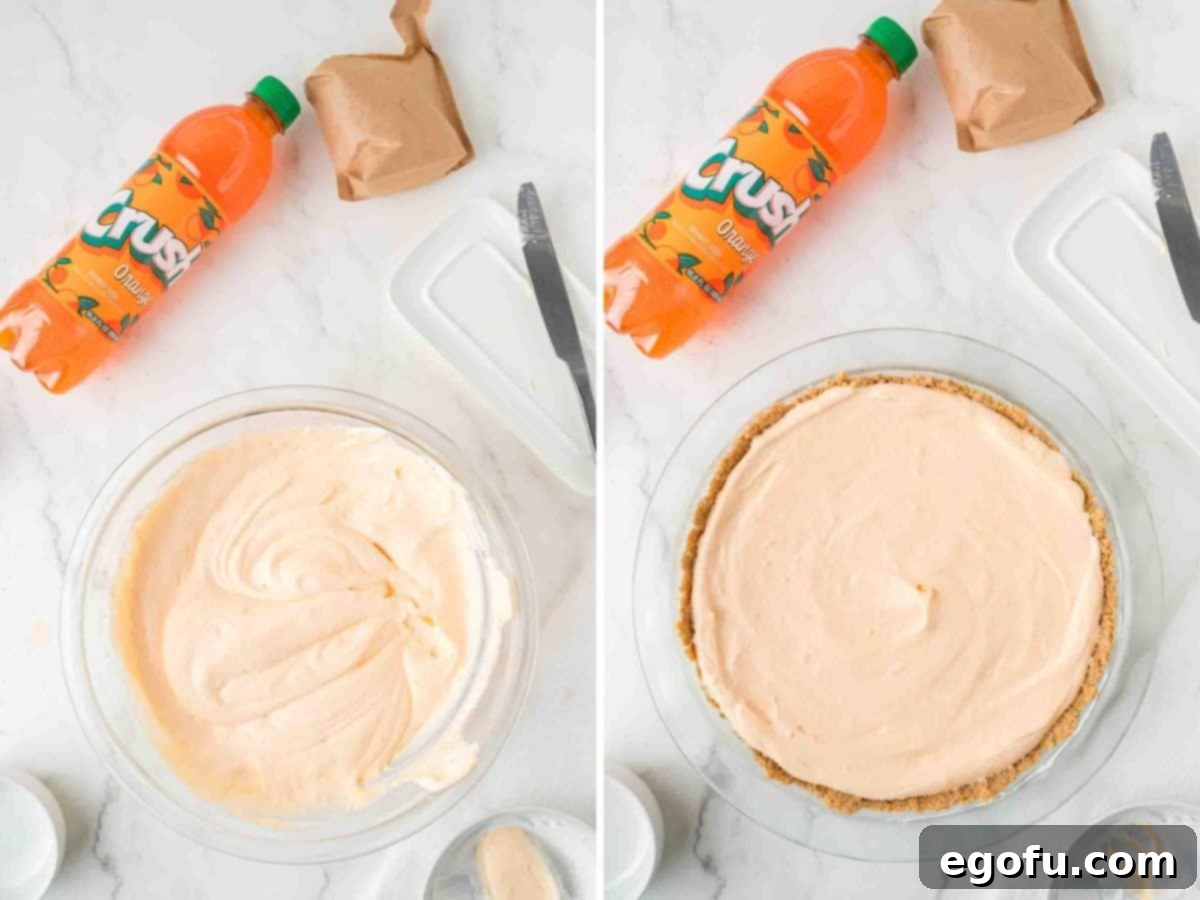
Once the pudding mixture is smooth and slightly thickened, gently fold in the thawed whipped topping. Use a spatula to combine the ingredients until they are fully incorporated, creating a light, airy, and uniformly colored orange creamsicle filling. Avoid overmixing, as this can deflate the whipped topping and reduce the desired airy texture. Cover the bowl with plastic wrap and place it in the refrigerator to keep it cool while the crust finishes chilling.
Step 5: Assembling the Pie
After the crust has chilled for 30 minutes, remove both the crust and the filling from the refrigerator. Carefully spoon or spread the creamy orange filling evenly into the graham cracker crust. Use the back of a spoon or an offset spatula to smooth the top of the filling, creating an attractive finish.
Step 6: The Essential Freezing Process
Cover the assembled pie tightly with plastic wrap, ensuring it makes contact with the surface of the filling to prevent freezer burn. Place the pie in the freezer for a minimum of 6 hours, or ideally, overnight. This extended freezing time is crucial for the pie to fully set and achieve its firm, sliceable consistency. Patience is key here – a properly frozen pie will deliver the best texture and hold its shape beautifully when served.
Step 7: Garnish and Serve
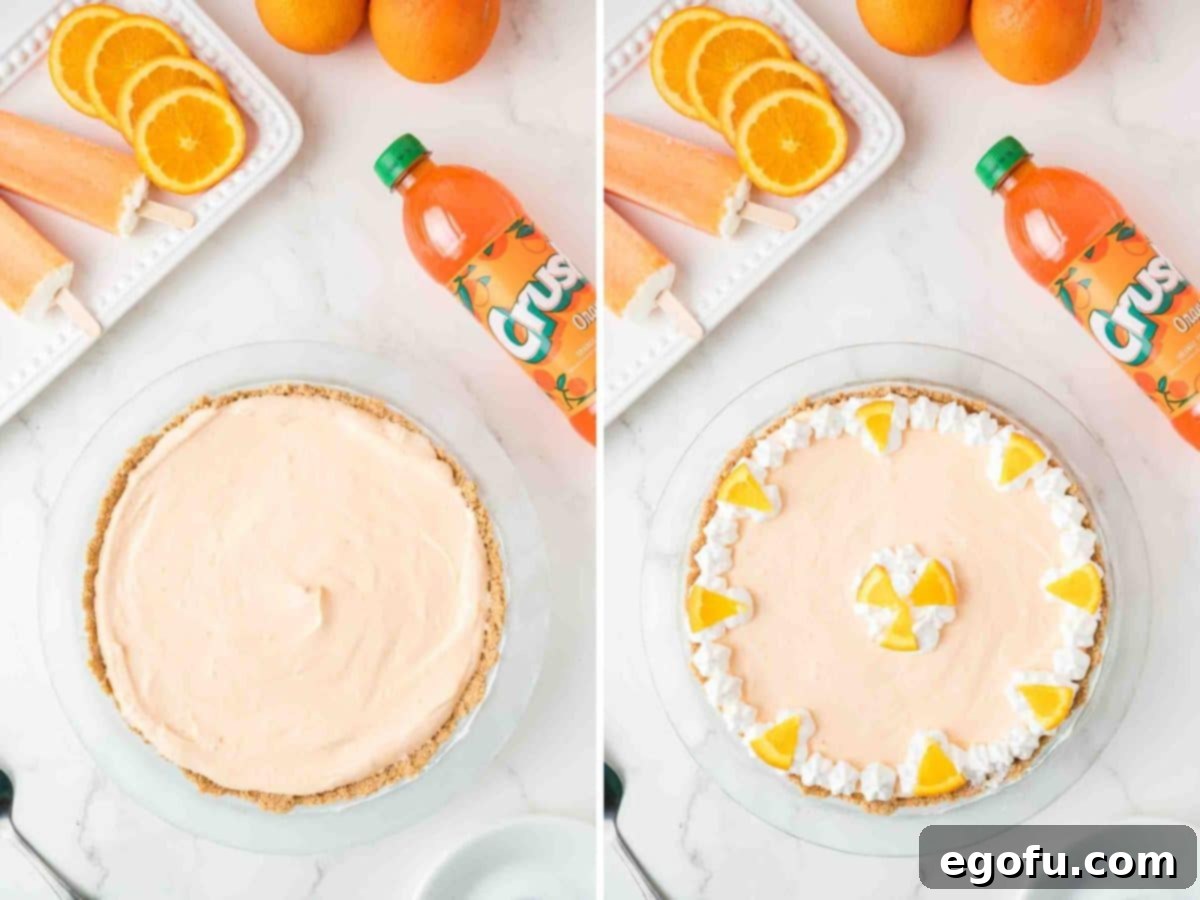
Once the pie is completely set, remove it from the freezer. If desired, generously top the pie with swirls of canned whipped cream and arrange fresh or drained mandarin orange slices artfully on top. Allow the pie to thaw at room temperature for about 20-30 minutes before slicing and serving. This brief thawing period softens the pie just enough to make it perfectly scoopable and enjoyable, providing that classic creamy, icy texture. Each bite promises a refreshing burst of orange and vanilla, making it an unforgettable dessert.
Enjoy your homemade, easy-to-make Orange Creamsicle Pie – a perfect blend of childhood nostalgia and simple culinary delight!

Craving More Delicious No-Bake Recipes and Treats?
If you’ve fallen in love with the ease and delightful flavor of this Orange Creamsicle Pie, you’re in for a treat! Our collection is brimming with more simple, satisfying desserts that are perfect for any occasion. Explore these other fantastic recipes that are sure to become new favorites in your kitchen:
- Tangy Lemonade Pie: A zesty and refreshing treat perfect for summer.
- Decadent Millionaire Pie: Rich, creamy, and loaded with delightful textures.
- Dreamy No-Bake Coconut Cream Pie: A tropical escape in every bite.
- Classic No-Bake Cheesecake: Simple elegance and creamy indulgence.
- Orange Creamsicle Poke Cake: All the creamsicle flavor in a moist cake form.
- Refreshing Orange Creamsicle Salad: A lighter, fruity take on the classic flavor.
- Vibrant Orange Poke Cake: Another citrusy cake option for orange lovers.
- Light and Airy Orange Fluff: A delightful, easy-to-make dessert salad.
- Southern Classic Pig Pickin’ Cake: A truly unique and delicious dessert.
- No-Bake Chocolate Chip Cheesecake: A delightful combination of two dessert favorites.
- Elegant No-Bake White Chocolate Lemon Cheesecake: A sophisticated blend of flavors.
- Tangy Lemon Cheesecake Bars: Portable and perfect for sharing.

Orange Creamsicle Pie
Print
Pin
Rate
15
6
6 15
8
Brandie Skibinski
Ingredients
Crust
- 12 graham crackers
- ½ cup (1 stick) unsalted butter
- 2 Tablespoons light brown sugar, packed (or white granulated sugar)
Filling
- 1 ½ cups cold orange soda
- 3.4 ounce box instant vanilla pudding mix (see notes below)
- 1 (8 ounce) tub whipped topping, thawed (Cool Whip or store brand)
Optional Toppings:
- whipped topping (see notes below)
- orange slices (can use fresh orange slices or mandarin orange slices from the can – drained well)
Instructions
- Make the crust by processing 12 graham crackers in your food processor until they turn into crumbs. Add in ½ cup (1 stick) unsalted butter and 2 Tablespoons light brown sugar, packed and pulse until it starts to look like sand.
Note: If you don’t have a food processor, place the graham crackers in a Ziploc bag and hit with a heavy object like a rolling pin until they turn into crumbs. Then place the crumbs into a bowl and continue with the recipe.
- Spray a standard pie dish with nonstick cooking spray (this will just help release it easier later when cutting and serving). Press the graham cracker crust mixture into the bottom of the pie dish and up the sides and set in the refrigerator for half an hour.

- While the crust is in the refrigerator, whisk together 1 ½ cups cold orange soda and 3.4 ounce box instant vanilla pudding mix in a bowl until smooth.

- Gently stir in 1 (8 ounce) tub whipped topping, thawed until combined. Cover with plastic wrap and place in the refrigerator until the crust has set for 30 minutes.

- Once the crust has set for 30 minutes, take out both the filling and crust from the refrigerator then spread the filling into the crust.

- Cover the pie with plastic wrap and let the pie chill in the freezer for at least 6 hours or overnight to fully set up.

- Remove from the freezer and add whipped topping and orange slices, if desired, and let thaw for about 20 minutes before slicing and serving.

Video
Notes
- Please refer to my FAQ’s (Frequently Asked Questions) and ingredient list above for other substitutions or for the answers to the most common questions.
- You MUST BUY INSTANT PUDDING. Many times the cook and serve pudding is right next to the instant pudding. If you accidentally buy cook and serve pudding, this recipe will not set up. Cook and serve pudding needs heat to set up so please pay attention.
- I just use canned whipped cream (like Reddi Whip) for this.
Dessert
American
Nutrition
Nutritional Disclaimer
“The Country Cook” is not a dietician or nutritionist, and any nutritional information shared is an estimate. If calorie count and other nutritional values are important to you, we recommend running the ingredients through whichever online nutritional calculator you prefer. Calories and other nutritional values can vary quite a bit depending on which brands were used.
